- How to Change Your MySQL Password in XAMPP (3 Methods)
- Why You Might Want to Change Your MySQL Password
- Info
- How to Change Your MySQL Password in XAMPP (3 Methods)
- 1. Change Your MySQL Password Using the XAMPP Shell
- 2. Change Your XAMPP MySQL Password via phpMyAdmin
- 3. Change Your XAMPP MySQL Password by Editing the config.inc.php File
- Summary
- Hand-picked related articles
- How to Troubleshoot Error 403 in XAMPP
- DevKinsta Documentation
- What Is Localhost? And How Does It Apply to WordPress?
- Subscribe to our Newsletter
- How to Add a Password to the XAMPP root User
- Assigning a password to ‘root ‘
- Updating the phpmyadmin Configuration File
- This is not recommended!
- 4 Comments
How to Change Your MySQL Password in XAMPP (3 Methods)

Staying secure online has never been more important, especially for businesses. Password selection and maintenance both play an essential role in security. Unfortunately, they often get neglected, especially on local installations such as XAMPP.
However, local software can be just as vulnerable to malicious activity, and by default XAMPP typically ships without a root password for the MySQL database. Adding one and changing it regularly can help keep your data secure and prevent the loss of hours of hard work.
In this article, we’ll explain why you might want to change your XAMPP MySQL password. Then we’ll walk you through three different methods you can use. Let’s get started!
Why You Might Want to Change Your MySQL Password
There are several reasons why you might want (or need) to change your MySQL password. First and most important: when you install XAMPP on your computer, the password for the “root” user is left empty. This means that there is no security on this account by default.
The root user is essentially the administrator account—it has unrestricted access to all commands and files in the system. As such, having no password protection for this user is a major security hole. Anyone could log in to the user account and edit files on your local installation.
Apart from that, it’s also a smart security practice to change your passwords periodically. Doing so helps prevent malicious activity, particularly if you use the same password in multiple places. Regularly changing passwords can help offset issues that might arise without this practice.
Finally, you may have simply forgotten your password and, as a result, can’t access files or functions that you need on your local XAMPP WordPress installation. Whatever the reason, being able to change MySQL passwords is a valuable skill that could come in handy.
Info
Looking for a powerful tool for local WordPress development? DevKinsta features one-click site creation, built-in HTTPS, powerful email and database management tools, and more. Learn more about DevKinsta!
How to Change Your MySQL Password in XAMPP (3 Methods)
As with most WordPress tasks, there are multiple ways to change the MySQL password. The method you should use will depend on exactly what you need to do and what interface you’re most comfortable with: the command line, a Graphical User Interface (GUI), or text files. With that in mind, let’s take a look at three ways to change your MySQL password in XAMPP.
1. Change Your MySQL Password Using the XAMPP Shell
Using the XAMPP shell is generally going to be the simplest and quickest method for changing your MySQL password. It does involve using the command line, which can seem daunting at first.
However, it’s actually fairly straightforward. This is also the method you’ll want to use if you’ve forgotten your existing MySQL password and need to reset it.
Note that these commands are the same whether you’re using Windows or macOS. Since this is a unique shell specific to XAMPP, any typical differences between the platforms won’t apply.
To get started, launch your XAMPP Control Panel and click on the Shell button on the right-hand side.
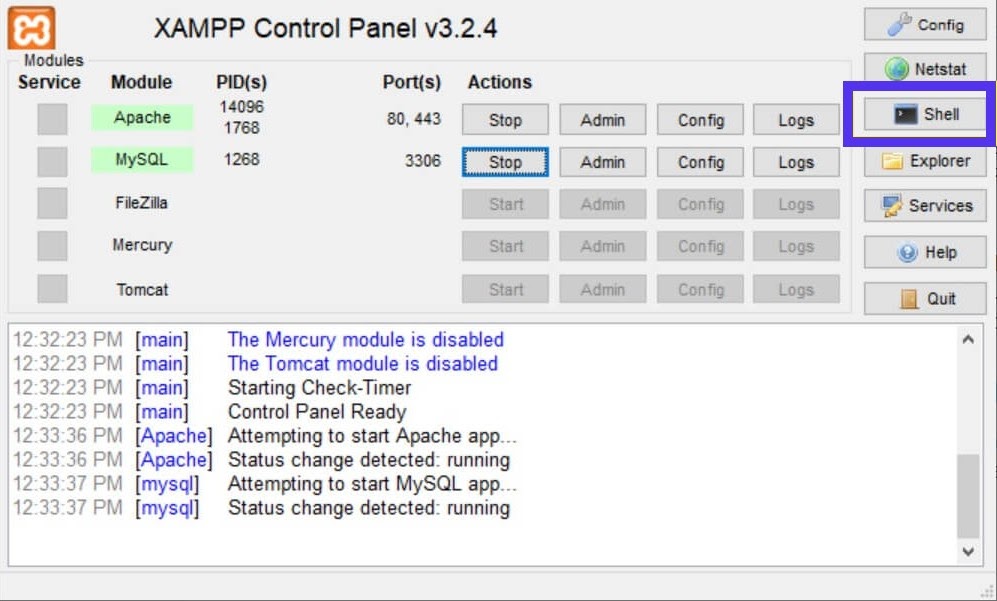
This will open up a new window with a command prompt. Enter the following command and press the Enter/Return key:
mysqladmin -u root password The shell will prompt you to enter a new password. Press Enter/Return again, and you’ll be asked to confirm the new password.
Once you’ve done that, you’re finished and can close the shell window.
2. Change Your XAMPP MySQL Password via phpMyAdmin
The second method involves using the phpMyAdmin GUI to change your XAMPP MySQL password. This technique is relatively simple, but generally not as quick as the command line method.
First, you need to access the phpMyAdmin interface. Pull up the XAMPP Control Panel and click on Admin in the MySQL row:
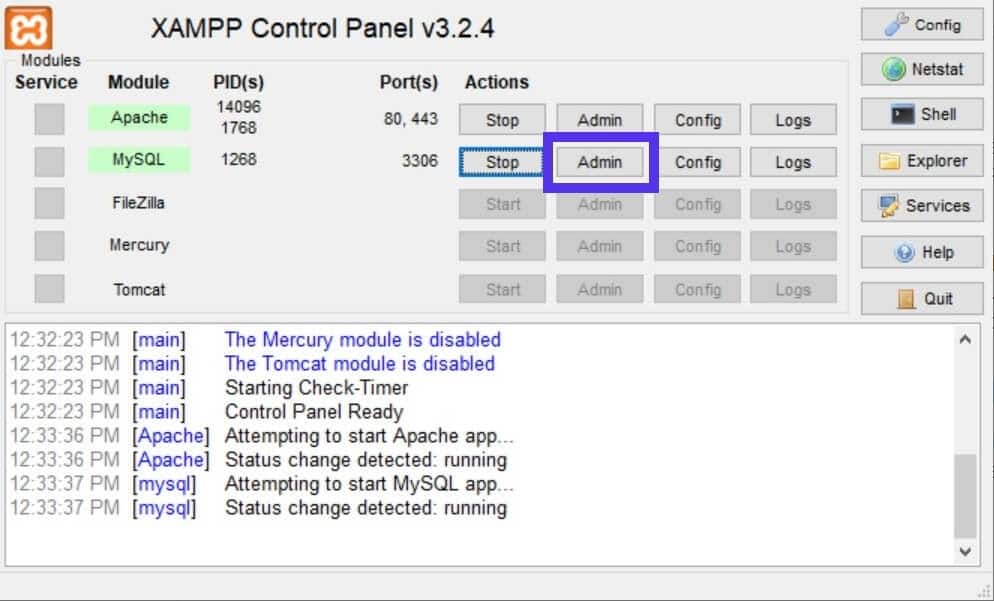
PhpMyAdmin will open in a browser window:
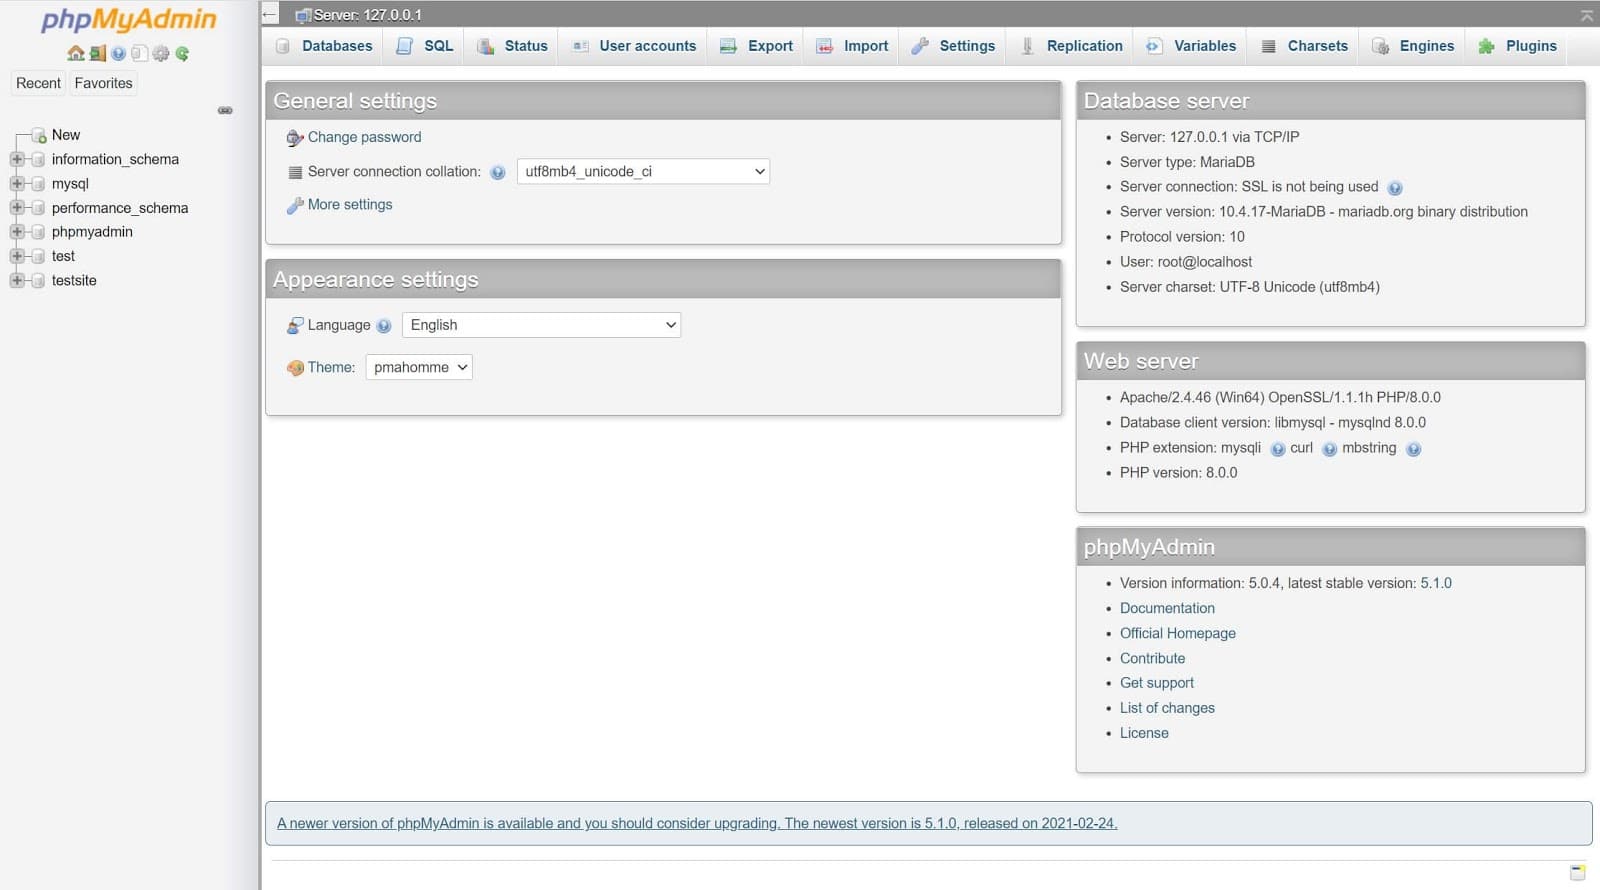
If you’re asked to log in, use the username “root” and enter your root password. If you haven’t set one yet, you can leave it blank.
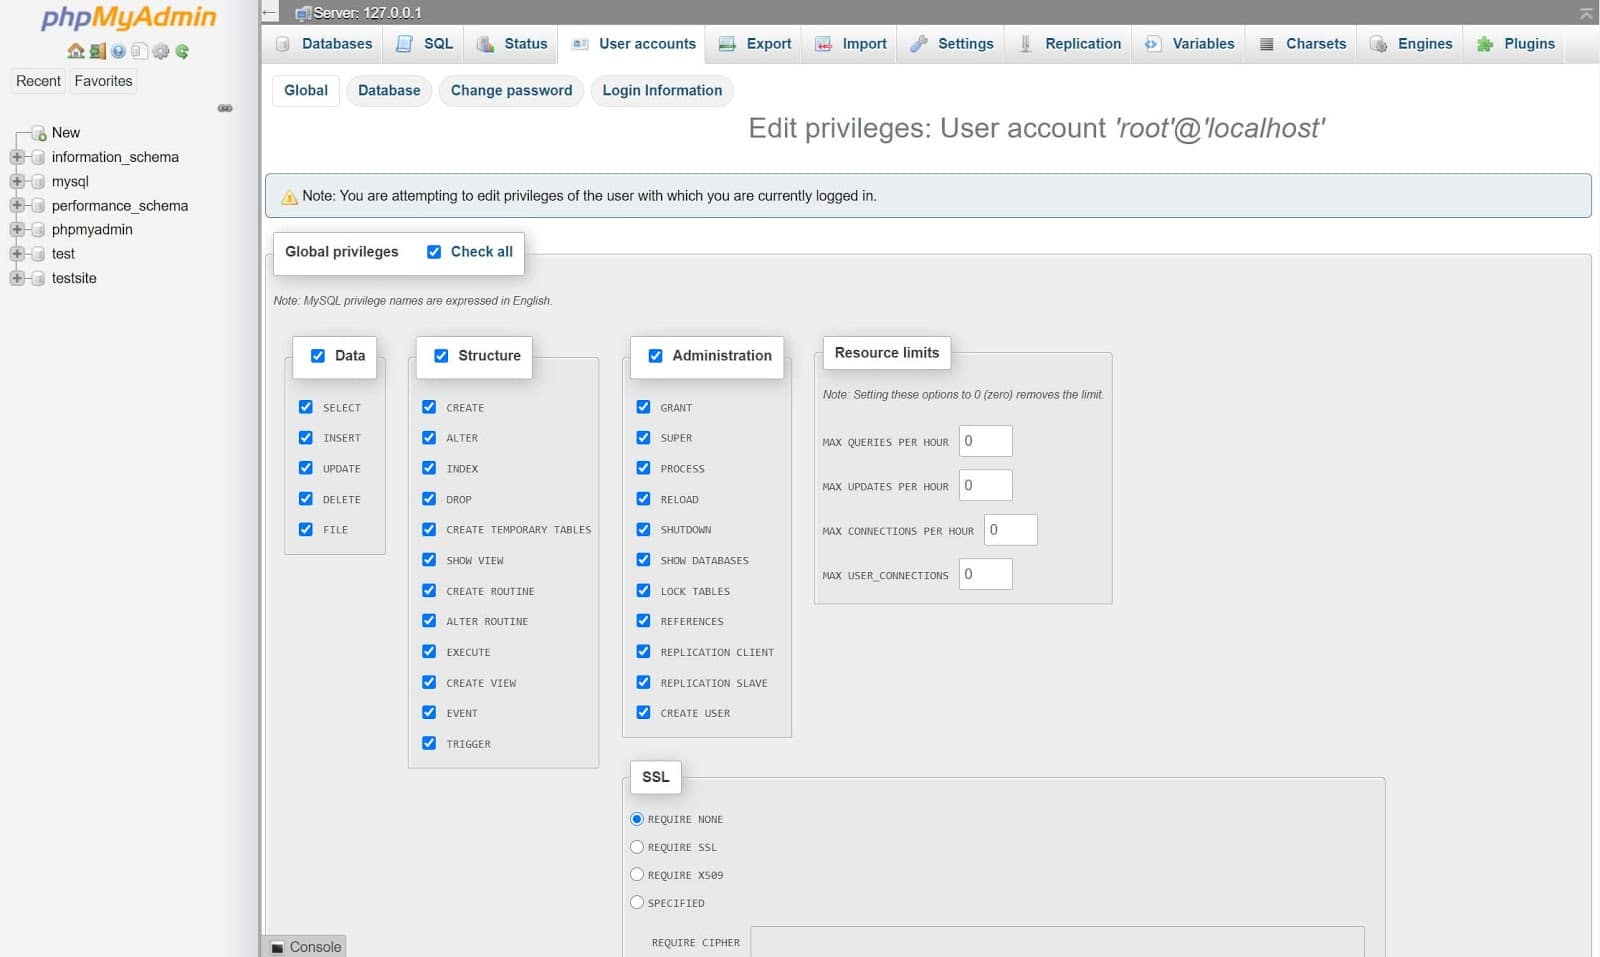
Next, navigate to the User accounts section in the main menu bar, and locate the root user for localhost in the list:
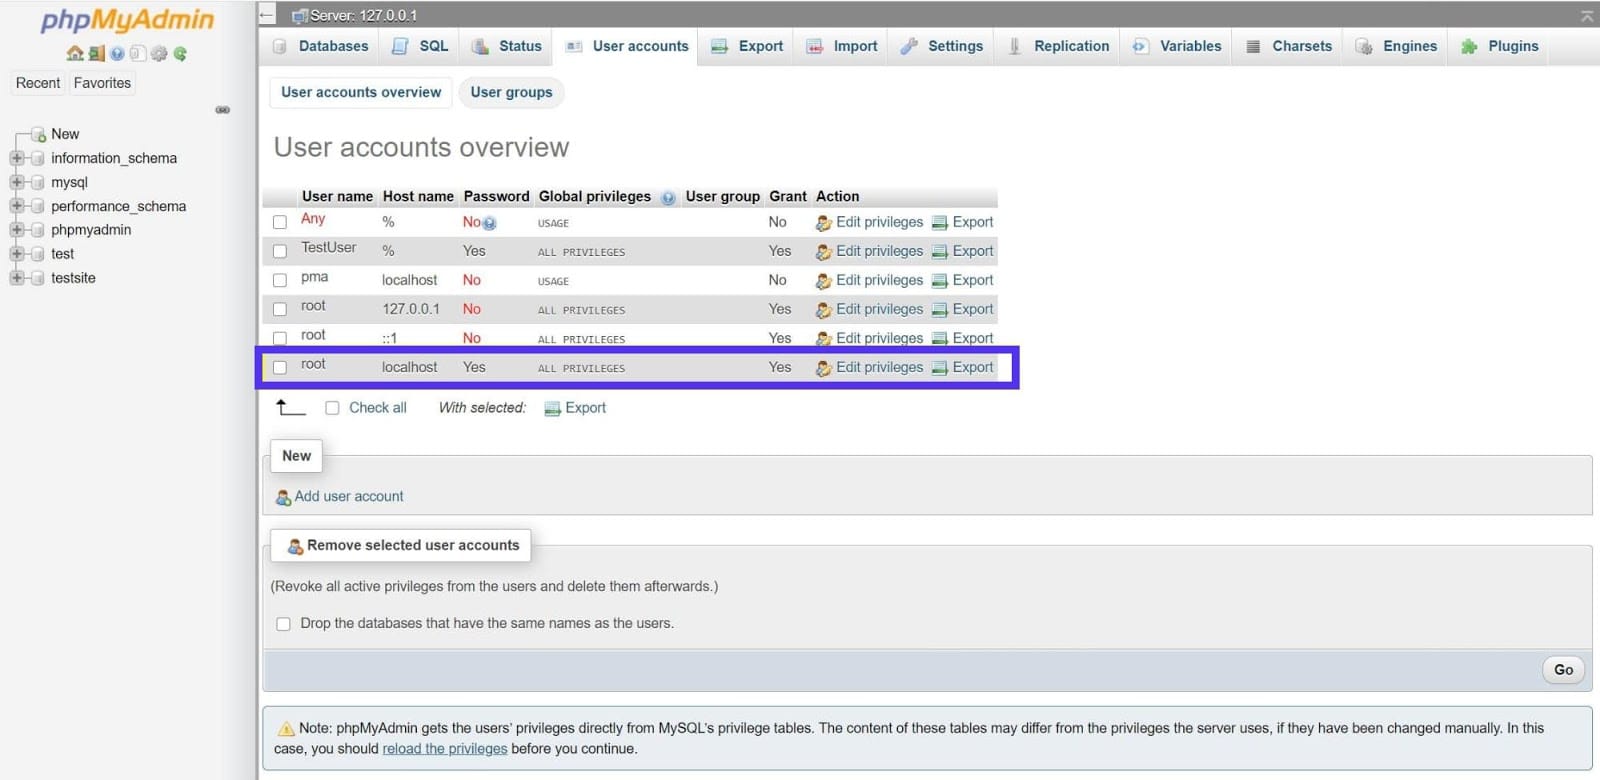
Next, you can click on Edit privileges beside the root user, then select Change password at the top of the page.
On the next screen, simply enter the password you want to use:
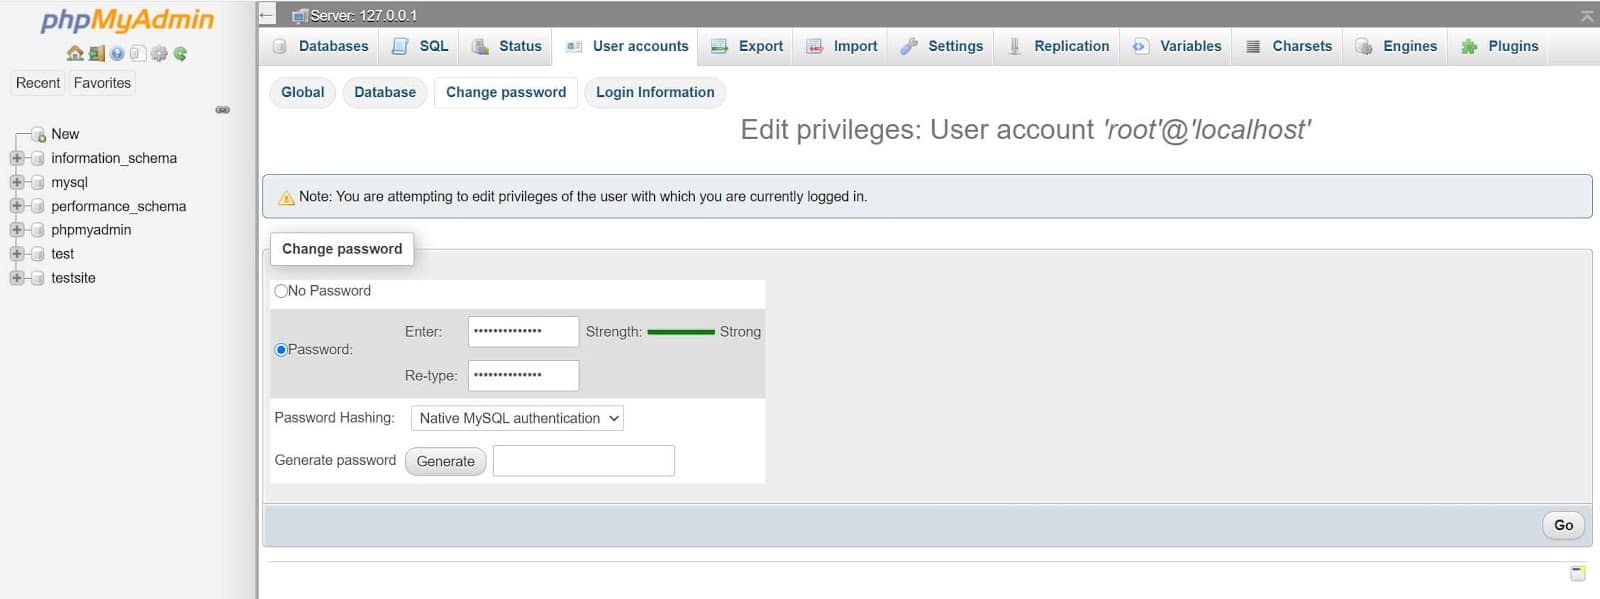
When you’re finished, you can click on the Go button in the bottom-right to save the change. That’s it!
3. Change Your XAMPP MySQL Password by Editing the config.inc.php File
If you find yourself in a situation where you know your password is correct, but it isn’t working for whatever reason, this is the method for you. It involves opening up a text file and editing the password directly in it.
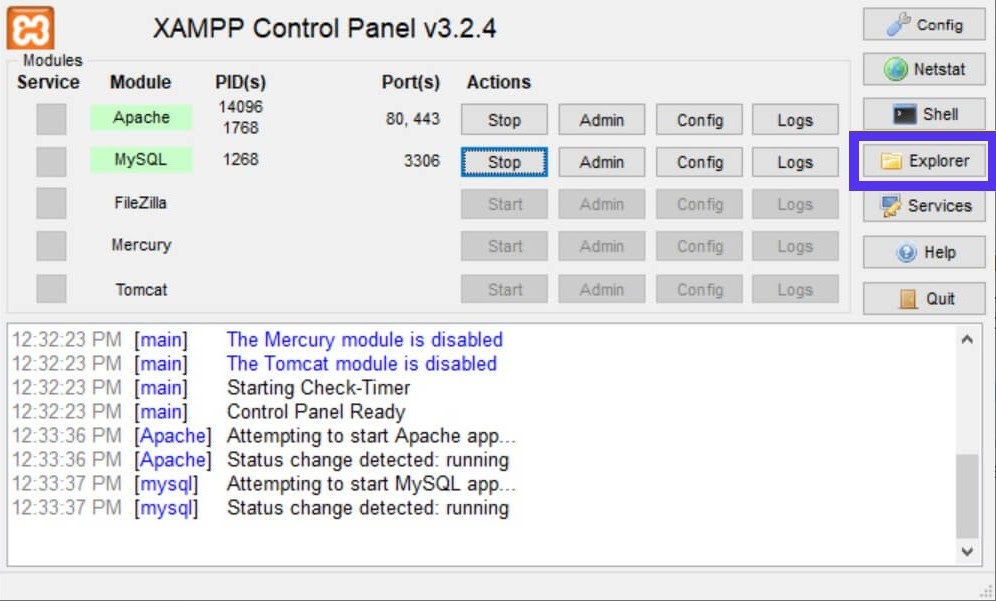
First, open the XAMPP Control Panel and click on the Explorer button on the right-hand side of the window:
This will launch a file browser in the XAMPP folder. Next, you can open the phpMyAdmin folder and locate the config.inc.php file:
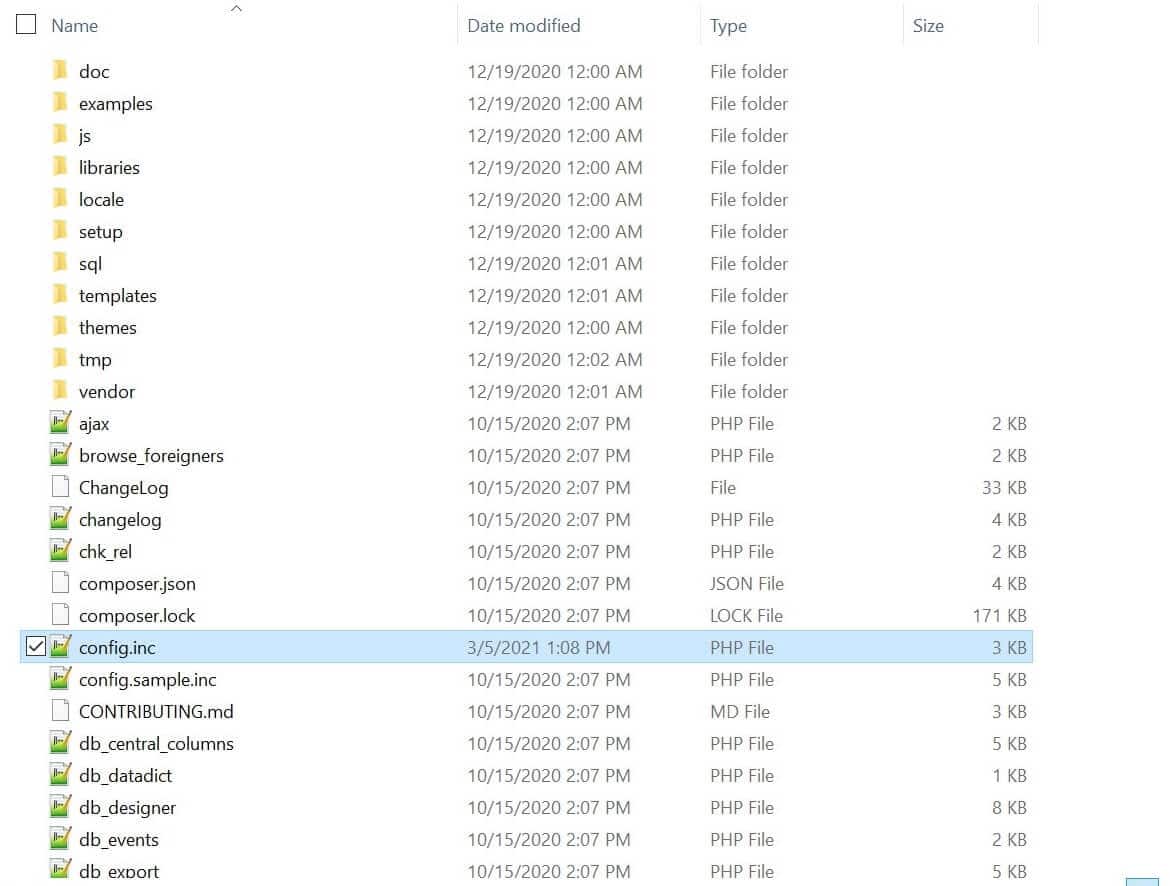
The config.inc.php file in Windows.
You can open this file in your favorite text editor, or simply double-click on it to open it in the default program.
The line you’re looking for is $cfg[‘Servers’][$i][‘password’] = ‘YourPassword’; . Here’s what it looks like:

Once you locate it, you can enter your desired password between the single quotes, and then save the file. That’s all there is to it!
Summary
Whether you’ve forgotten your XAMPP MySQL password or you want to take your security up a notch, there are multiple methods you can use to change it. Updating your password helps keep your data secure, and provides an additional layer of defense against malicious activity.
In this article, we covered how to change your MySQL password on an XAMPP installation using three methods, which include using the command line, going through the phpMyAdmin GUI, and editing a file directly. You can choose whichever one suits your workflow best.
If you take security seriously and want to ensure that all of your WordPress sites are protected, consider hosting with Kinsta. Our plans offer the security, speed, and support your site needs to operate at its best.
Get all your applications, databases, and WordPress sites online and under one roof. Our feature-packed, high-performance cloud platform includes:
- Easy setup and management in the MyKinsta dashboard
- 24/7 expert support
- The best Google Cloud Platform hardware and network, powered by Kubernetes for maximum scalability
- An enterprise-level Cloudflare integration for speed and security
- Global audience reach with up to 35 data centers and 260 PoPs worldwide
Get started with a free trial of our Application Hosting or Database Hosting. Explore our plans or talk to sales to find your best fit.
Hand-picked related articles

How to Troubleshoot Error 403 in XAMPP
Have you encountered the «Error 403» message in XAMPP? Check out these three different ways to help you fix it.
Reading time 6 min read Publish date March 18, 2021 Topic HTTP Status Codes Topic Website Errors Topic XAMPP

DevKinsta Documentation
DevKinsta is a local development suite for WordPress sites, allowing you to build, develop, and test sites. Use your favourite text editor to get s…

What Is Localhost? And How Does It Apply to WordPress?
Wondering what localhost means? Localhost generally refers to the actual computer that you’re working on. Read this post for more information!
Subscribe to our Newsletter
Keep up with the latest web development trends, frameworks, and languages.
How to Add a Password to the XAMPP root User
By default, databases in XAMPP are created with the user root having a blank password. This poses a security risk if the computer or database are publically accessible. However, for local development and testing, this should not be a problem.
This tutorial assumes that you have XAMPP 1.7.3 installed.
The procedure should be the same for other versions of XAMPP.
A XAMPP installation procedure for Windows XP can be found here.
WARNING: you will need to update your phpmyadmin configuration file to login using the new password, otherwise you will no longer be able to use phpmyadmin.
Even if you assign a password to root, someone can still gain access to it by inspecting the phpmyadmin configuration file (where the password is plainly visible).
Click on images for full sized versions.
Assigning a password to ‘root ‘
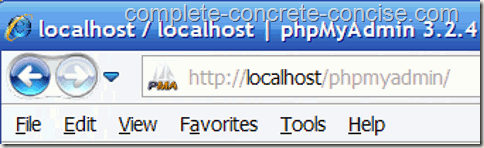
(1) Enter http://localhost/phpmyadmin into your browser’s URL field. This will bring you to the phpmyadmin main page.
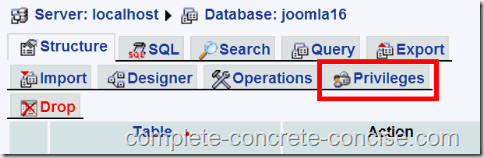
(2) Click on the Privileges tab:
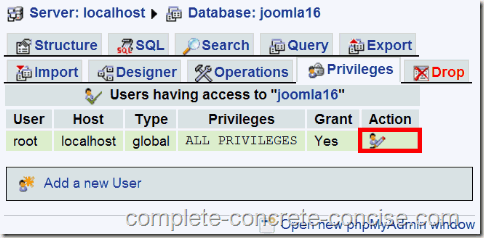
(3) Click on the icon in the Action column:
(4) Scroll down to the password section:
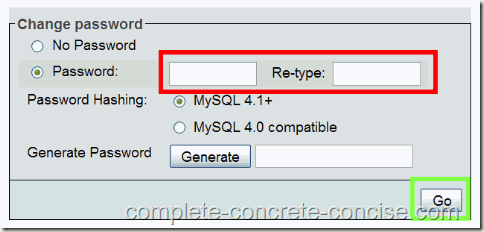
Enter a password and retype it to confirm it. Click on Go to accept it.
A password should be composed of basic ASCII characters (‘a’..’z’, ‘A’..’Z’, and “0’..’9’). Numerous forums report errors trying to use other ASCII characters.
There is no mention in the MySql documentation of maximum password length. The Generate Password function generates passwords of 16 characters in length, so it is reasonable to assume this is the maximum.
Password Hashing:
MySql 4.1+ will generate a 41 byte password hash (MySql does not store the actual password, it stores an encrypted 41 byte hash of the password. When it verifies your password, it encrypts it and checks the encryption against the stored hash, if they match the password is accepted. This is more secure because the hash is not reversible, i.e. you cannot discover the password by reversing the encryption process). Unless you require backwards compatibility with older database engines, leave MySql 4.1+ selected.
MySql 4.0 compatible will generate a 16 byte password hash (MySql does not store the actual password, it stores an encrypted 16 byte hash of the password. When it verifies your password, it encrypts it and checks the encryption against the stored hash, if they match the password is accepted. This is more secure because the hash is not reversible, i.e. you cannot discover the password by reversing the encryption process).
Generate Password:
Alternately, you may allow MySql to generate a password for you by clicking on the Generate button. It generates a 16 character password. (Just make sure you write it down somewhere.) You still have to click on Go to accept it.
Don’t forget to update any applications using this database to use the new password!
Updating the phpmyadmin Configuration File
(1) Locate the file config.inc.php. This will be found in your XAMPP 1.7.3 directory under the folder phpmyadmin (in my case, this is D:\xampp\phpmyadmin – since I installed XAMPP to my D-drive. In most installs, it will be located in the C-drive).
(2) Open the file config.inc.php with a plain text editor (such as notepad – I used notepad++).
(3) Find the following two lines:
$cfg[‘Servers’][$i][‘password’] = »;
$cfg[‘Servers’][$i][‘AllowNoPassword’] = true;
On the line with first line (the one with in it, enter your password between the two single quotes on the right side.
On the next line (the one with in it, change the true to false.
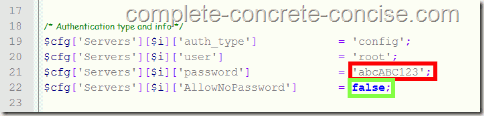
(4) Save the file.
This is not recommended!
Do not republish this article, in whole or in part. You may publish a short excerpt and provide a link back to the original article.
4 Comments
Is it not true then that when you ‘AllowNoPassword’= false you should also change— $cfg[‘Servers’][$i][‘controlpass’]=”; to
$cfg[‘Servers’][$i][‘controlpass’]=’pmapass’; as well?