- Setting up Python workspace in Visual Studio Code (vscode)
- 1. Installing language-specific compiler/interpreter
- 2. Installing a package manager
- 3. Setting up Virtual Environment
- 4. Setting up the code editor
- Bonus 🔥
- Русские Блоги
- VS Code для компиляции (сборки) и запуска (отладки) Python
- введение
- Конкретные шаги
- Цитаты и благодарности
- Интеллектуальная рекомендация
- Просмотр номера порта
- Веб-путешествие — знакомство с HTML5 первым (1)
- Установка RocketMQ
- java.net.BindException: Address already in use: bind
- Установить svn под linux
- Вам также может понравиться
- iOS12.1 использует UINavigationController + UITabBarController (UITabBar matte), после установки hidesBottomBarWhenPasted, .
- переменные среды Java
- Springboot интегрирует шаблон MongoDB
- CF 1165D почти все делители воды
- Rand (), Srand () Случайный номер сборки
Setting up Python workspace in Visual Studio Code (vscode)
1. Installing language-specific compiler/interpreter
For python, you will have to install a python Operating system specific interpreter to be able to execute your code. Just visit this link and install the appropriate version of python in your machine. Also, make sure you have correctly installed it on your system by the following command:
$ python --version Python 3.7.2 2. Installing a package manager
pip is a very popular python package installer. It helps you to manage your python packages. You can visit this link to install pip . Again, just verify if you already have it installed on your system
3. Setting up Virtual Environment
Python applications will often use packages and modules that don’t come as part of the standard library (i.e. by the above step). Applications will sometimes need a specific version of a library. It means that there might be multiple applications with different versions of python and/or modules required to run the application. Having one global version being used by all application will not suffice the needs.
The solution for this problem is to create a virtual environment, a self-contained directory tree that contains a Python installation for a particular version of Python, plus a number of additional packages.
There are many python packages available for you to create virtual environment python such as virtualenv, pyenv, etc. I will be using virtualenv for this post.
# installing virtual environment $ pip install virtualenv $ virtualenv --version virtualenv 20.0.8 Until now, we have been installing everything globally. From now on we will be creating a virtual environment that will restrict the installation to that specific environment (folder).
# creating a project folder $ mkdir python-demo # creating a virtual environment for this project $ virtualenv python-demo # this will create a virtual environment folder in the current folder Once we have created a virtual environment, we need to make sure we install all other python packages for this project inside this project. This is done via activating virtual environment with the following command:
# for ubuntu $ source /bin/activate $ source python-demo/bin/activate # for windows $ \Scripts\activate $ python-demo\Scripts\activate # After this, your command prompt/terminal will change the path with the virtual environment name (python-demo) $ # to deactivate the virtual environment, just type the command deactivate (python-demo) $ deactivate $ 4. Setting up the code editor
Now, let’s move to set up a python environment in the vscode code editor. There are possibly 2 tasks a code editor should perform whenever you write code in it — Linting and Formatting the code. Vscode supports multiple linters and formatters to help you out in your workspace.
Before we create a workspace setting for our python environment, let’s install a linter and a formatter for python. I will be using autopep8 and pylint for the same. You can choose any other python package of your choice, just follow this link
# Make sure you have activated your virtual environment (python-demo) $ pip install autopep8 pylint I have created a settings.json for the python environment in vscode.
Follow this gif to update your vscode editor settings.json
Do not forget to replace your virtual environment path with
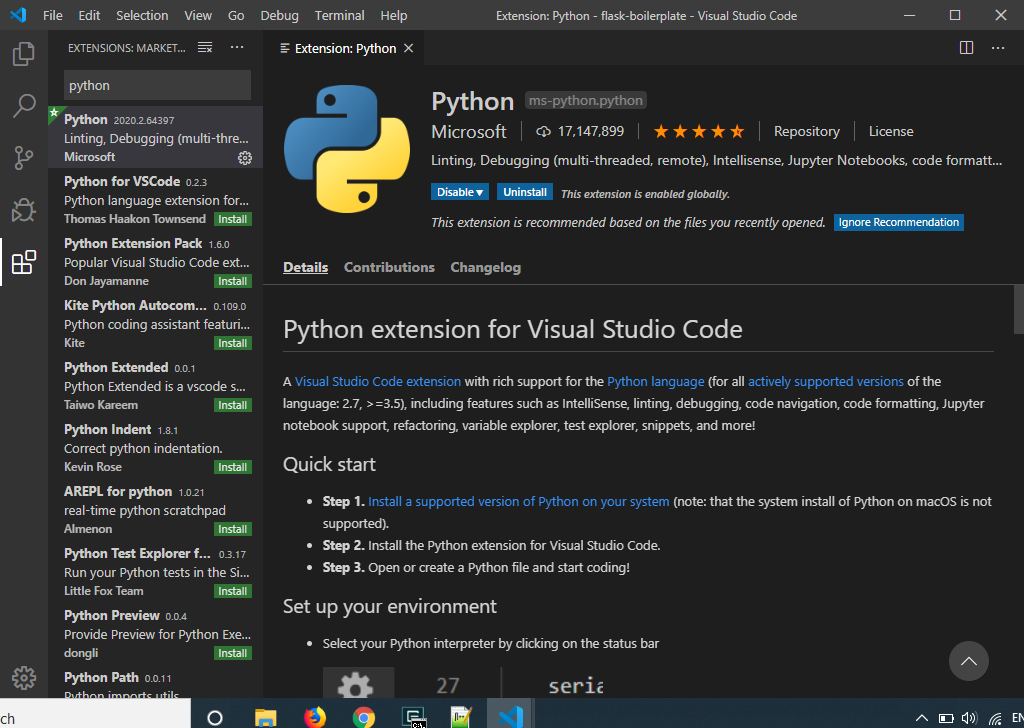
Lastly, install this vscode python extension to enable python support in vscode.
Bonus 🔥
You can also add debugger configuration in your vscode workspace by following this link.
If you find this helpful or have any suggestions, feel free to comment. Also, do not forget to hit ❤️ or 🦄 if you like my post.
See ya! until my next post 😋
Русские Блоги
VS Code для компиляции (сборки) и запуска (отладки) Python
введение
Конкретные шаги
Установите расширения Python и Python
Затем используйте команду: Python:Select Interpreter Активируйте загруженную версию Python.
Затем щелкните правой кнопкой мыши пустое место в написанной программе и выберите «Запустить файл Python в терминале.


Цитаты и благодарности
Интеллектуальная рекомендация

Просмотр номера порта
windows+R Затем введите CMD Затем введите netstat -a Или введите Netstat -ano Нажмите Диспетчер задач Нажмите Подробную информацию, чтобы просмотреть номер PID Согласно номеру порта, PID соответствует.
Веб-путешествие — знакомство с HTML5 первым (1)
Чтобы начать фронтенд-путешествие, мы должны сначала понять некоторые базовые знания о резерве. В этом разделе будет продемонстрирована простейшая композиция страницы HTML5 и представлены исторические.

Установка RocketMQ
1. Подготовка окружающей среды 64 -битный OS Linux JDK выше 1,8 Установите Maven Команда установки заключается в следующем: wget https://mirrors.tuna.tsinghua.edu.cn/apache/maven/maven-3/3.6.3/binarie.
java.net.BindException: Address already in use: bind
Исключение: Причина: порт занят. В моем проекте это происходит потому, что одна и та же программа сокетов запускается дважды. Это исключение отличается от того, что tomcat запускал неско.
Установить svn под linux
Выполните следующую команду, чтобы установить SVN. Выполните следующую команду, чтобы просмотреть версию SVN. Выполните следующие действия, чтобы создать репозиторий: Выполните следующую команду, чтоб.
Вам также может понравиться
iOS12.1 использует UINavigationController + UITabBarController (UITabBar matte), после установки hidesBottomBarWhenPasted, .
Если вы используете систему OS12.1 UINavigationController + UITabBarController (UITabBar matte), вы столкнетесь с проблемой беспорядка макета панели вкладок в popViewControllerAnimated: Код, вызывающи.

переменные среды Java
jvm/jdk/jre 》 Jvm (виртуальная машина, компилировать код в класс) 》 Jdk (укажите пакет классов, который должен вызывать Java) 》 Jre (среда, необходимая для выполнения) Переменные среды: 》 Путь: путь, .

Springboot интегрирует шаблон MongoDB
Предисловие Основным проектом в прошлом году была разработка и применение springboot, и я собираюсь немного использовать данные springboot. Дело не в том, чтобы записывать использование api (возможно.
CF 1165D почти все делители воды
http://codeforces.com/contest/1165/problem/D Главная мысль: Введите количество раз, для каждого, введите n, затем следуйте N номер N, запрашивайте их минимальные общепринятые несколько, а затем опреде.
Rand (), Srand () Случайный номер сборки
Система предоставляет две функции в функции библиотеки для генерации случайных чисел: SRAND () и RAND (); Файл заголовка Функция определения: int rand (void), Функция функции: генерир.