- .NET Hot Reload in Visual Studio Code
- Create launch profile with hot reload
- Launch application with hot reload
- LiveReload for VS Code
- Usage
- Browser extension
- Add code to page
- Note
- VS Code Live Server – How to Auto-Refresh Your Browser with this Simple Extension
- Why should I use the live-server extension?
- Create a New HTML Page
- Configuration Issues
- Conclusion
- Live Reload for VS Code
- Usage
- Browser extension
- Add code to the page
- Settings
- Example
- Note
.NET Hot Reload in Visual Studio Code
Hot Reload is a very useful feature that is introduced in Visual Studio to enable developers to save the time to restart applications after live code editing. It can improve your productivity when developing solutions in Visual Studio. This page shows you how to do that in Visual Studio Code.
Create launch profile with hot reload
In .NET launchable projects like console, website and others, create launch profile in folder Properties\launchSettings.json . You can add profiles in «profiles» property in the document:
"profiles":"hotreloadprofile":"commandName": "Project","launchBrowser": true,"environmentVariables":"ASPNETCORE_ENVIRONMENT": "Development","Key": "Value">,"applicationUrl": "https://localhost:5001;http://localhost:5000","hotReloadProfile": "aspnetcore"> >Remembers to add hotReloadProfile property accordingly.
Depends on the project type, the possible values are:
Launch application with hot reload
Now you can use the following command line to launch the application with hot reload:
dotnet watch run --launch-profile hotreloadprofileSubscribe to Kontext Newsletter to get updates about data analytics, programming and cloud related articles. You can unsubscribe at anytime.

LiveReload for VS CodeYou can install the latest version of the extension via the Visual Studio Marketplace here.
Alternatively, open Visual Studio code, press Ctrl+P or Cmd+P and type:
Usage
You can use this by either adding a snippet of code to the bottom of your HTML pages or install the Browser Extensions.
Browser extension
Install the LiveReload browser plugins by visiting LiveReload Extensions.
Add code to page
You can use VS Code to insert script tag via Ctrl+Shift+P add type livereload.js and the script tag is added to you html document.
Or manually add the following script of your html document.
' );Note: If you are using a different port other than 35729 you will need to change the above script.
Settings
Open VS Code user setting by pressing CTRL+, and set the following as you need:
Name Type Details debug boolean To show debug messages in console. port integer To specify the listening port. useHTTPS object An optional object of options to be passed to https.createServer (if not provided, http.createServer is used instead) applyCSSLive boolean Tells LiveReload to reload CSS files in the background instead of refreshing the page. The default for this is true. applyImageLive boolean Tells LiveReload to reload image files in the background instead of refreshing the page. The default for this is true. delayForUpdate integer To add a delay (in miliseconds) between when livereload detects a change to the filesystem and when it notifies the browser. exts string To include additional extentions that you want to observe e.g. jade,scss . exclusions string To specify additional exclusion patterns e.g. html, images . Example
, "livereload.applyCSSLive": true, "livereload.applyImageLive": true, "livereload.delayForUpdate": 0, "livereload.exts": "html,htm,css,js,png,gif,jpg,php,php5,py,rb,erb,coffee", "livereload.exclusions": ".DS_Store,.gitignore,.git,.svn,.hg" >Note
VS Code Live Server – How to Auto-Refresh Your Browser with this Simple Extension
Cem Eygi
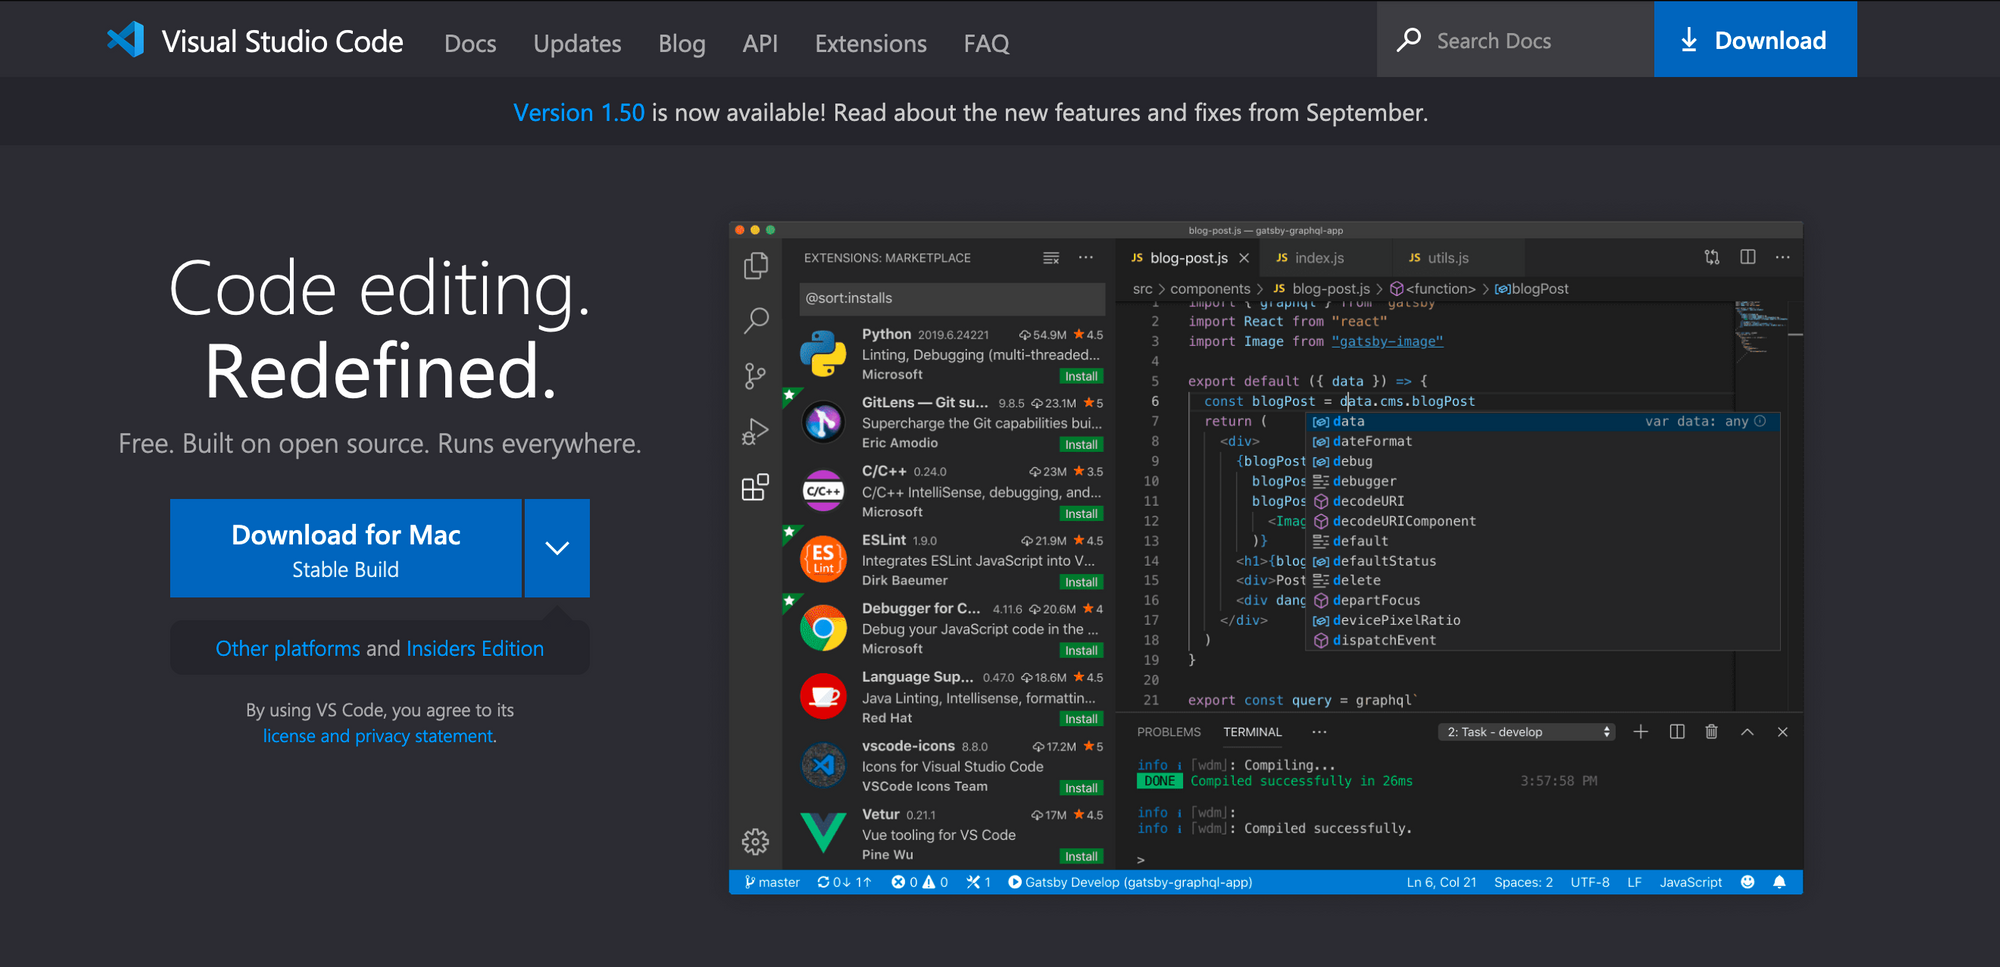
Visual Studio Code is one of the most popular code editors out there. It’s free, it has a clean interface, and it has countless extensions which make programming easier and more fun.
I’m a frontend web developer and I use VS Code while I work and on my YouTube channel. I’ve had many people ask me how the browser gets refreshed automatically while I’m coding, without clicking the reload button.
Well, this is possible if you configure a useful extension in VS Code called live-server. In this post, I will explain the details of how it works and how to set up and configure a live server in your VS Code editor.
Why should I use the live-server extension?
Normally, when you make a change in your code or write something new, you need to refresh the page manually to see the changes.
In other words, if you make 100 changes in your code each day, you need to refresh the browser 100 times.
The live-server extension, however, automates this for you. After installing it, an automated localhost will be able to run in your browser, which you can start with a single button.
Once you make changes in your code or write something new, after saving it, the browser will auto-refresh itself. Then you will be able to see the changes quickly and automatically.
If you prefer, you can also watch the tutorial video below:
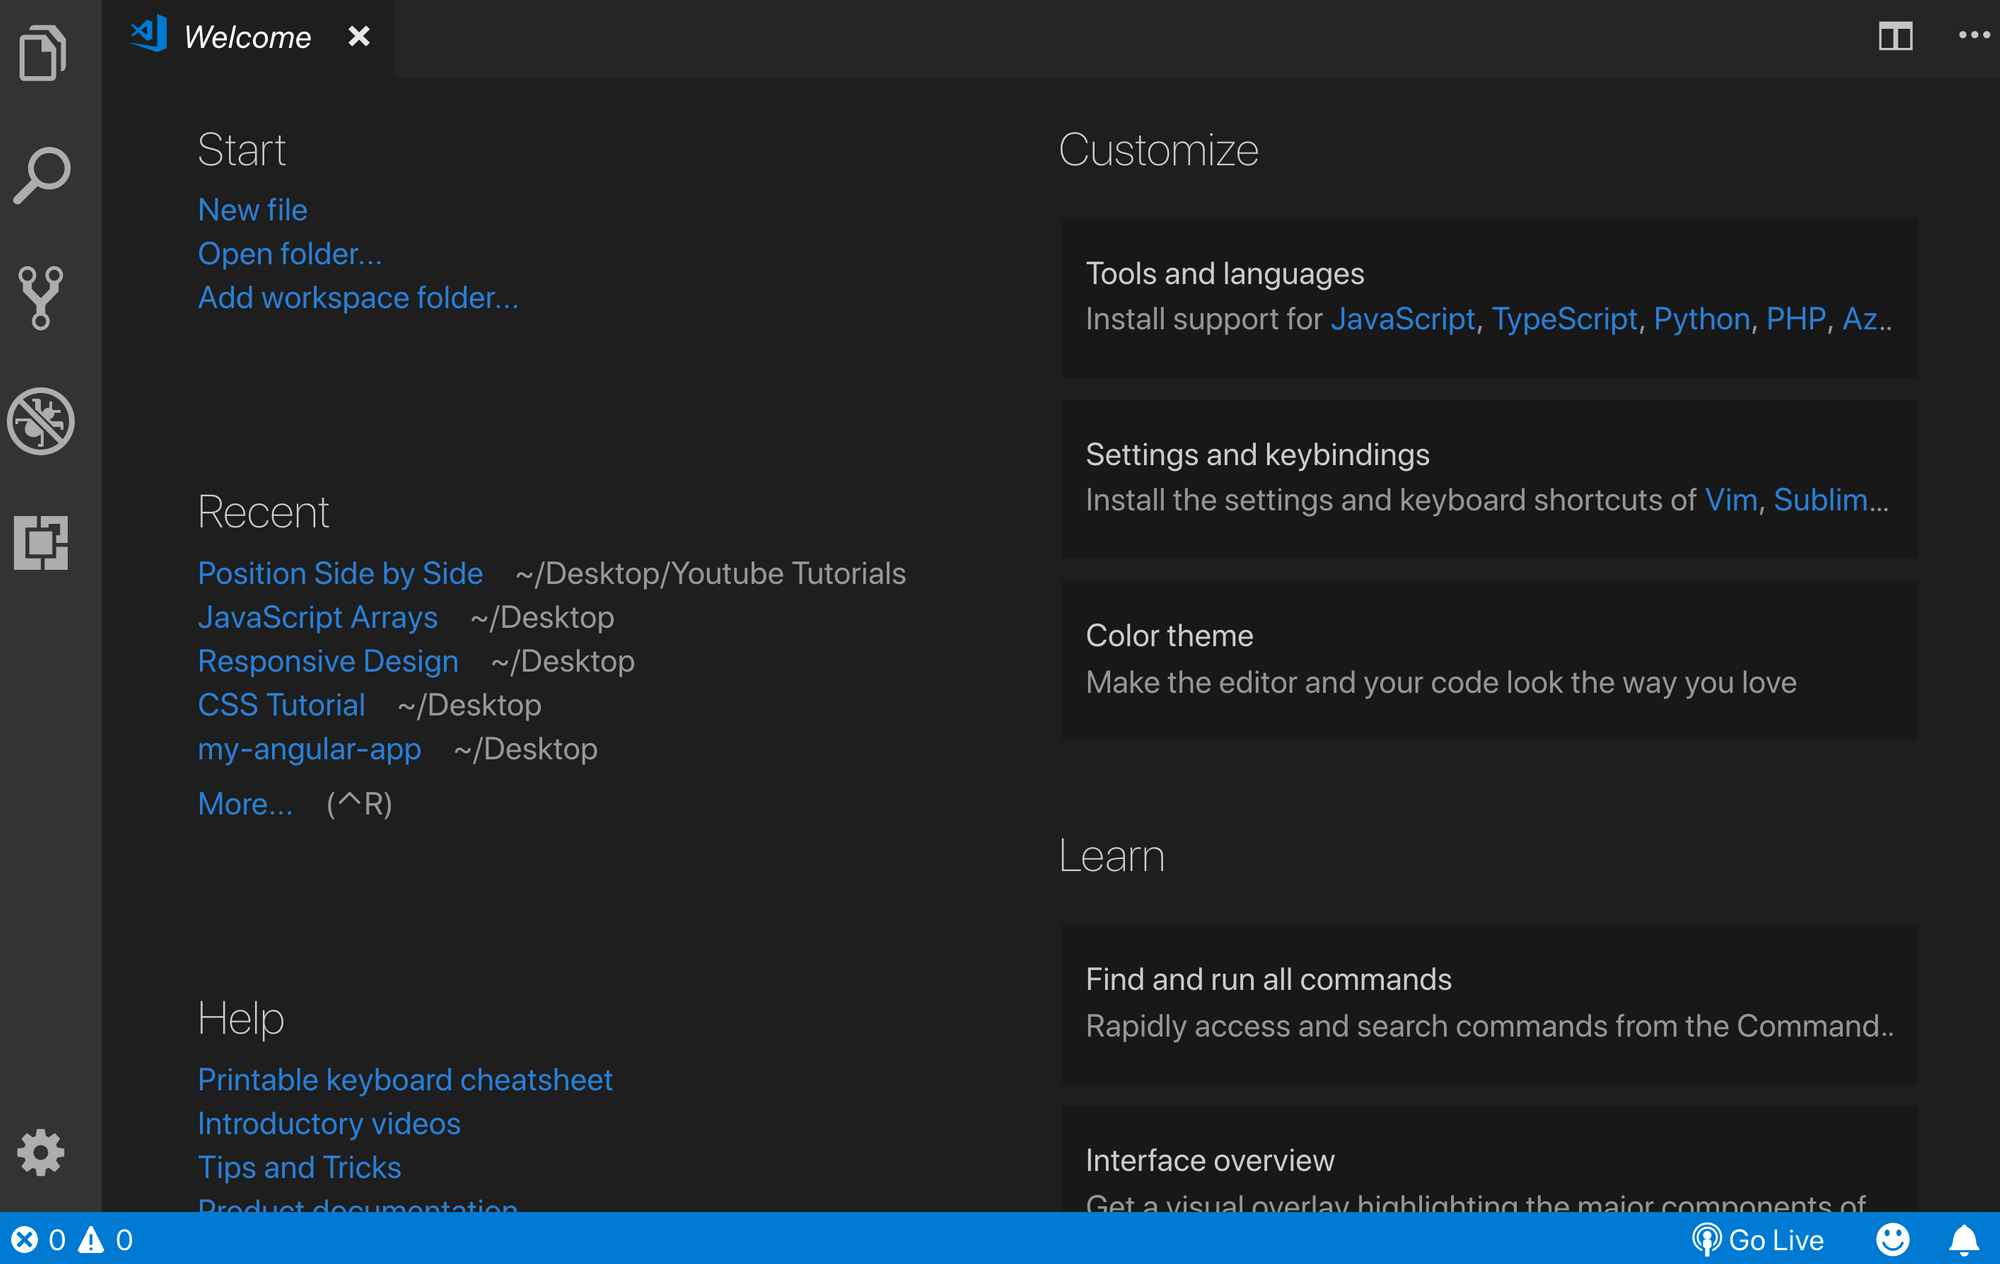
After you’ve downloaded and installed VS Code, you are going to see the welcome screen:
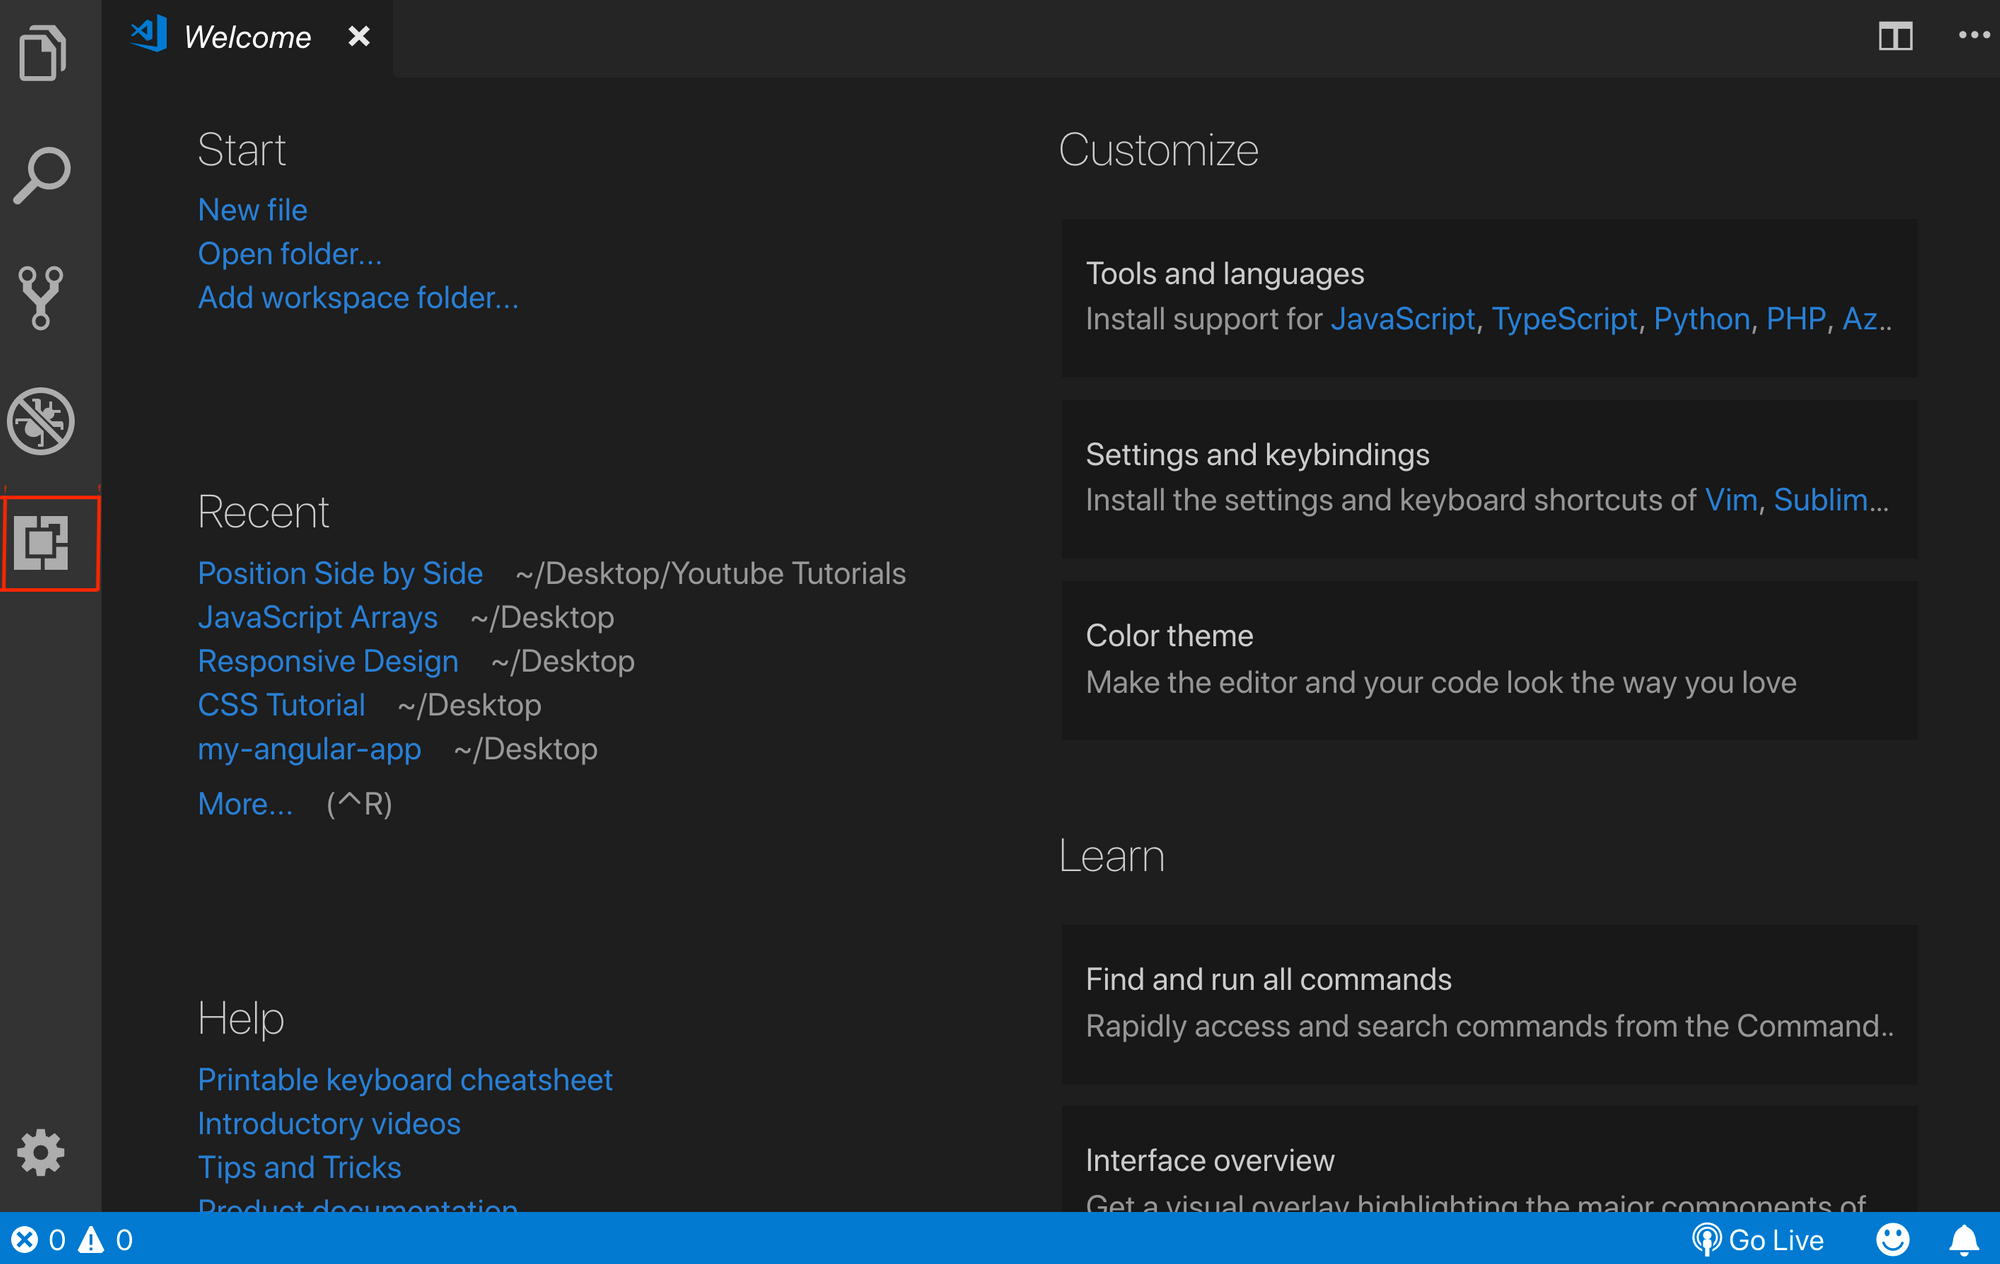
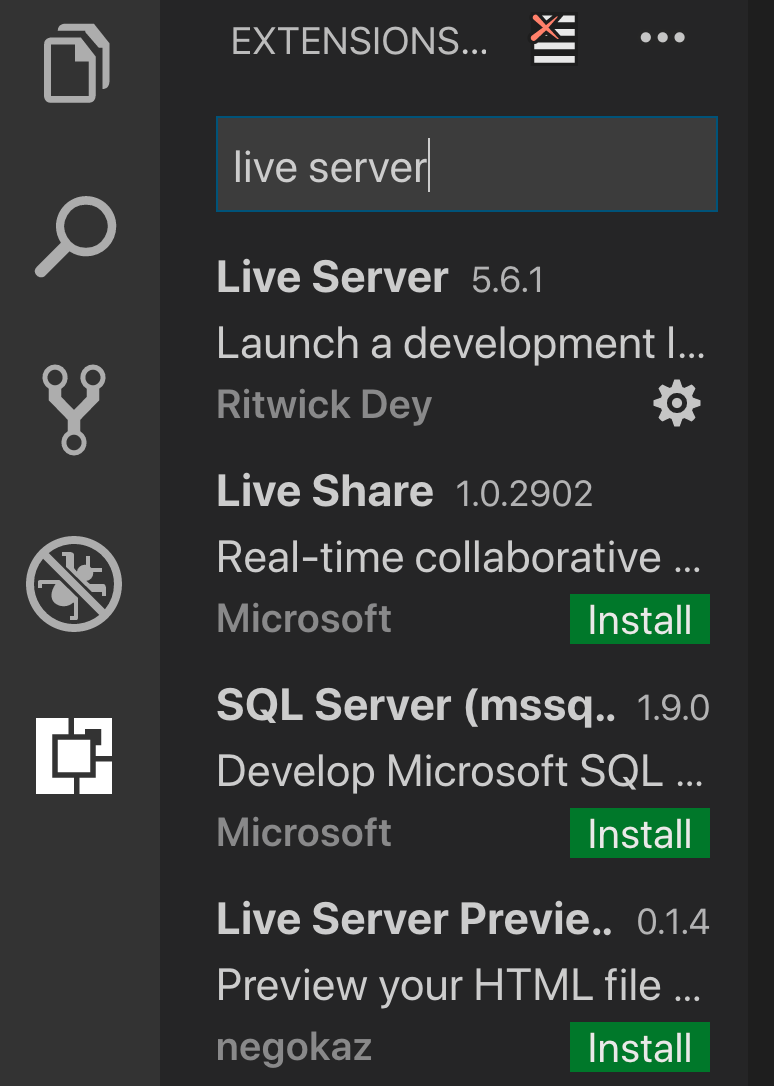
On the left side, you should see a couple of icons. One of them (under the no bugs icon) is the extensions button:
Once you click on it a search bar will appear. Just type in “live server”.
You will see many options, so you can choose whichever one works for your system. I use Live Server by Ritwick Dey, so let’s continue with that one in this example:
Click on the install button and it will install the extension.
Create a New HTML Page
To start the live server, make sure you at least have an HTML page created. To do that, click on the file button at the very top, then choose the new file button and type index.html:
Configuration Issues
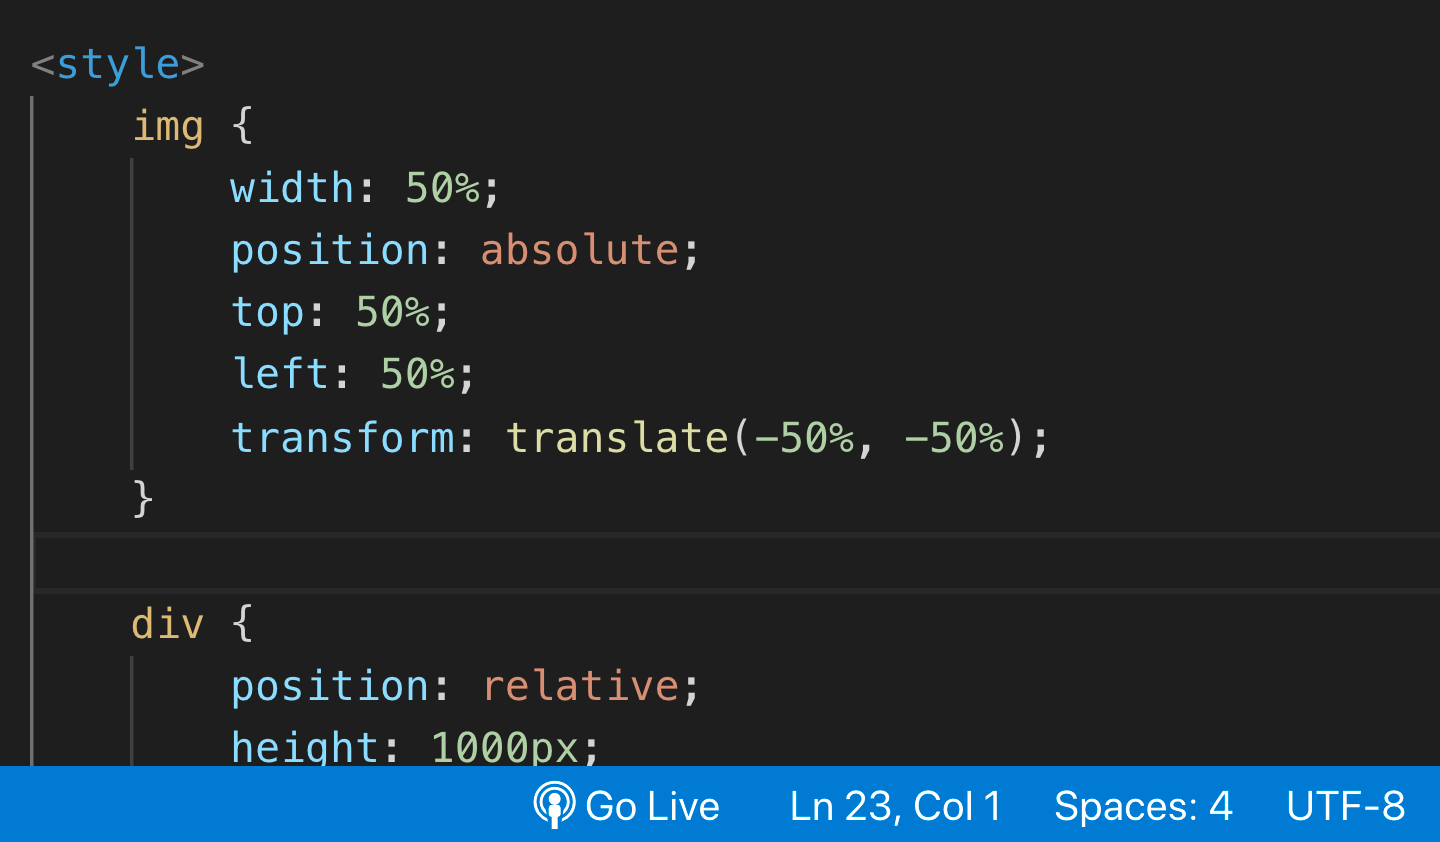
Now after you created an HTML page and installed the extension you should be able to see a “Go Live” icon right below in the blue field:
If you don’t see it just restart VS Code. Then it should be OK.
Click on the «Go Live» button and the localhost (assigned to a port number) should start on your default browser. You can start and stop your live server anytime by clicking on the same button.
If you have reached this step, congratulations! 🙂 Now you can work with the live-server. Otherwise, if you are still having issues, check out this post for more info.
Conclusion
I hope this post helps you install and configure the live server extension in VS Code. If you want to learn more about web development, feel free to visit my Youtube channel.
Live Reload for VS CodeYou can install the latest version of the extension via the Visual Studio Marketplace here.
Usage
You can use this by either adding a snippet of code to the bottom of your HTML pages or installing the Browser Extensions.
Browser extension
Install the LiveReload browser plugins by visiting LiveReload Extensions.
Add code to the page
Manually add the following script to your HTML document.
Note: If you are using a different port other than 35729 you will need to change the above script.
Settings
Open VS Code user setting by pressing CTRL+, and set the following as you need:
Name Type Details autoStart boolean Auto start the server after open VS Code. debug boolean To show debug messages in console. port integer To specify the listening port. useHTTPS object An optional object of options to be passed to https.createServer (if not provided, http.createServer is used instead) applyCSSLive boolean Tells LiveReload to reload CSS files in the background instead of refreshing the page. The default for this is true. applyImageLive boolean Tells LiveReload to reload image files in the background instead of refreshing the page. The default for this is true. delayForUpdate integer To add a delay (in miliseconds) between when livereload detects a change to the filesystem and when it notifies the browser. excludes string To specify additional exclude patterns e.g. html, images . includes array To specify additional include patterns. file , dir , glob , or array . e.g. [‘**/*’,’**/views/**/*.blade.php’] . Example
, "live-reload.applyCSSLive": true, "live-reload.applyImageLive": true, "live-reload.delayForUpdate": 0, "live-reload.exclusions": ".DS_Store,.gitignore,.git,.svn,.hg", "live-reload.includes": [ "**/*" ] >Note