Tip: Go to our CSS Align Tutorial to learn more about aligning elements.
Tip: Go to our CSS Transform Tutorial to learn more about how to scale elements.
Tip: Go to our CSS Flexbox Tutorial to learn more flexbox.
COLOR PICKER
Report Error
If you want to report an error, or if you want to make a suggestion, do not hesitate to send us an e-mail:
Thank You For Helping Us!
Your message has been sent to W3Schools.
Top Tutorials
Top References
Top Examples
Get Certified
W3Schools is optimized for learning and training. Examples might be simplified to improve reading and learning. Tutorials, references, and examples are constantly reviewed to avoid errors, but we cannot warrant full correctness of all content. While using W3Schools, you agree to have read and accepted our terms of use, cookie and privacy policy.
При изучении стилизации HTML-страниц и механизмов выравнивания элементов средствами CSS, начинающий разработчик, как правило, сначала знакомится со способами горизонтального выравнивания элементов. В их числе, например, text-align: center; и margin: 0 auto; . С выравниванием по вертикали возникает больше вопросов. В этой статье разберем пять способов выравнивания элементов в HTML и CSS по вертикали.
У каждого описанного способа есть свои преимущества и недостатки, поэтому подходить к их использованию стоит критически. В определенной ситуации один способ может подходить идеально, а другой — оказаться совершенно бесполезным.
1. У правила для горизонтального выравнивания текста text-align: center; , которое уже упоминалось выше, есть собрат, который называется vertical-align . Как и text-align , vertical-align выравнивает элементы со строчным или строчно-блочным типом бокса. Отличие в том, что свойство text-align применяется к родительскому блоку, а vertical-align необходимо применять непосредственно к выравниваемому элементу.
Свойство vertical-align удобно применять, когда необходимо, например, выровнять иконку внутри строки или два рядом стоящих строчно-блочных элемента. Важно понимать, что vertical-align выравнивает элемент относительно содержащей строки, а не относительно ближайших элементов.
Кроме того, свойство vertical-align можно использовать для того, чтобы выравнивать контент в ячейке таблицы.
2. Для тех, кто не знаком с принципами работы интерлиньяжа и свойством line-height , может стать откровением, что текст располагается посередине содержащей его строки. Этим можно пользоваться при выравнивании. Предположим, что у вас есть элементарный footer, в котором нужно расположить по центру копирайт:
Copyright - ThriveTalk 2017
Допустим, что высота футера равна 80px. Для того, чтобы текст вертикально встал ровно по центру, достаточно написать в CSS следующее:
У этого способа есть недостаток. Его удобно применять, когда вы уверены, что выравниваемый элемент не будет переполняться. В противном случае при переносе строки между текстом появятся большие вертикальные отступы, что почти наверняка станет нежелаемым поведением.
3. Для предотвращения нежелаемного поведения, описанного в примере выше, можно использовать метод выравнивания: padding . Значения padding-top и padding-bottom помогут вам не только центрировать по вертикали, но и застраховаться от переполнения. Рассмотрим пример:
Предположим, вы верстаете кнопку, при нажатии на которую происходит переход на страницу заказа товара. Высота кнопки не должна превышать 50px. Из макета вы выгрузили следующие стили:
Высота контента внутри кнопки равна высоте строки и составляет 20px. Чтобы текст кнопки встал по центру, необходимо распределить по свойствам padding-top и padding-bottom оставшееся пространство следующим образом: (50px — 20px) / 2.
В результате получаем следующее:
Если текст кнопки измениться с «Заказать» на «Заказать товар онлайн» и перестанет помещаться на одной строке, кнопка сохранит нужный вид, а текст внутри неё по-прежнему будет находиться по центру.
Выравнивание при помощи padding универсально и подходит как для фразовых элементов, так и для выравнивания элементов с блочным типом бокса (но только в некоторых случаях).
4. Еще один инструмент — Flexbox. Внутри flex-контейнера любой элемент, будь то блочный, строчный или даже псевдоэлемент, становится flex-элементом, с которым можно производить любые манипуляции. В этой статье мы не будем подробно останавливаться на flex-свойств, почитать о них можно, например, тут.
У Flexbox есть ряд преимуществ перед обыкновенным выравниванием — в первую очередь это создание крупных сеточных структур и макросеток.
5. А что, если элемент абсолютно спозиционирован? Предположим, что вы сверстали модальное окно, которое нужно спозиционировать не относительно другого элемента, а относительно окна браузера. В этом случае можно использовать position: fixed; .
Стоит отметить, что все описываемые далее действия применимы и в случаях, когда нужно выполнить абсолютное позиционирование внутри другого элемента.
Положением спозиционированных элементов управляют свойства top , right , bottom , left . Попробуем следующее:
В данном случае модальное окно расположено не верно: ровно по центру находится левый верхний угол модального окна, а не его физический центр. Для того, чтобы выполнить его абсолютное позиционирование, изменим положение модального окна с помощью отрицательного margin :
У применения свойства margin в этой ситуации существует один недостаток. При изменении свойств width и/или height модального окна вам придется вручную «подкручивать» значения отрицательного margin , чтобы добиться половины размера его ширины и высоты. Этого можно избежать, используя вместо margin свойство transform . А transform: translate(X, Y) позволяет регулировать смещение элемента относительно исходного положение. Например, так:
В отличие от свойства margin , значения которого вычисляются от ширины родительского элемента, transform: translate(X, Y) берет за основу габариты самого элемента — в данном случае, модального окна. А это то, что нам и нужно. В результате, модальное окно будет всегда находиться в центре. Независимо от своих размеров.
Centering elements vertically with CSS often gives trouble. However, there are several ways of vertical centering, and each is easy to use.
Use the CSS vertical-align property
The vertical-align property is used to vertically center inline elements.
The values of the vertical-align property align the element relative to its parent element:
Line-relative values vertically align an element relative to the entire line.
Values for table cells are relative to the table-height-algorithm, which commonly refers to the height of the row.
It is important to note that it is possible to nudge text vertically up or down in CSS using the vertical-align property. This property sets the vertical alignment of an inline or table-cell element, and can be used to adjust the vertical position of text within its container.
Note that vertical-align only applies to inline or table-cell elements, so it may not work as expected on block-level elements such as or
. In such cases, you may need to wrap the text in an inline or table-cell element to apply vertical-align .
Example of vertically aligning a text:
html> html> head> title>Title of the document title> style> div < display: table-cell; width: 250px; height: 200px; padding: 10px; border: 3px dashed #1c87c9; vertical-align: middle; > style> head> body> div>Vertically aligned text div> body> html>
CSS Vertical Align – How to Center a Div, Text, or an Image [Example Code]
Kolade Chris
Even with helpful tools like CSS Grid and Flexbox, centering elements in CSS remains notoriously challenging.
It’s been the subject of many jokes and memes, and when you successfully center something, you’ll want to brag about it.
Why is Centering CSS Elements So Hard?
CSS can be tricky to work with. For example, if you’re trying to align something horizontally OR vertically, it’s not that difficult.
You can just set text-align to center for an inline element, and margin: 0 auto would do it for a block-level element.
But issues arise on multiple fronts if you’re trying to combine both vertical and horizontal alignments.
In this tutorial, I will introduce you to three different methods to correctly center a div, text, or image in CSS.
How to Center an Element with the CSS Position Property
The CSS position property takes relative, absolute, fixed, and static (the default) as values. When set, you will be able to apply the top, right, bottom, and left properties to the element.
The combination of relative and absolute values can get a lot of things done, and so you can use it to center anything.
Take a look at the snippets below to see some examples.
The above code has made the text and image centered vertically. To take care of both vertical and horizontal centering, we need to make a little tweak in the CSS. We’ll set the top property to 50%, and we’ll add a transform on both the X and Y axes.
Note that I applied the transform property because the child (with the class of centered-element) was slightly off-center. translateY() pushes it to the center vertically and translate on both the X and Y-axis ( translate() ) pushes it to the center vertically and horizontally.
How to Center an Element with Flexbox in CSS
CSS Flexbox handles layouts in one dimension (row or column). With Flexbox, it is pretty easy to center a div, text, or image in just three lines of code.
Check the snippets below for examples.
How to center text with Flexbox
I'm a Camper, and I'm vertically centered
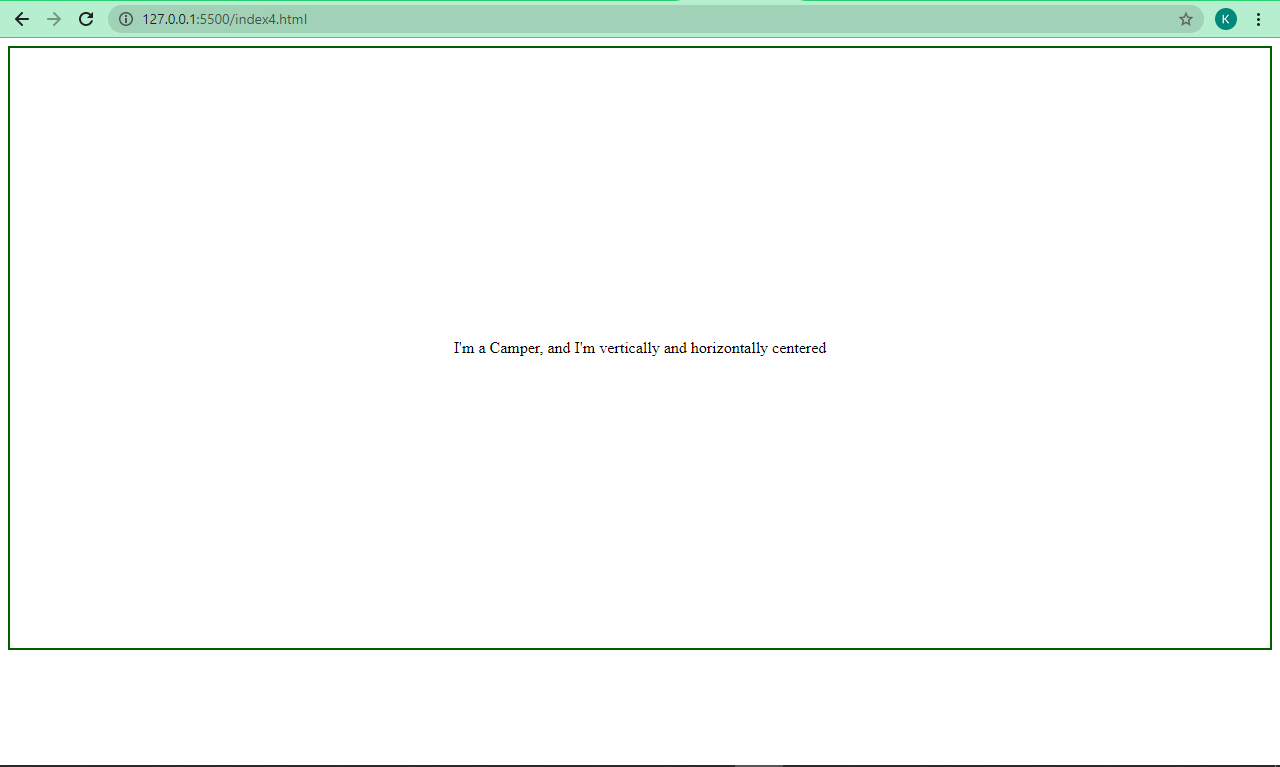
How to center an image with Flexbox
We took care of the vertical alignment in just two lines of code. To make the image and text horizontally centered, add in justify-content: center.
I'm a Camper, I'm now vertically and horizontally centered
The text now looks like this:
And the image like this:
How to Center an Element with CSS Grid
With Flexbox, it is pretty easy to center anything, right? But with CSS Grid, it is really easy to center anything, because two lines of code are enough to do it for you.
How to center text with CSS Grid
I'm a Camper, and I'm vertically centered
How to center an Image with CSS Grid
The above examples takes care of vertical centering for you. To get the text and image centered horizontally too, replace the align items with place items – a combination of both align-items and justify-content :
The text now looks like this:
And the image like this:
How to Center a Standalone Div, Text, or Image in CSS
The three methods above let you center a div, text, or image in a container. You can also center a standalone div, text, or image.
Let’s see how to do that now.
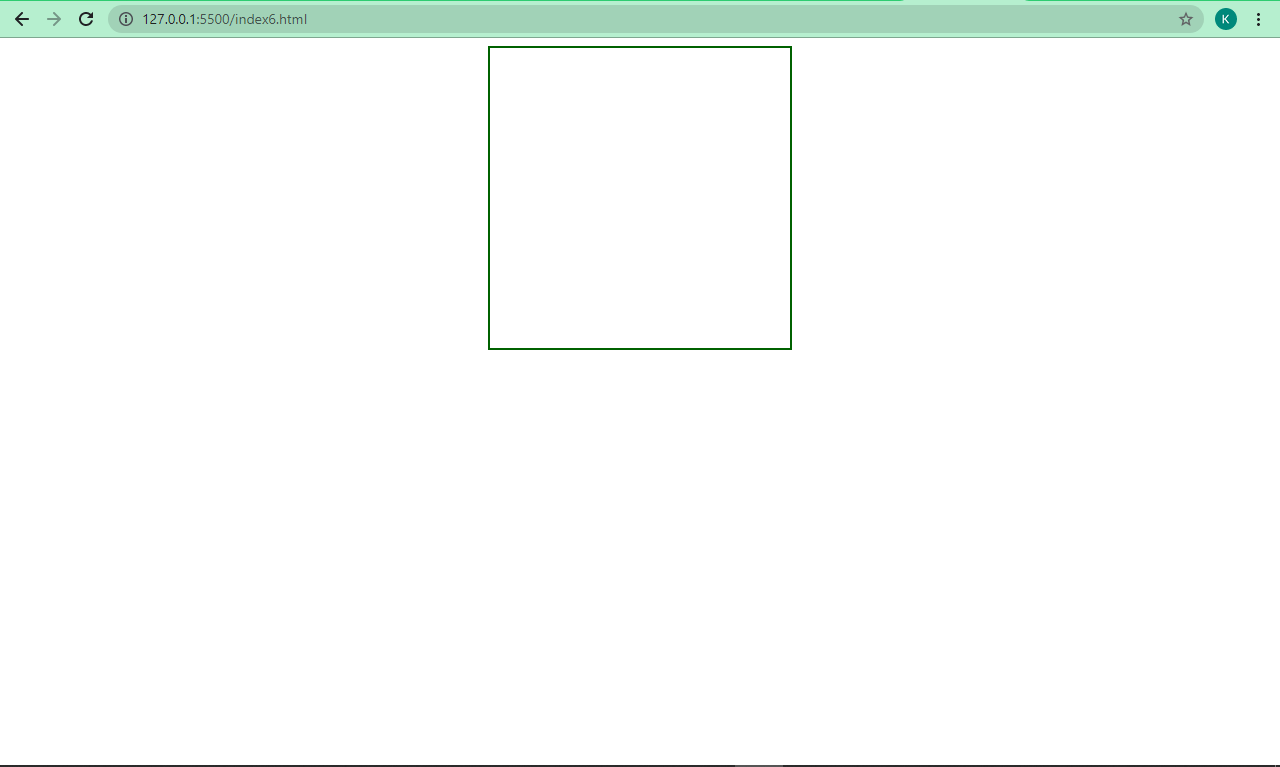
How to center a standalone div in CSS
How to center standalone text in CSS
I'm a Camper, and I'm centered
How to center a standalone image in CSS
img < display: block; margin: 0 auto; >/* Applies a display of block, a margin 0f 0 at the top and bootom, and auto on the left and right */
Conclusion
I hope this tutorial gives you enough knowledge about vertical alignment and how to center elements in CSS so it’s less of a hassle for you in your next project.


![CSS Vertical Align – How to Center a Div, Text, or an Image [Example Code]](https://www.freecodecamp.org/news/content/images/size/w2000/2021/08/center.png)