- How to Make a Simple Image Slider With HTML, CSS and jQuery
- The HTML
- The CSS
- The JavaScript
- The Demo
- 10 Simple Image Slider HTML CSS JavaScript Examples
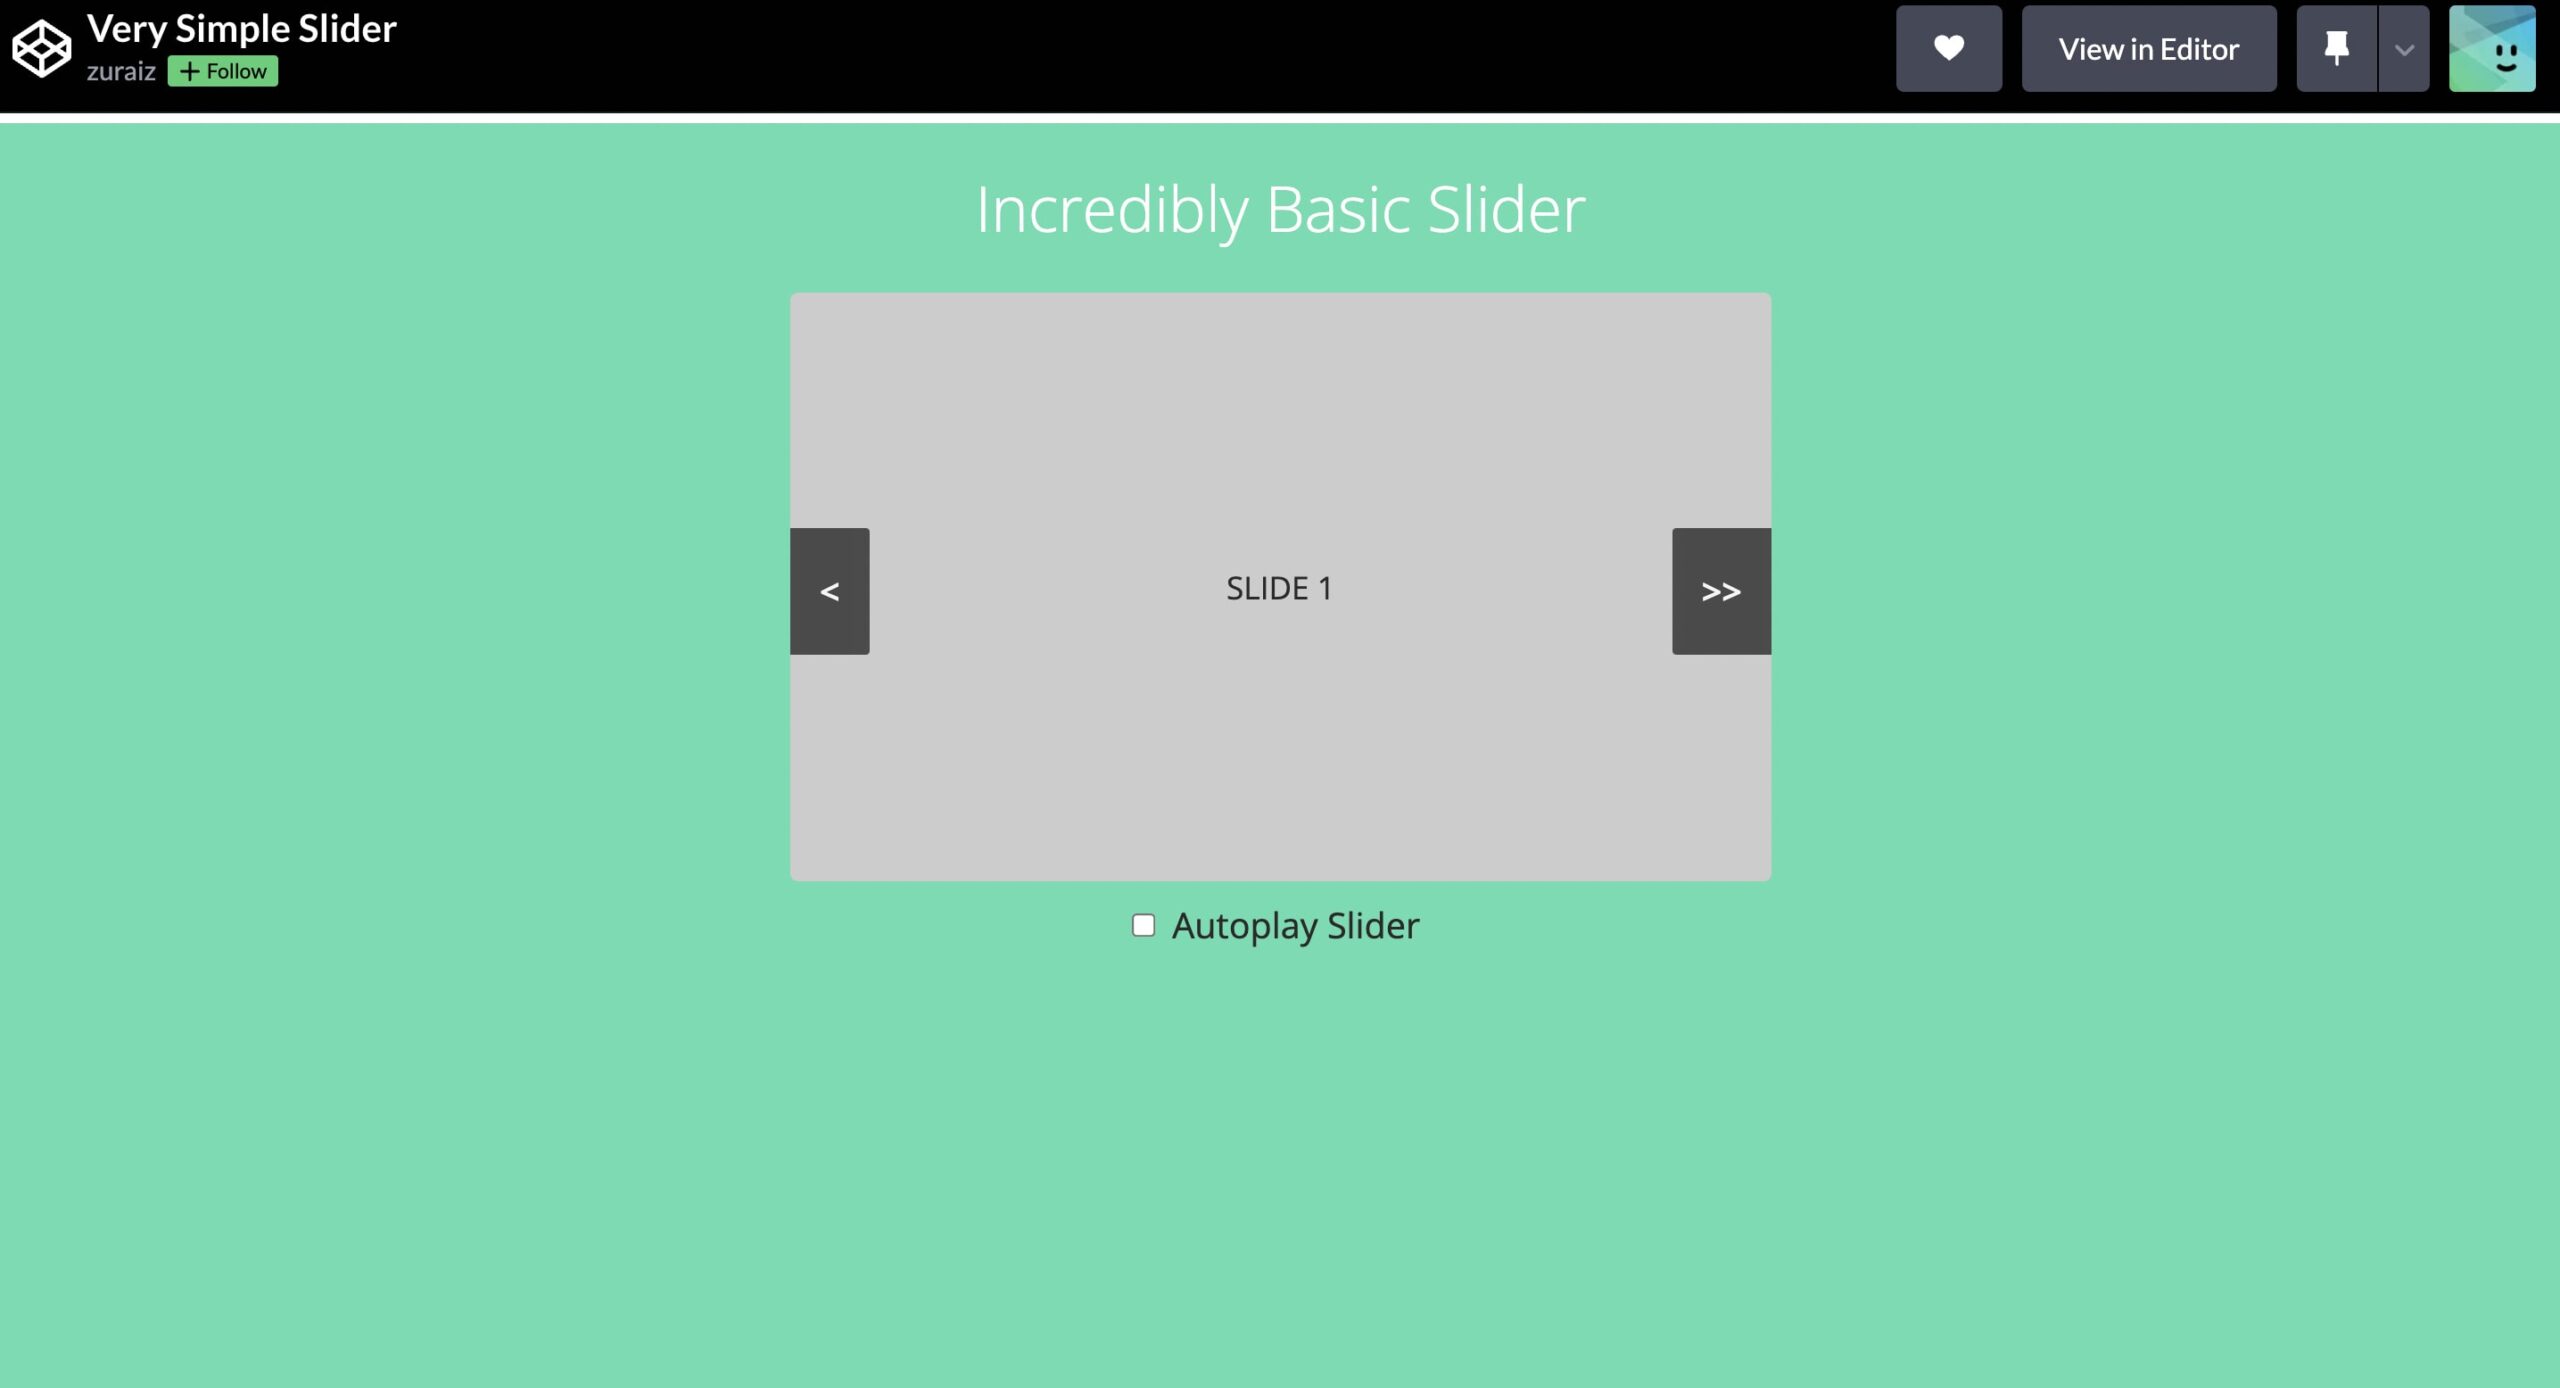
- 1. Very Simple Slider
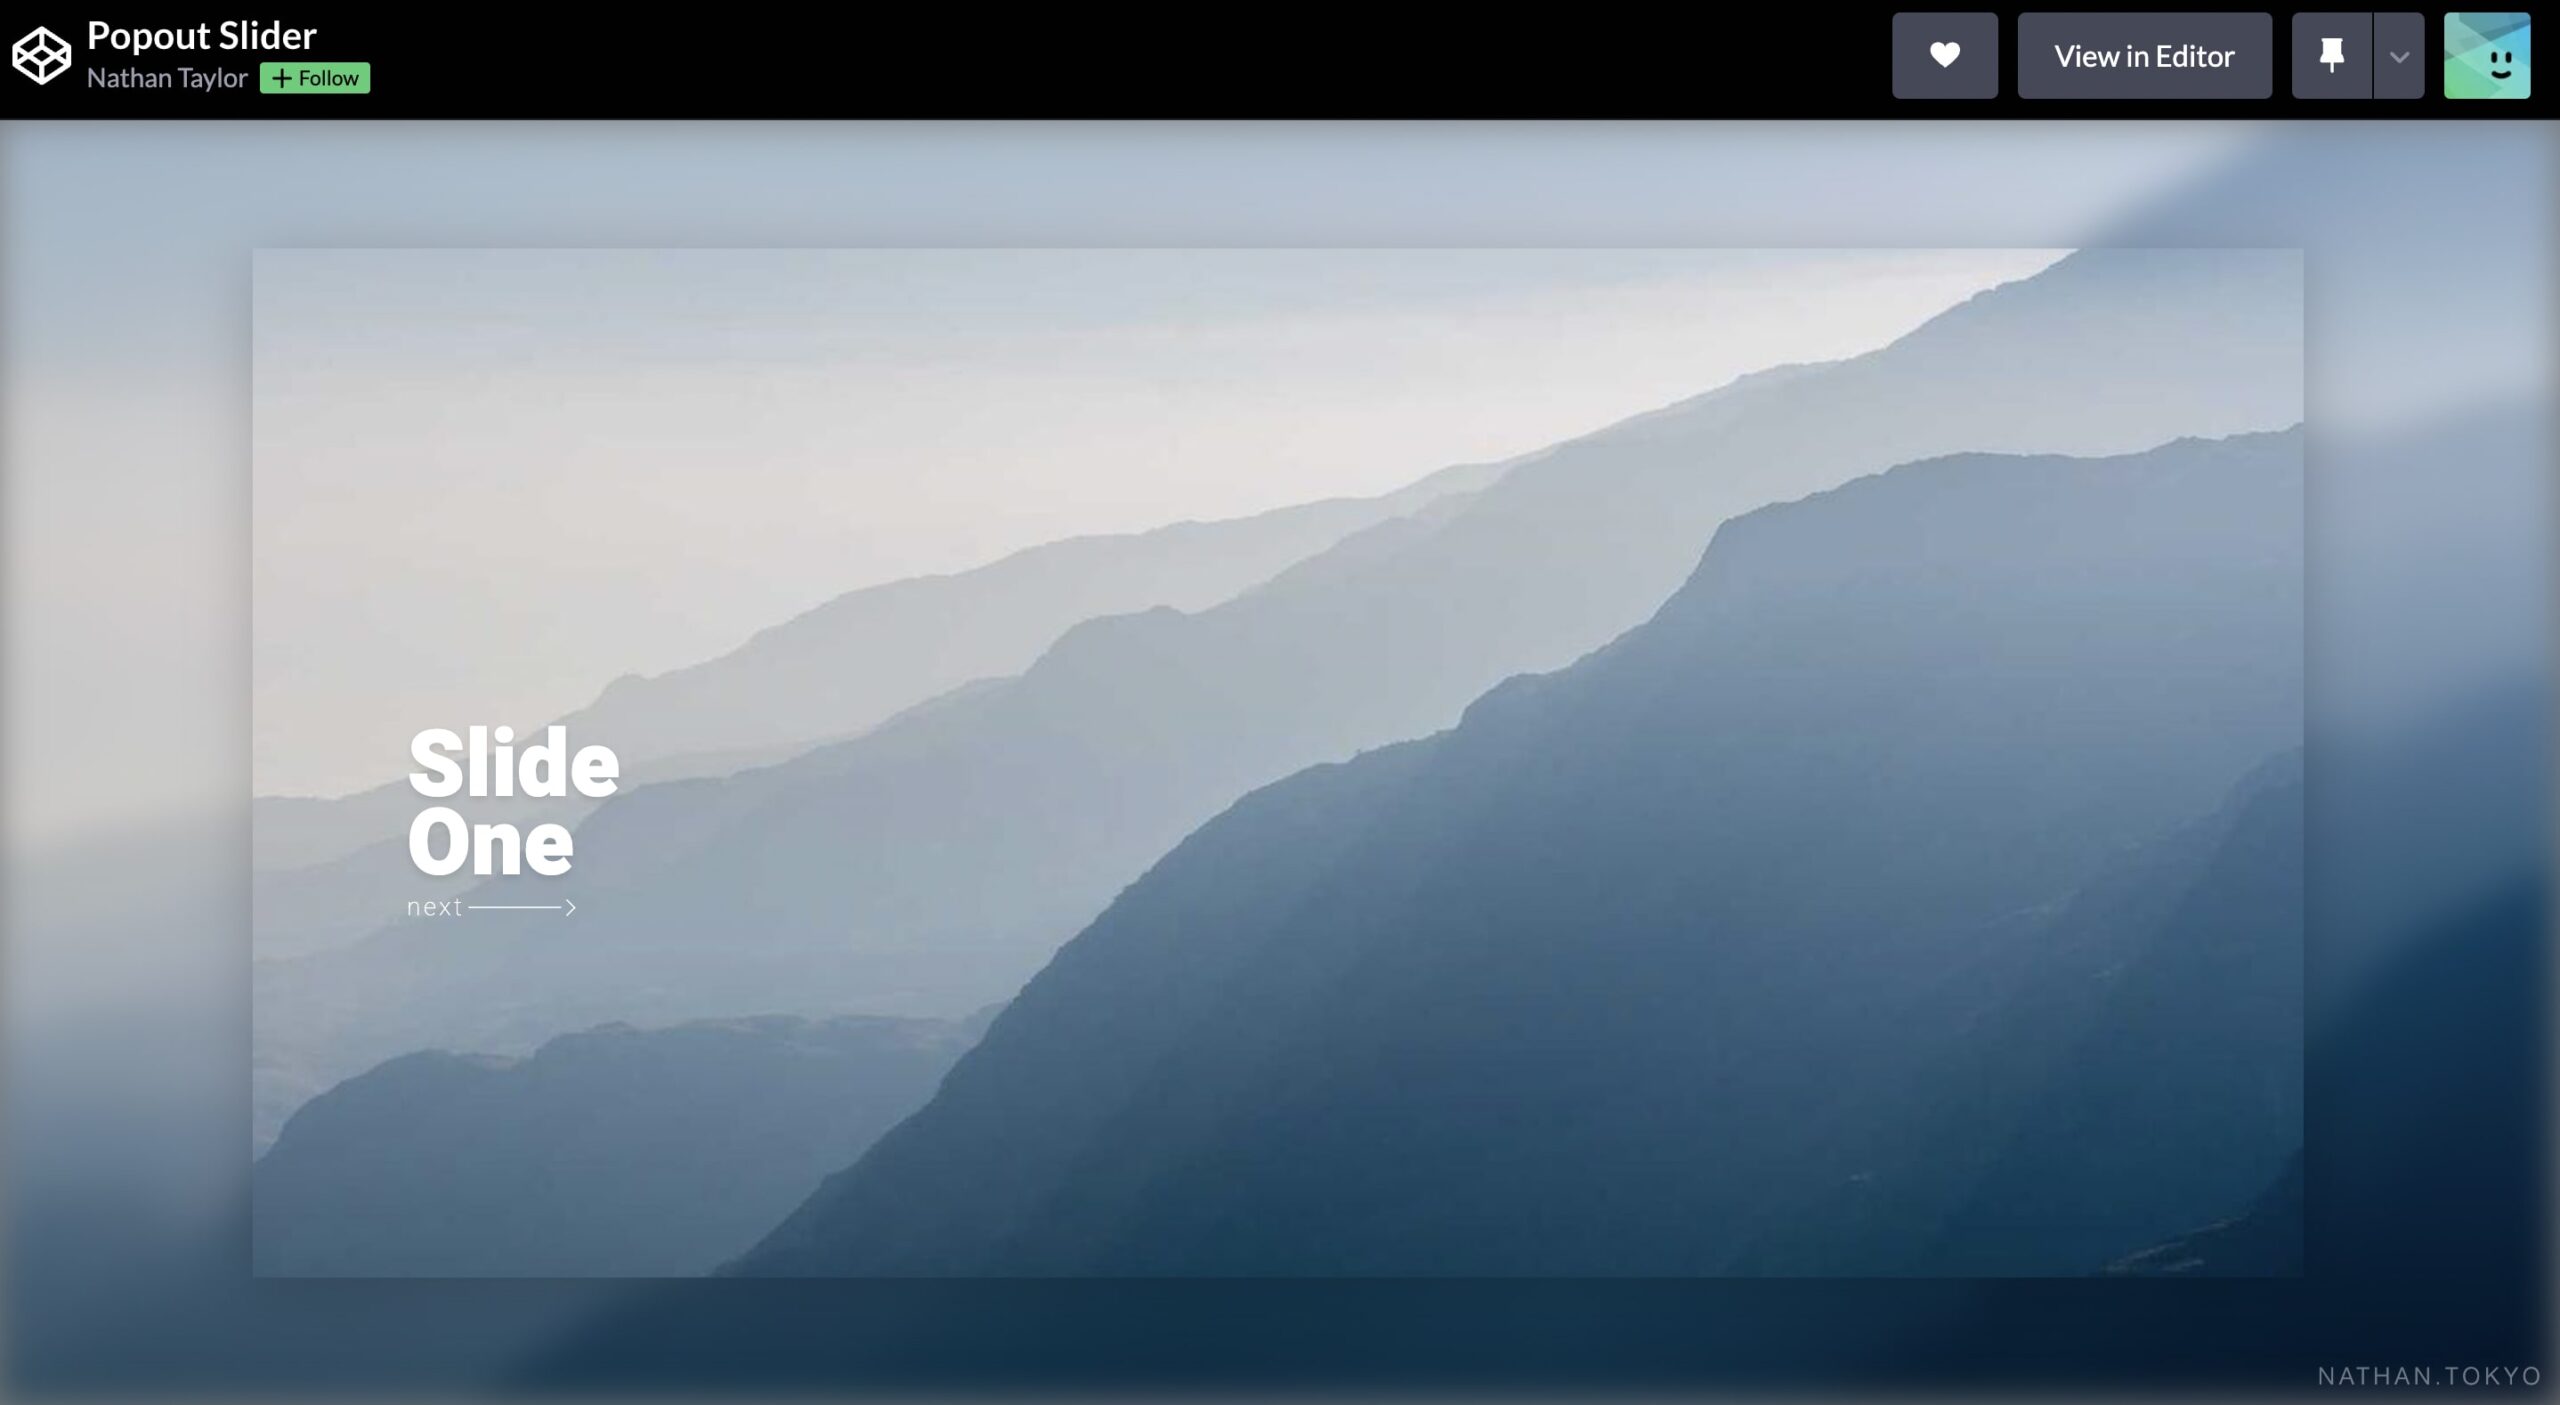
- 2. Popout Slider
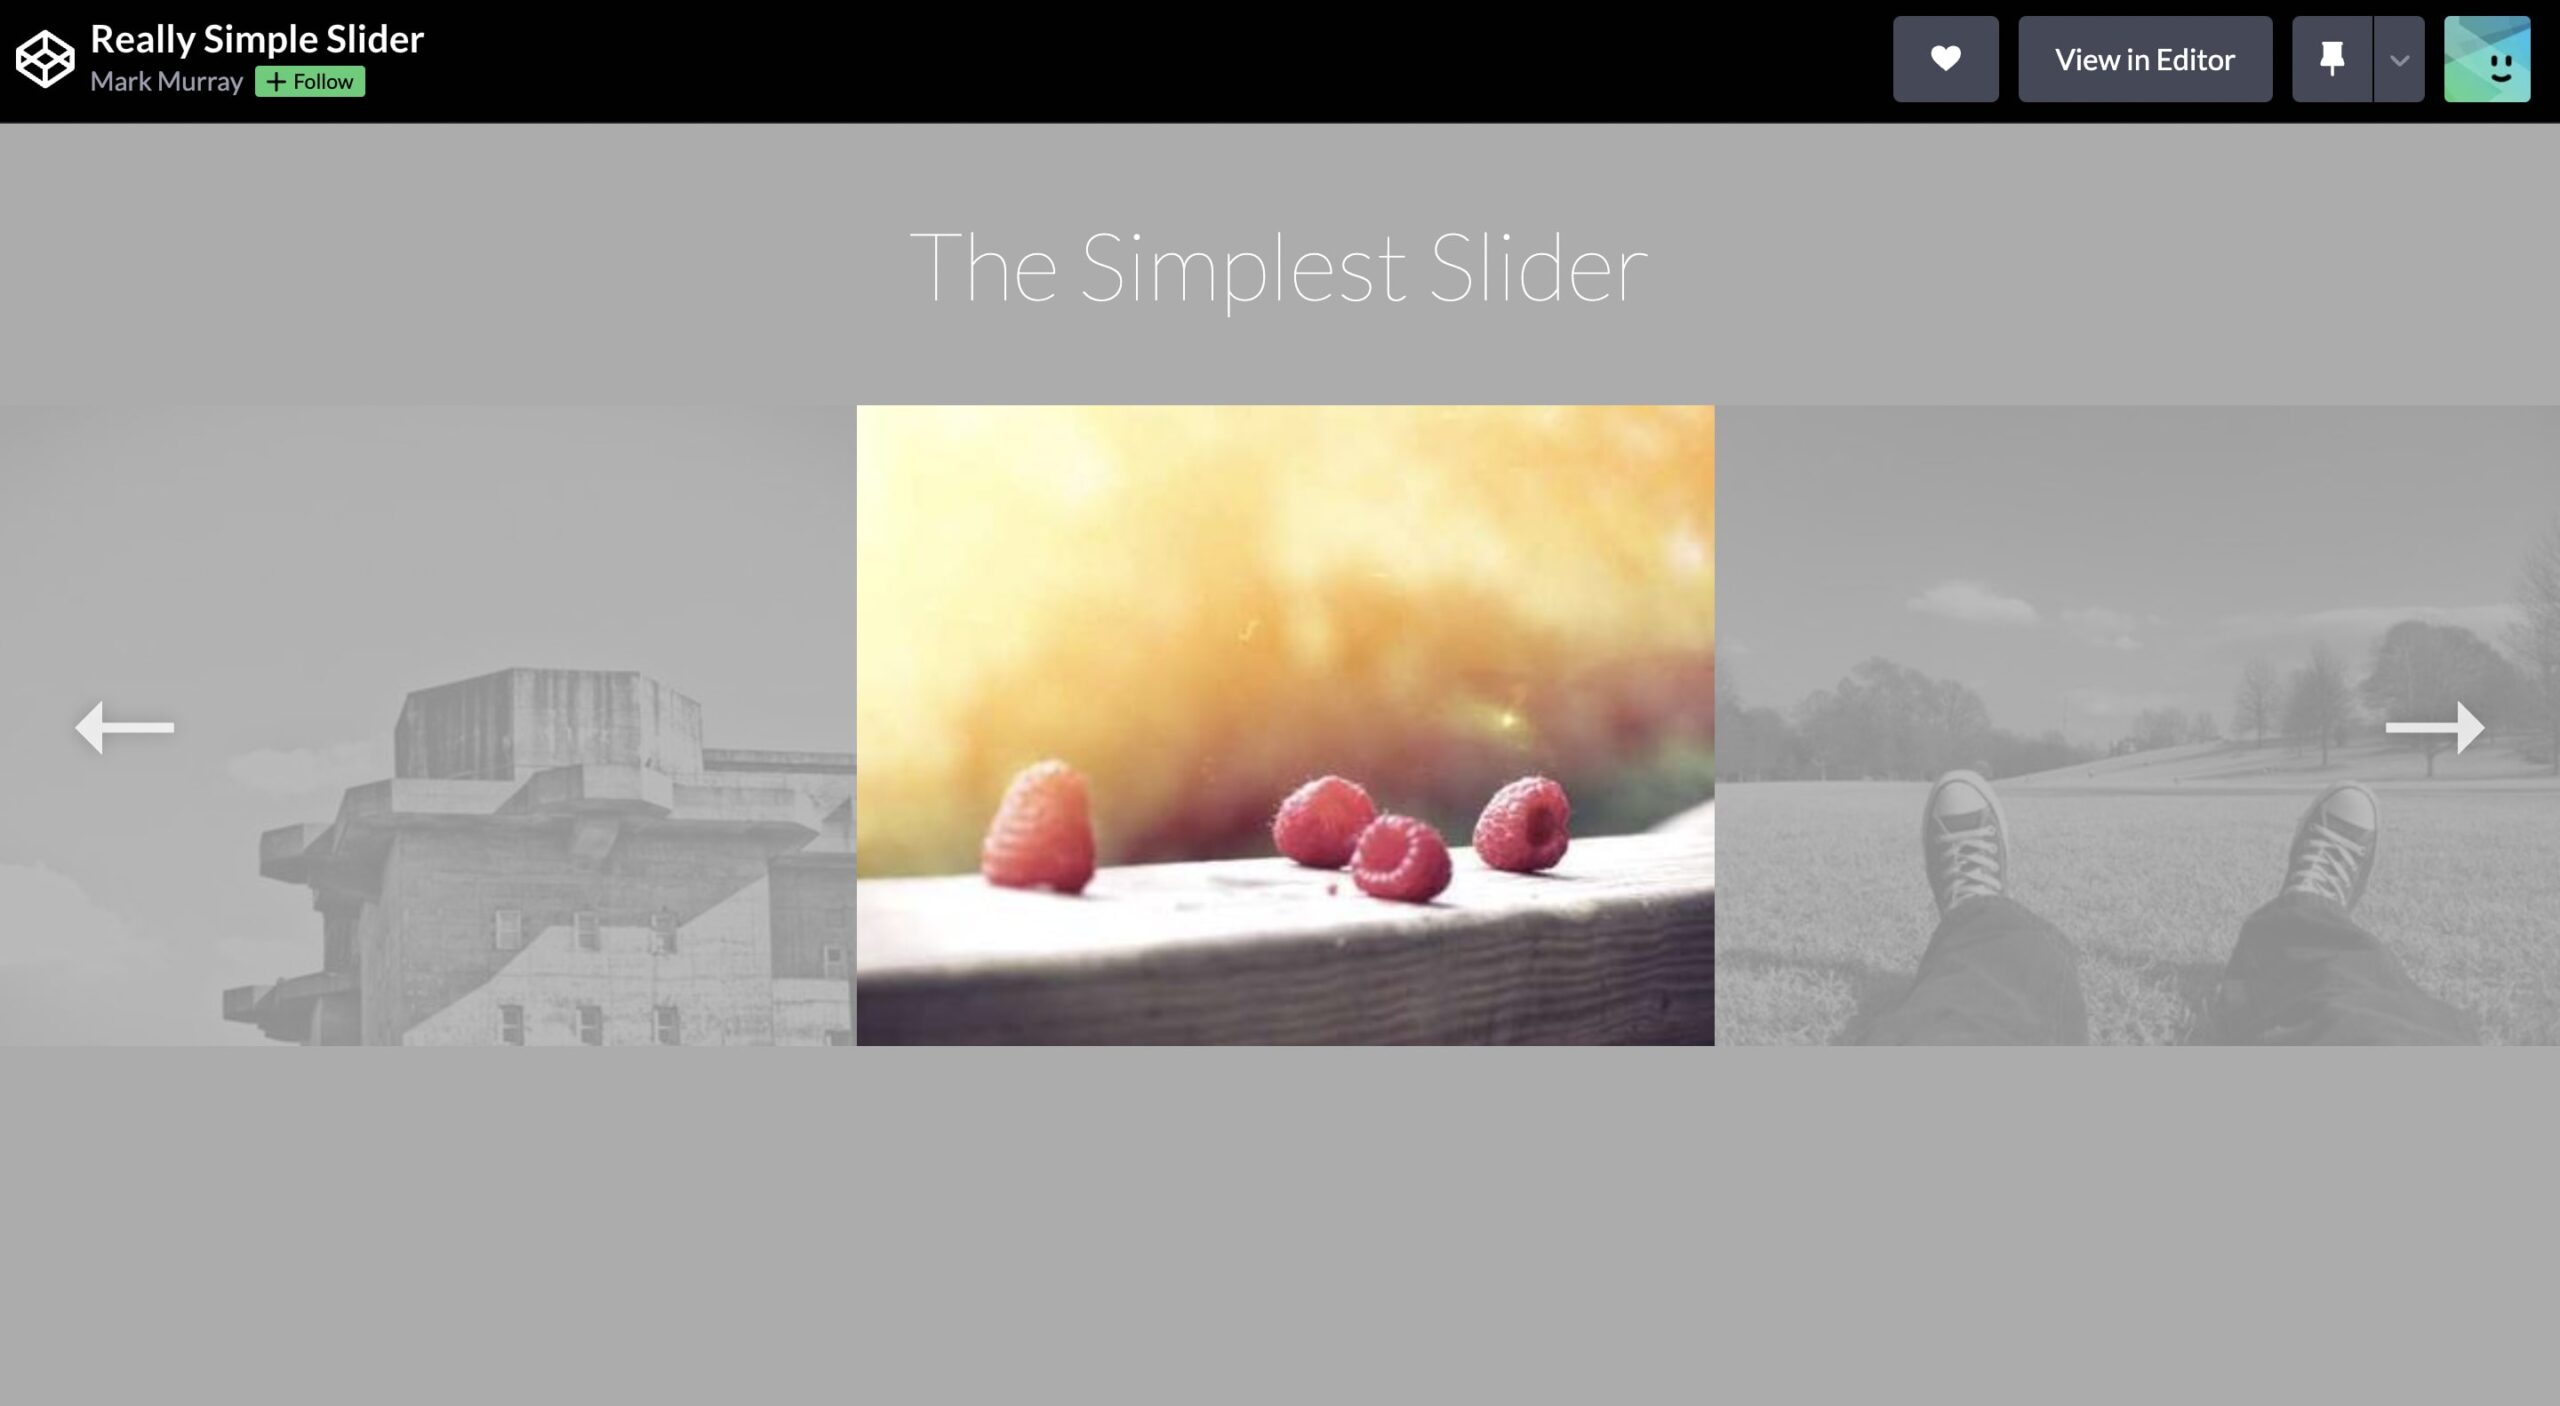
- 3. Really Simple Slider
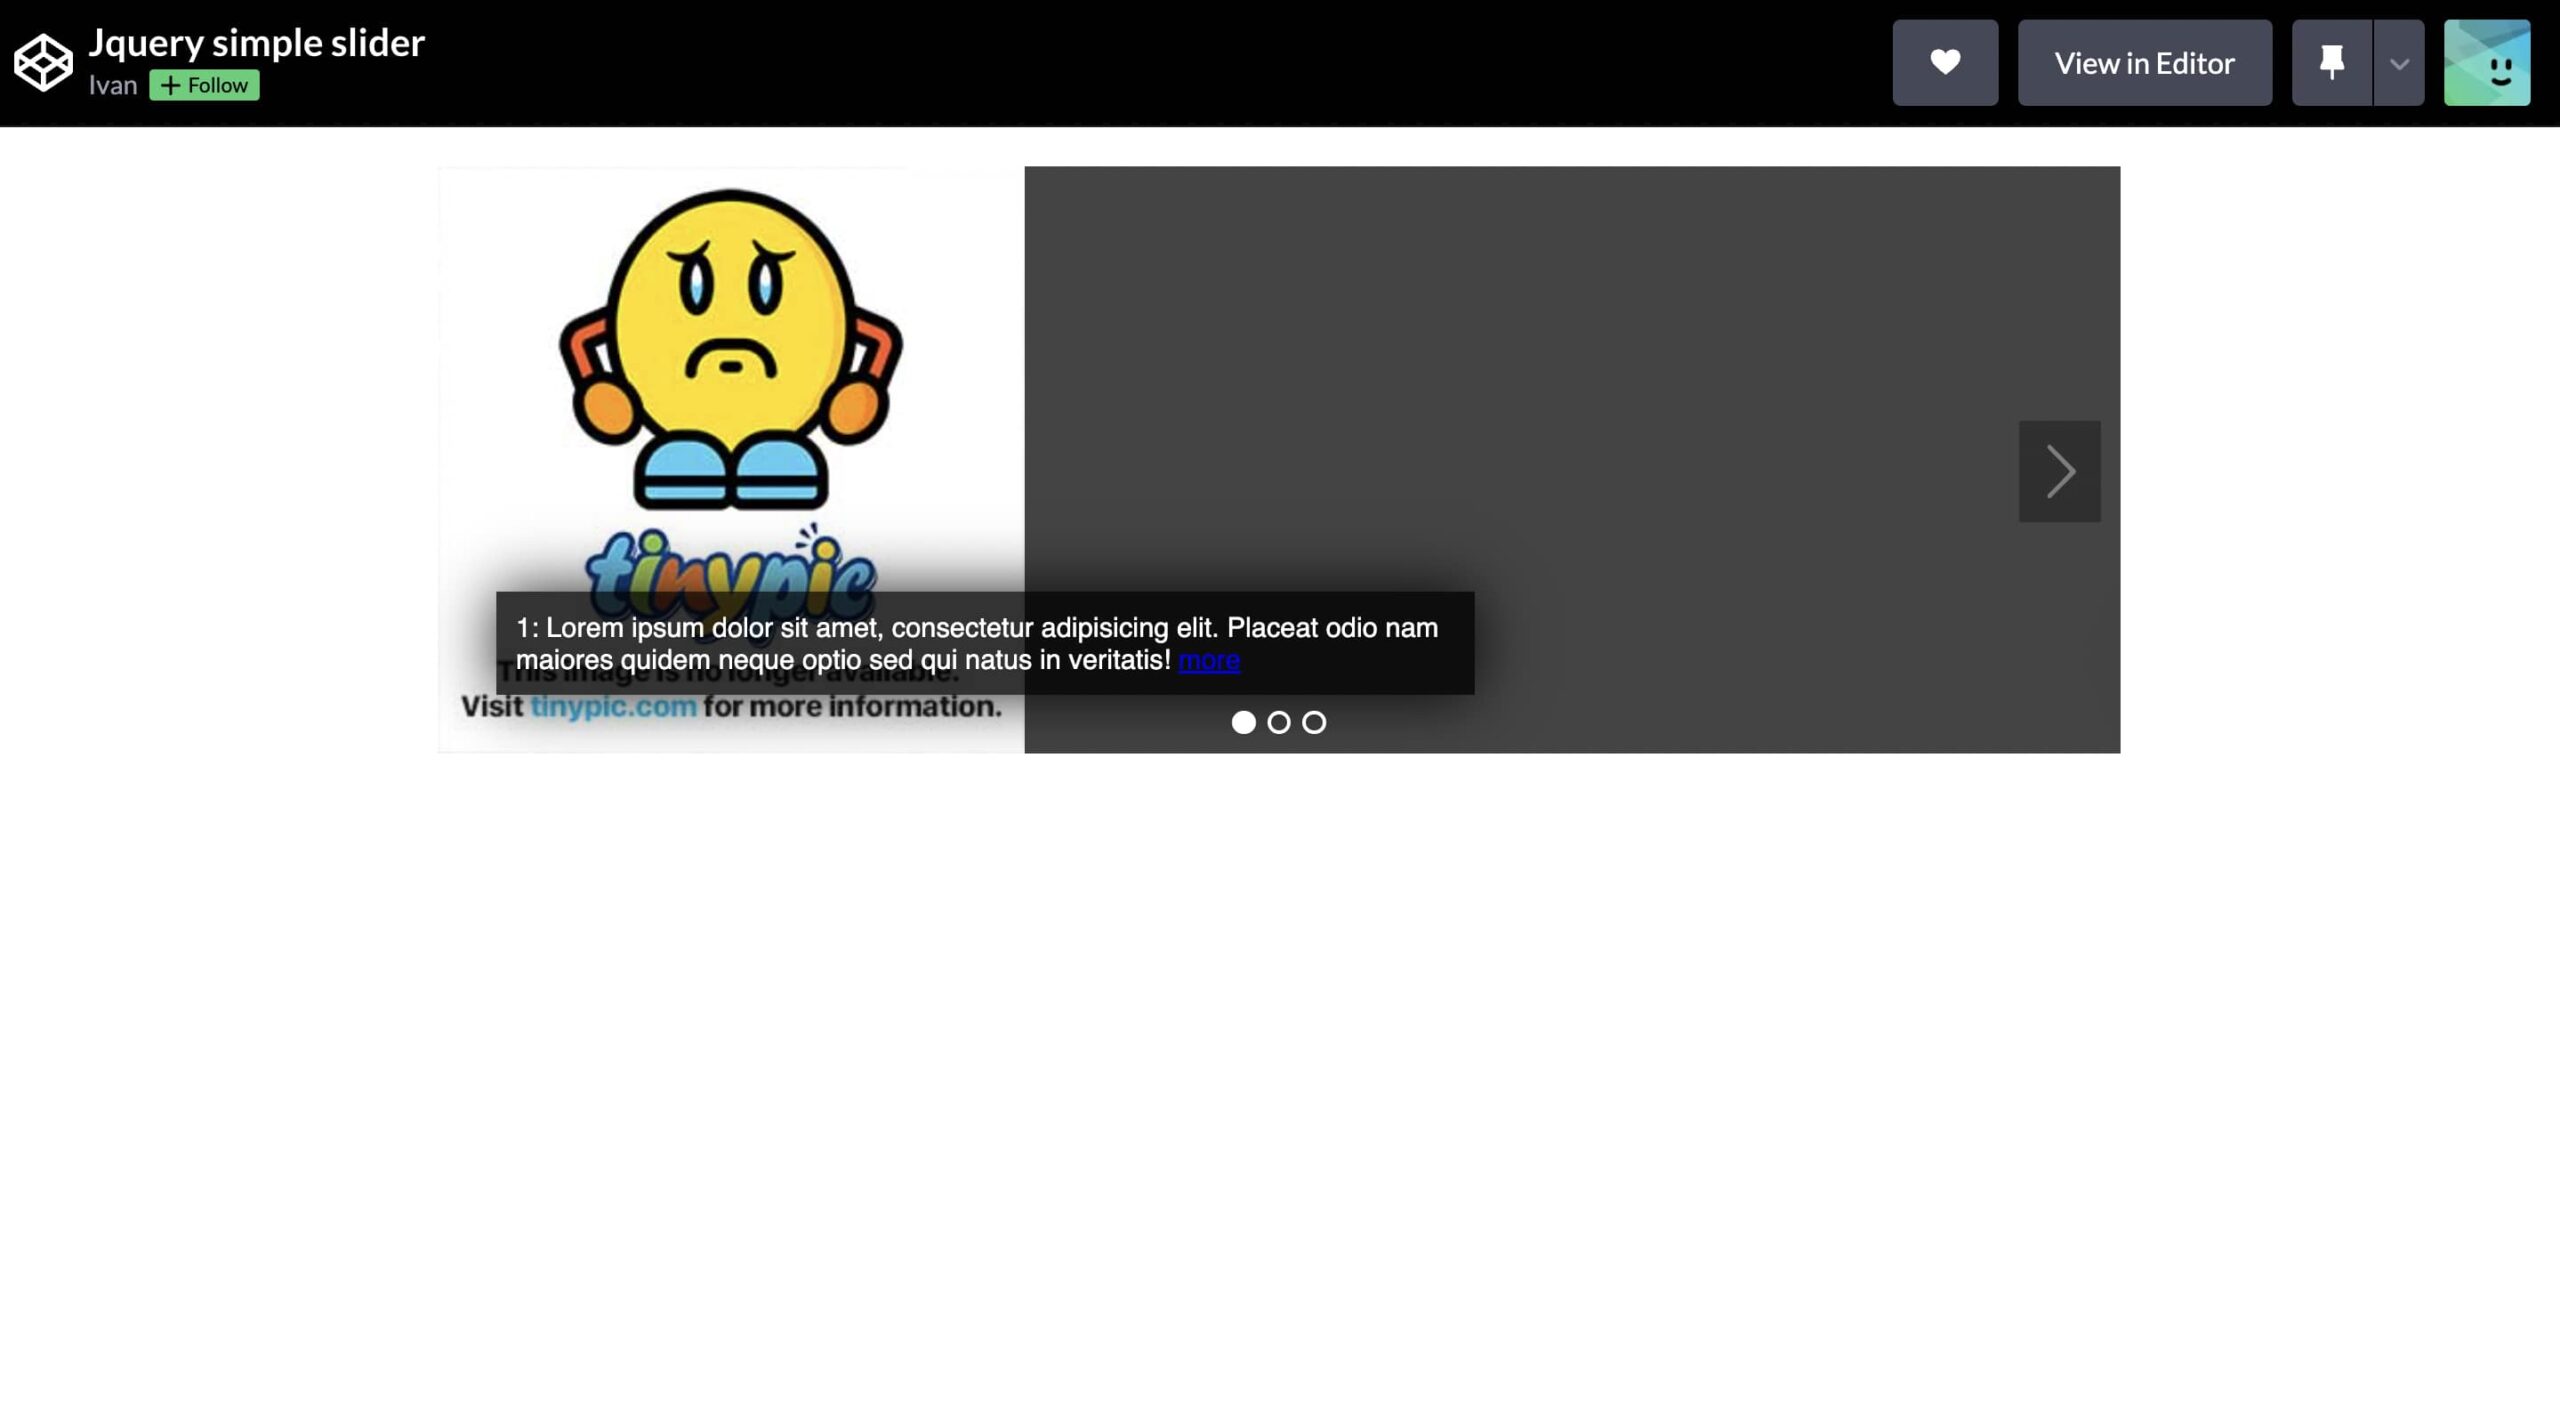
- 4. Jquery Simple Slider
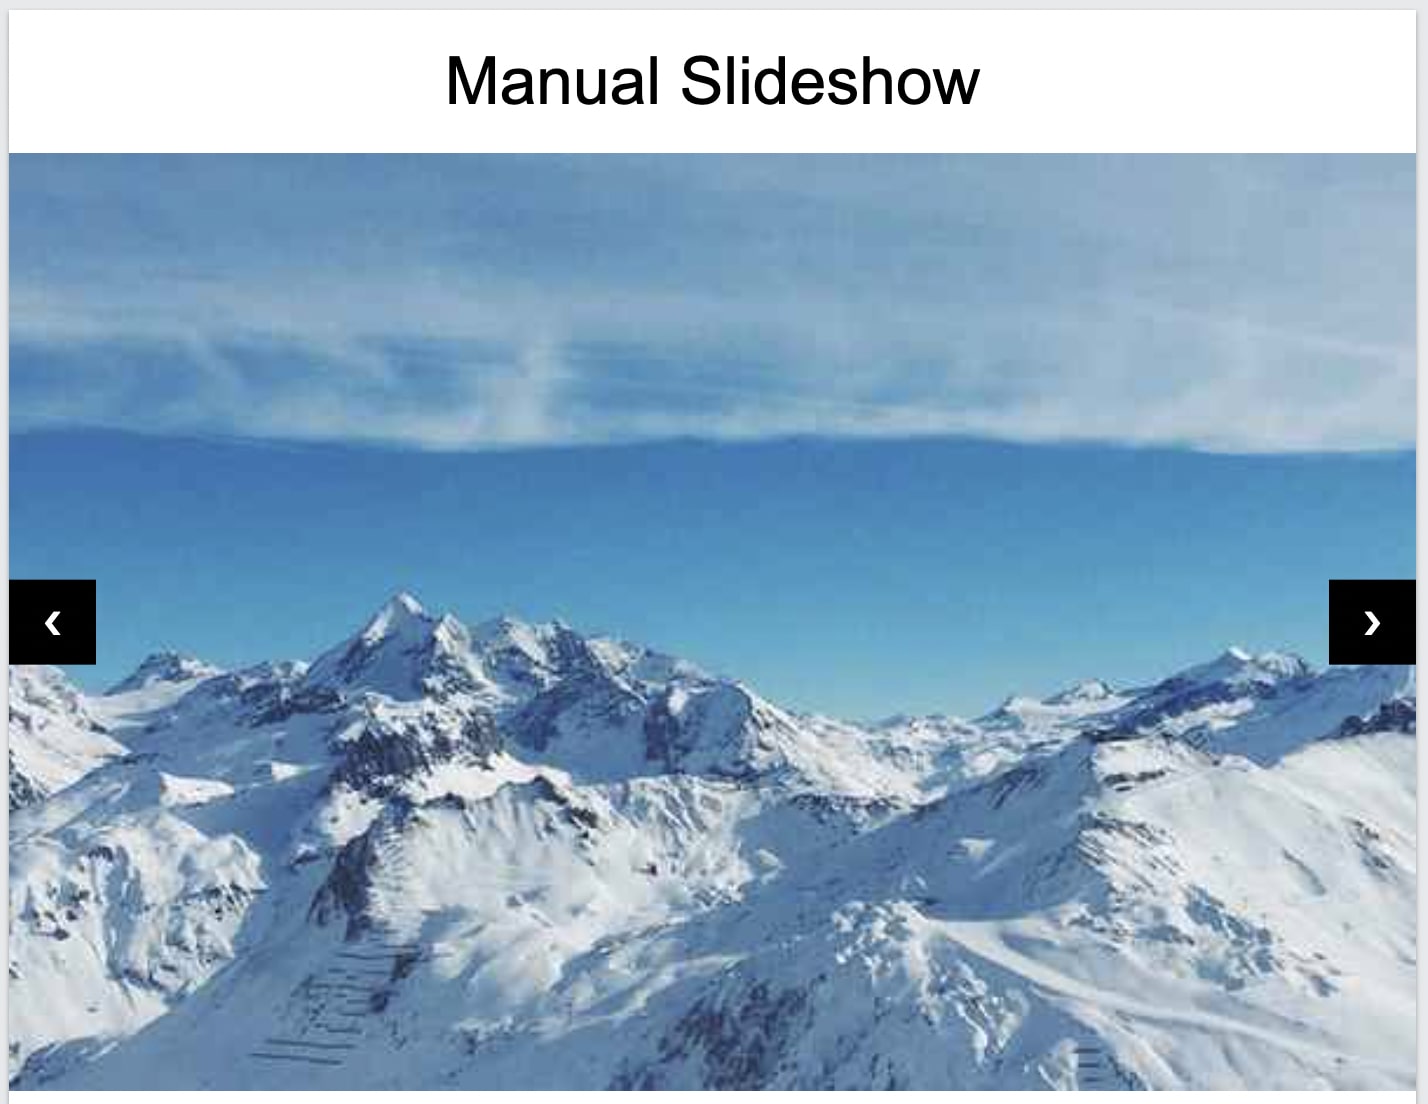
- 5. Manual Slideshow
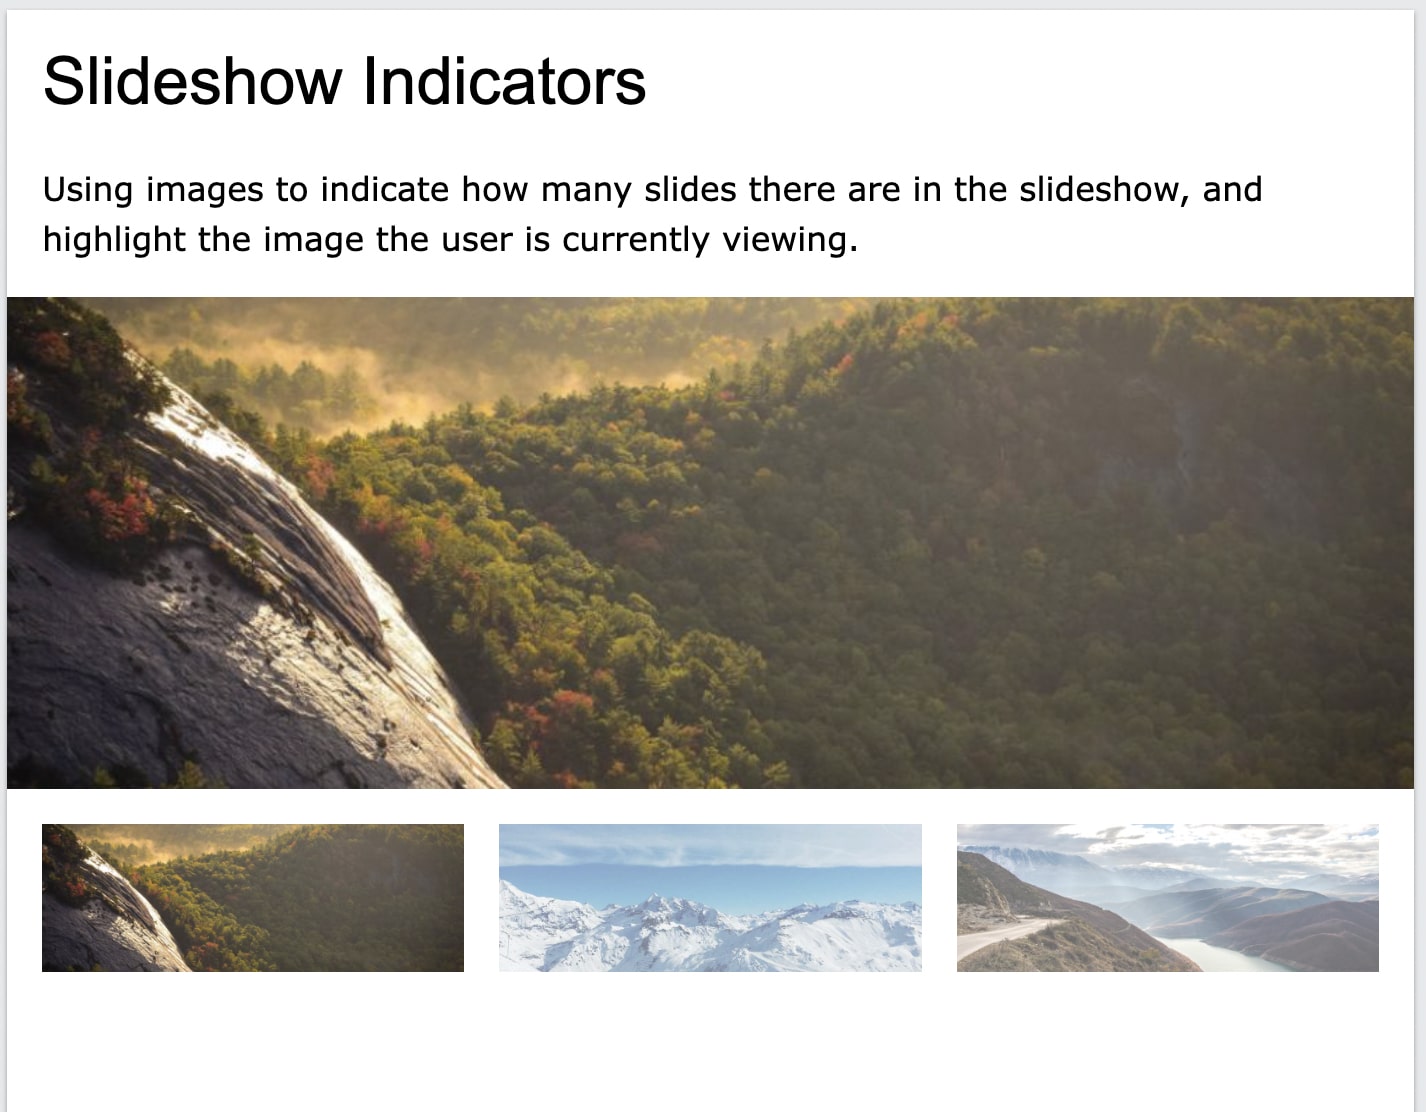
- 6. Slideshow Indicators
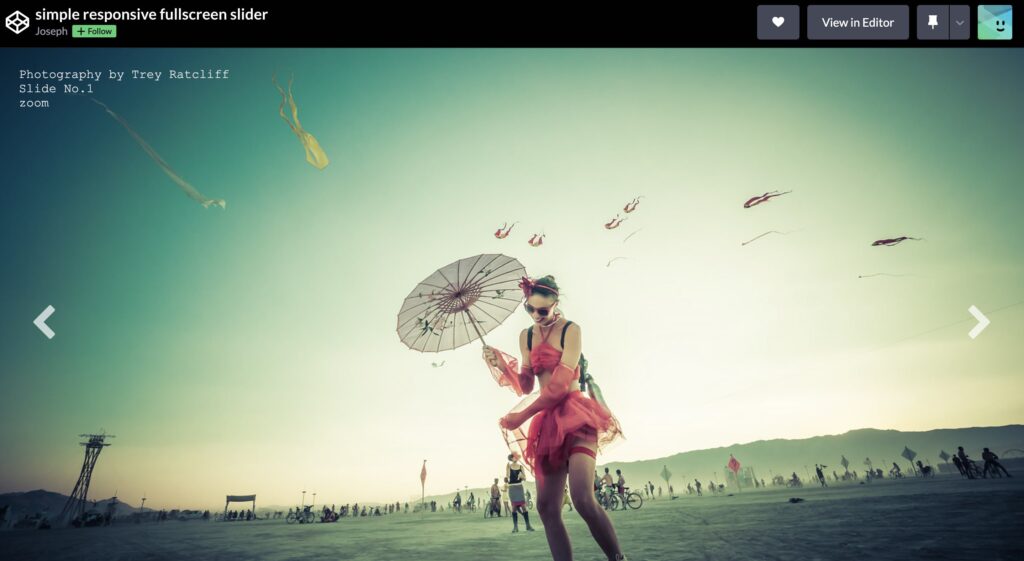
- 7. Simple Responsive Fullscreen Slider
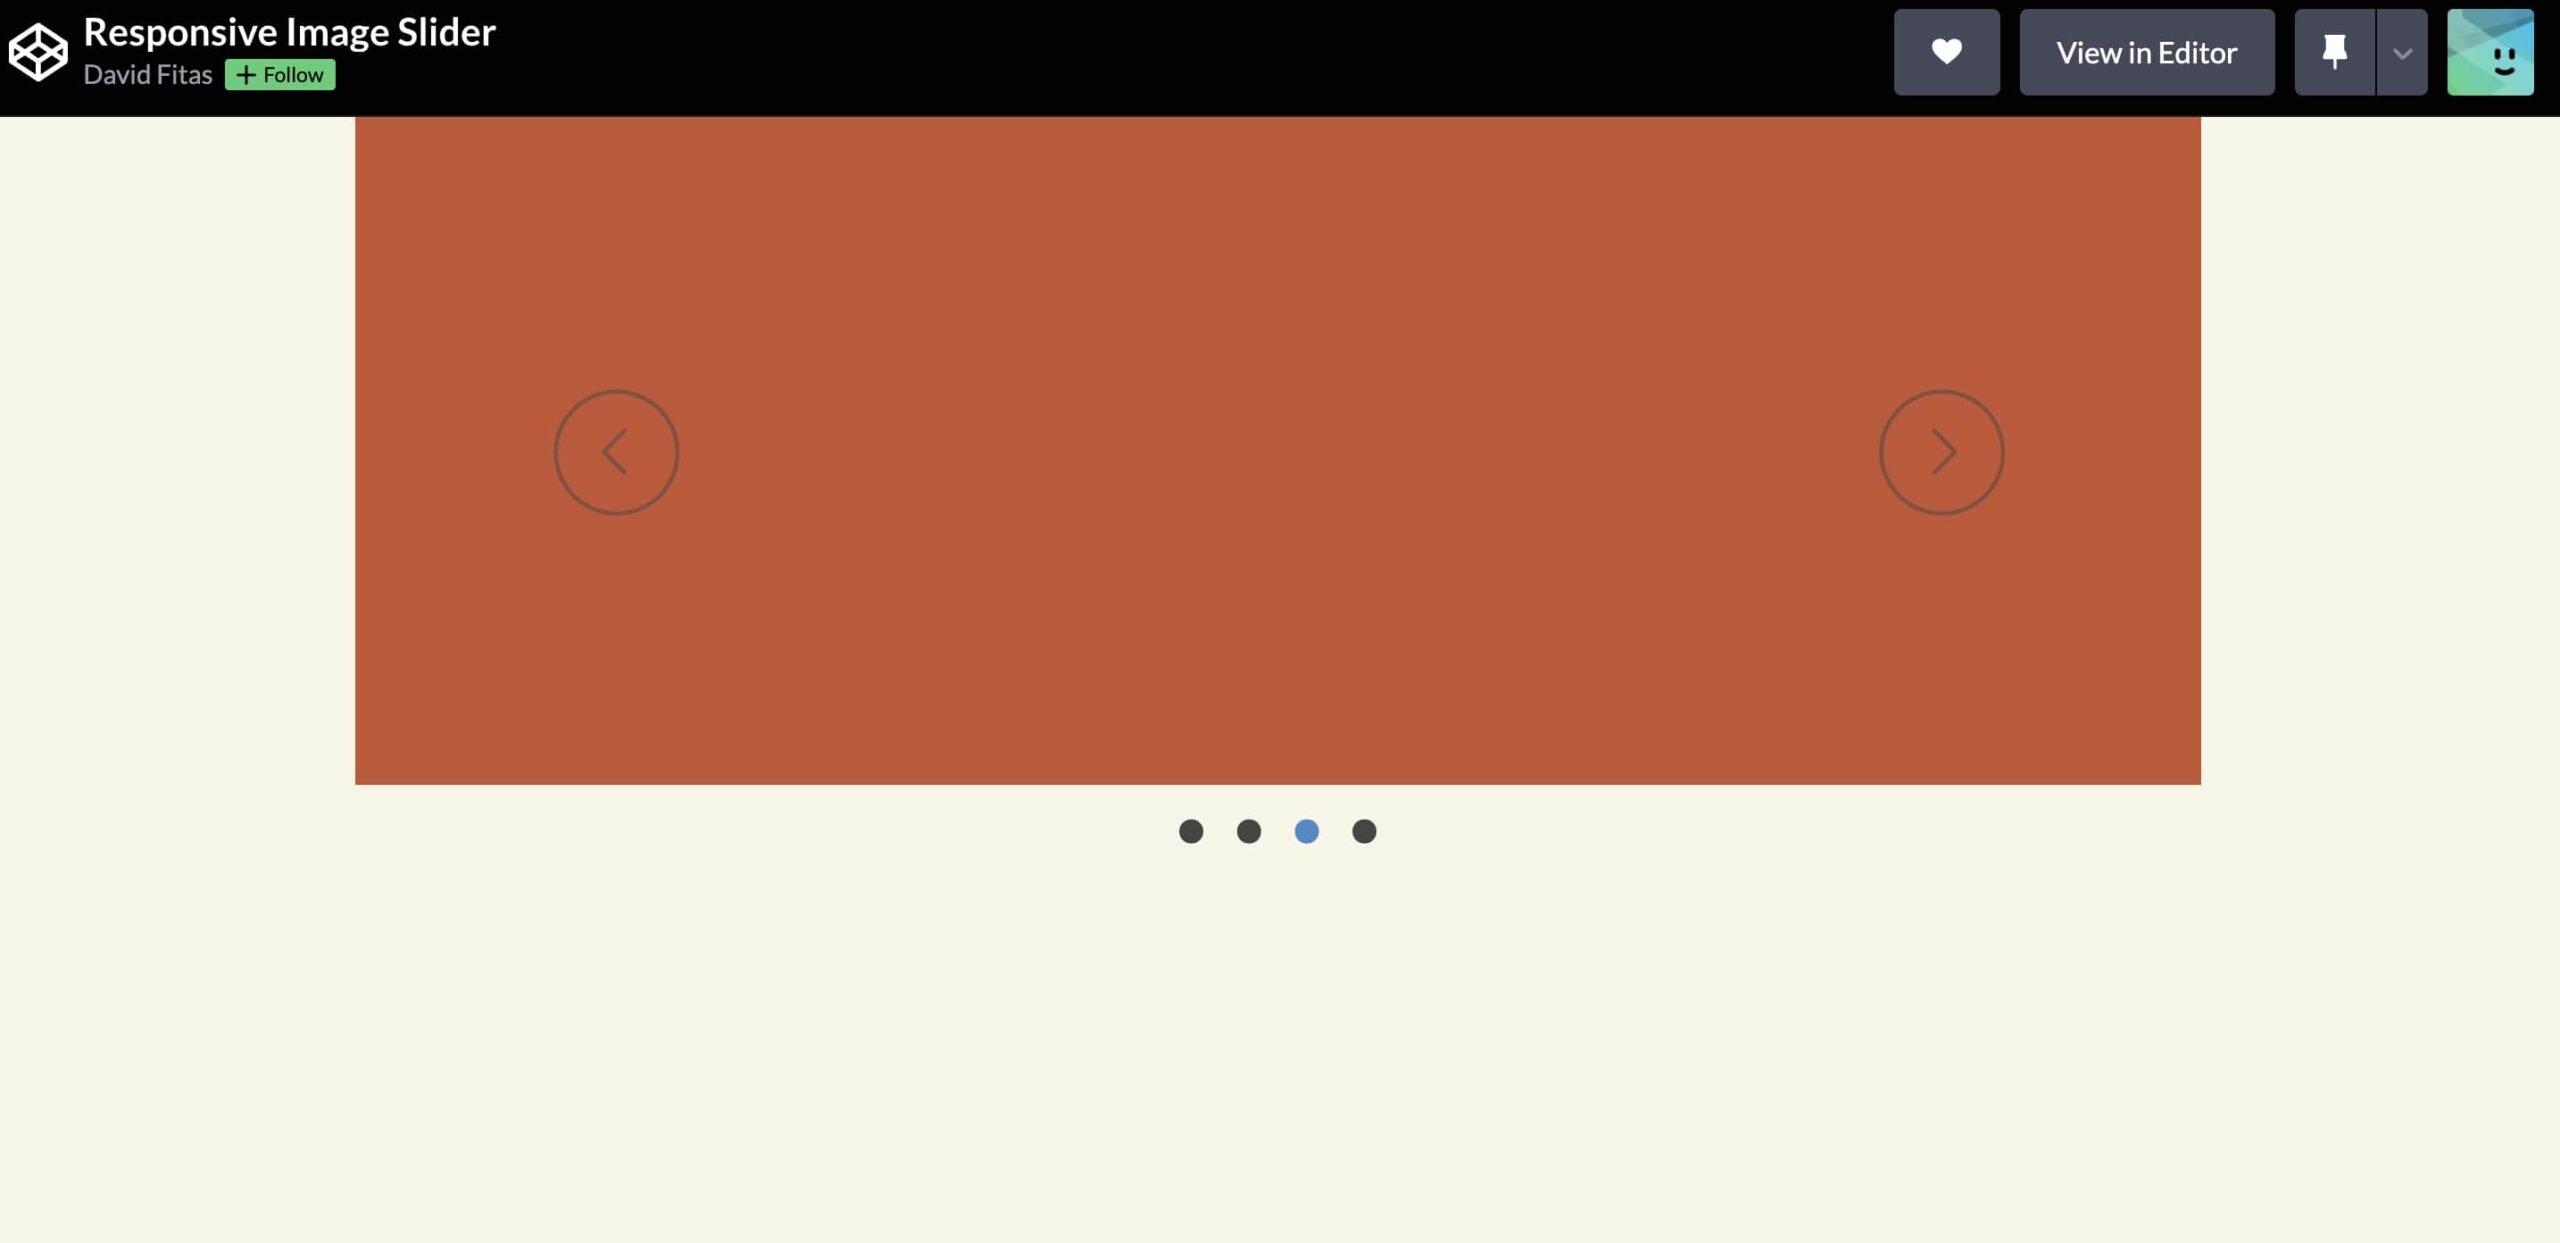
- 8. Responsive Image Slider
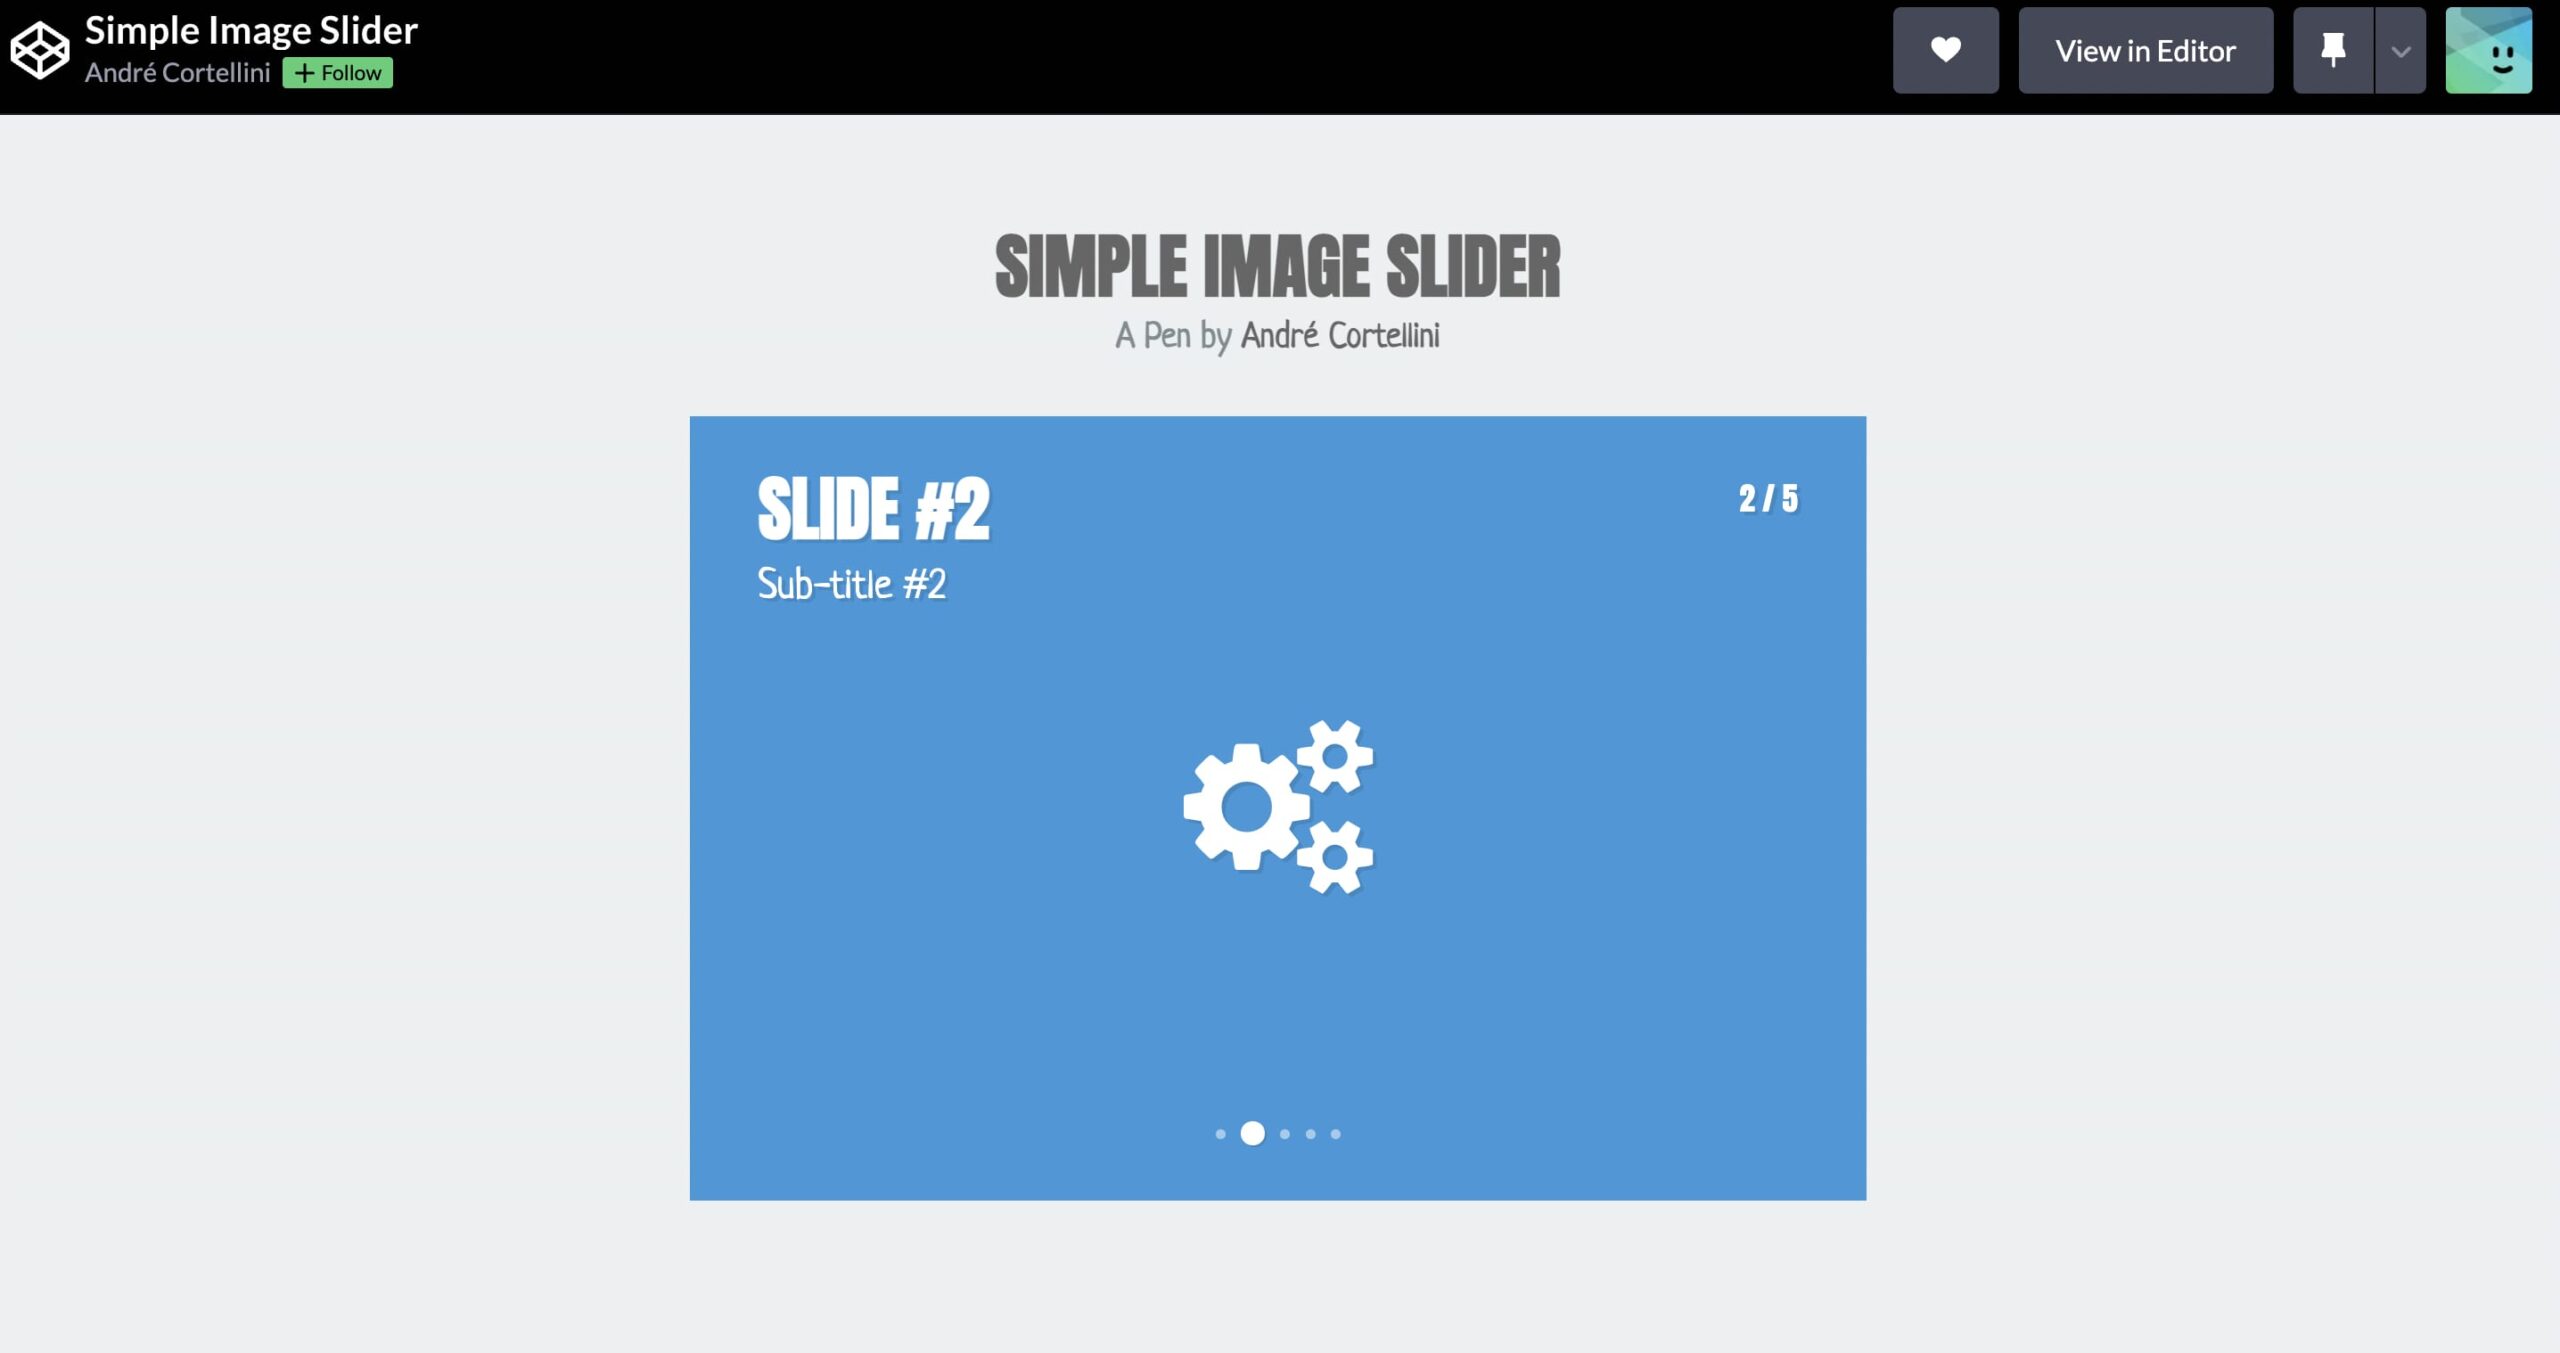
- 9. Simple Image Slider
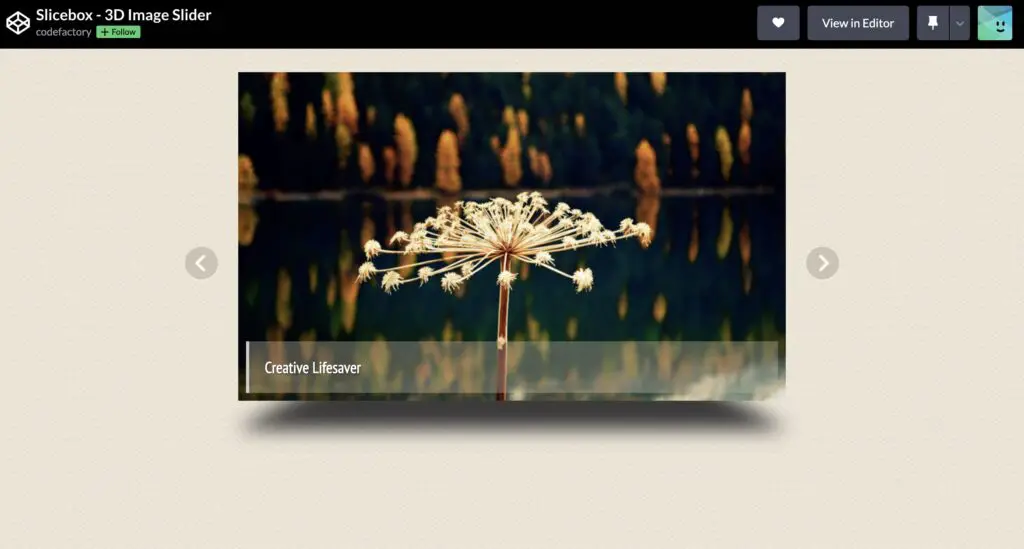
- 10. Slicebox – 3D Image Slider
- Простой слайдер изображений на CSS и Javascript
How to Make a Simple Image Slider With HTML, CSS and jQuery
Slideshows, image sliders, magic picture changing boxes: whatever you call them, the pattern is used all over the internet, so much so that nearly every website has one. If you’re a web developer, the time will come when you may have to build one on your own. With that in mind, let’s look at how we can build a simple image slider using HTML, CSS, and jQuery.
The HTML
We’ll start off by creating a container element, which has the class container . Inside of that lie our images. The images are wrapped with div tags, so the slides can be turned into links, or content other than images can be used as a slide. The first container div has some inline style that makes sure the first image in the slider will be visible on page load. There are also two button elements which are used to manually cycle through slides at the users request.
The CSS
This is where we set the width of the image slider, container divs, and the images inside of them. It’s important to note that all of our container divs are set to display: none; . If they weren’t, all of our images would be visible at the same time. We’ll use JavaScript to set a container div to display: inline-block; , while the rest remain hidden.
The JavaScript
First up, we need to define a few important variables. The first variable is currentIndex , and it is set to 0. The second variable is items , which is set to $(‘.container div’) . This will return a list of container divs with images inside of them. The third variable is itemAmt , which is set to the length of our items variable. This last variable gives us the total amount of slides in our image slider.
Next, we create a function called ‘ cycleItems ’. This function will be used to display the correct image, while ensuring that the others stay hidden. Inside of this function, we create a variable called item . This variable is set to $(‘.container div’).eq(currentIndex) . The eq method provided by jQuery takes an integer, and will target the first item returned by $(‘.container div’) that matches the integer. So if currentIndex is 0, $(‘.container div’).eq(currentIndex) will target the first image container in our image slider. The next thing to do inside of our cycleItems function is to hide all of our image container divs, and set item to display: inline-block; .
To make sure that our images rotate automatically, we need to provide a way to continuously call our cycleItems function after a certain amount of time has passed. We do this by creating another variable called autoSlide . This variable stores a setInterval function, which takes a 3000 millisecond delay, or three seconds. Inside of that function, we increment the currentIndex variable by one, so that $(‘.container div’).eq(currentIndex) will always reference the next container div. Then we define a very important ‘if’ statement. This statement says that if our currentIndex variable is greater than the total amount of images in our slider, reset the variable back to zero. If we didn’t have this if statement, we wouldn’t be able to cycle through our list of images. After the if statement, we call our cycleItems function.
Next we define our previous and next actions. These define what will happen when we click the previous and next buttons. They work like the autoSlide function, except they cancel the automatic cycling when clicked. To manually cycle through the slides, clicking the next button adds one to the currentIndex variable, while clicking the previous button subtracts one from the currentIndex variable.
The Demo
See the Pen JS pen #1 by SitePoint (@SitePoint) on CodePen.
10 Simple Image Slider HTML CSS JavaScript Examples
Slider is a very important part of any website or web project. Here are some simple image slider examples that I handpicked from various sites. These are built by different developers using basic HTML, CSS, and JavaScript. Some are manual while others have auto-slide functionality. You can find the source code for each by clicking on the code button or on the image.
1. Very Simple Slider
2. Popout Slider
3. Really Simple Slider
4. Jquery Simple Slider
5. Manual Slideshow
6. Slideshow Indicators
7. Simple Responsive Fullscreen Slider
8. Responsive Image Slider
9. Simple Image Slider
10. Slicebox – 3D Image Slider
I hope these simple image sliders are helpful for you. For any queries, you can ask in the comment section below.
Простой слайдер изображений на CSS и Javascript
Автор уже опубликовал скрипт карусели, который также использует только CSS и Javascript. Теперь давайте рассмотрим скрипт слайдера. Он отличается от карусели тем, что одновременно виден только один элемент, а не несколько, и элементы не прокручиваются, а медленно замещаются одно другим. И ещё. В данном слайдере в качестве элементов используются только изображения (слайды), поэтому и называется он простой слайдер изображений.
Навигация осуществляется стрелками “Следующий элемент” или “Предыдущий элемент” и индикаторными точками. Стрелки и точки можно отключить в настройках скрипта. Элементы могут быть показаны с остановкой на первом и последнем элементе или в цикле, когда за последним элементом вновь следует первый. Можно включить автоматический просмотр (пролистывание) элементов, длительность просмотра (интервал между переключениями) регулируется. При наведении мыши на элемент пролистывание прекращается.
Слайдер автоматически подстраивается под любую ширину экрана любого устройства. Убедиться в этом можно сдвигая влево-вправо какую-либо из боковых сторон браузера.

HTML – код слайдера стандартный, за исключением одного: перед изображениями помещён экран, который представляет собой однотонный рисунок белого цвета. Все изображения и экран должны быть одного размера. Число изображений произвольное.
- , но можно использовать и или
. Стрелки и индикаторные точки располагаются абсолютным позиционированием в соответствующих контейнерах. Для стрелок используются рисунки в виде треугольных скобок, которые, при желании, вы можете заменить своими рисунками. Точки генерируются программой, количество точек равно количеству изображений.
Все изображения располагаются “в стопочку”, одно над другим абсолютным позиционированием в левом верхнем углу объемлющего контейнера. Экран предотвращает схлопывание внешнего контейнера. Всем изображениям присваивается CSS-свойство opacity: 0, кроме первого элемента, которому программа инициализации присваивает opacity: 1, тем самым делая его видимым.
Пролистывание элементов осуществляется плавным изменением opacity из 1 в 0 для видимого элемента и из 0 в 1 для следующего за ним невидимого элемента. Тем самым видимый элемент становится невидимым, а невидимый видимым. Плавность перехода создаёт свойство transition с длительностью 1с и функцией перехода ease-in.
img < width: 100%; !important; >/* General styles */ .sim-slider < position: relative; >.sim-slider-list < margin: 0; padding: 0; list-style-type: none; position: relative; >.sim-slider-element < width: 100%; transition: opacity 1s ease-in; opacity: 0; position: absolute; z-index: 2; left: 0; top: 0; display: block; >/* Navigation item styles */ div.sim-slider-arrow-left, div.sim-slider-arrow-right < width: 22px; height: 40px; position: absolute; cursor: pointer; opacity: 0.6; z-index: 4; >div.sim-slider-arrow-left < left: 10px; top: 40%; display: block; background: url("sim-arrow-left.png") no-repeat; >div.sim-slider-arrow-right < right: 10px; top: 40%; display: block; background: url("sim-arrow-right.png") no-repeat; >div.sim-slider-arrow-left:hover < opacity: 1.0; >div.sim-slider-arrow-right:hover < opacity: 1.0; >div.sim-slider-dots < width: 100%; height: auto; position: absolute; left: 0; bottom: 0; z-index: 3; text-align: center; >span.sim-dot Для того, чтобы слайдер был адаптивным к любой ширине экрана, для изображений нужно указать CSS-свойство width: 100%. Для всех блочных контейнеров (div, ul, li и пр.) также width: 100% или, если нужна ширина в числовых единицах, то только max-width или min-width.
Стили, как обычно, подключаются в заголовке. Скрипт можно подключить по наступлению события onload или в конце HTML-разметки. Файл со скриптом слайдера может выглядеть так:
… … … Вызов слайдера производится по имени класса sim-slider или по идентификатору. Во втором случае можно разместить несколько слайдеров на одной странице.
… … function Sim(sldrId) < let < this.sldrRoot = id >else < this.sldrRoot = document.querySelector('.sim-slider') >; // Slider objects this.sldrList = this.sldrRoot.querySelector('.sim-slider-list'); this.sldrElements = this.sldrList.querySelectorAll('.sim-slider-element'); this.sldrElemFirst = this.sldrList.querySelector('.sim-slider-element'); this.leftArrow = this.sldrRoot.querySelector('div.sim-slider-arrow-left'); this.rightArrow = this.sldrRoot.querySelector('div.sim-slider-arrow-right'); this.indicatorDots = this.sldrRoot.querySelector('div.sim-slider-dots'); // Initialization this.options = Sim.defaults; Sim.initialize(this) >; Sim.defaults = < // Default options for the slider loop: true, // Бесконечное зацикливание слайдера auto: true, // Автоматическое пролистывание interval: 5000, // Интервал между пролистыванием элементов (мс) arrows: true, // Пролистывание стрелками dots: true // Индикаторные точки >; Sim.prototype.elemPrev = function(num) < num = num || 1; let prevElement = this.currentElement; this.currentElement -= num; if(this.currentElement < 0) this.currentElement = this.elemCount-1; if(!this.options.loop) < if(this.currentElement == 0) < this.leftArrow.style.display = 'none' >; this.rightArrow.style.display = 'block' >; this.sldrElements[this.currentElement].style.opacity = '1'; this.sldrElements[prevElement].style.opacity = '0'; if(this.options.dots) < this.dotOn(prevElement); this.dotOff(this.currentElement) >>; Sim.prototype.elemNext = function(num) < num = num || 1; let prevElement = this.currentElement; this.currentElement += num; if(this.currentElement >= this.elemCount) this.currentElement = 0; if(!this.options.loop) < if(this.currentElement == this.elemCount-1) < this.rightArrow.style.display = 'none' >; this.leftArrow.style.display = 'block' >; this.sldrElements[this.currentElement].style.opacity = '1'; this.sldrElements[prevElement].style.opacity = '0'; if(this.options.dots) < this.dotOn(prevElement); this.dotOff(this.currentElement) >>; Sim.prototype.dotOn = function(num) < this.indicatorDotsAll[num].style.cssText = 'background-color:#BBB; cursor:pointer;' >; Sim.prototype.dotOff = function(num) < this.indicatorDotsAll[num].style.cssText = 'background-color:#556; cursor:default;' >; Sim.initialize = function(that) < // Constants that.elemCount = that.sldrElements.length; // Количество элементов // Variables that.currentElement = 0; let bgTime = getTime(); // Functions function getTime() < return new Date().getTime(); >; function setAutoScroll() < that.autoScroll = setInterval(function() < let fnTime = getTime(); if(fnTime - bgTime + 10 >that.options.interval) < bgTime = fnTime; that.elemNext() >>, that.options.interval) >; // Start initialization if(that.elemCount ; if(that.elemCount >= 1) < // показать первый элемент that.sldrElemFirst.style.opacity = '1'; >; if(!that.options.loop) < that.leftArrow.style.display = 'none'; // отключить левую стрелку that.options.auto = false; // отключить автопркрутку >else if(that.options.auto) < // инициализация автопрокруки setAutoScroll(); // Остановка прокрутки при наведении мыши на элемент that.sldrList.addEventListener('mouseenter', function() < clearInterval(that.autoScroll) >, false); that.sldrList.addEventListener('mouseleave', setAutoScroll, false) >; if(that.options.arrows) < // инициализация стрелок that.leftArrow.addEventListener('click', function() < let fnTime = getTime(); if(fnTime - bgTime >1000) < bgTime = fnTime; that.elemPrev() >>, false); that.rightArrow.addEventListener('click', function() < let fnTime = getTime(); if(fnTime - bgTime >1000) < bgTime = fnTime; that.elemNext() >>, false) > else < that.leftArrow.style.display = 'none'; that.rightArrow.style.display = 'none' >; if(that.options.dots) < // инициализация индикаторных точек let sum = '', diffNum; for(let i=0; i ' >; that.indicatorDots.innerHTML = sum; that.indicatorDotsAll = that.sldrRoot.querySelectorAll('span.sim-dot'); // Назначаем точкам обработчик события 'click' for(let n=0; n else if(n > that.currentElement) < bgTime = getTime(); that.elemNext(diffNum) >// Если n == that.currentElement ничего не делаем >, false) >; that.dotOff(0); // точка[0] выключена, остальные включены for(let i=1; i > >;