How to Write and Compile C Program in Raspberry Pi 4
![]()
Nowadays, the C programming language is gaining importance over other languages due to its simple syntax. The program written in C language can be used in a wide range of platforms which includes personal computers, microcontrollers and so on. The other main advantage of C programming is that it runs almost as fast as assembly code and you can easily control powerful machines through C programming.
If you are a Raspberry Pi user and want to start writing code in C language then you will love to hear that you can code on your Raspberry Pi quite easily as you just need to have a good understanding of the code and IDE to write and compile the code.
How to write and compile C program in Raspberry Pi 4
Here, in this article, you will learn how to write and compile C programs in Raspberry Pi 4 and before moving forward to write your first code, you probably need to have an environment where you can easily write and compile your code.
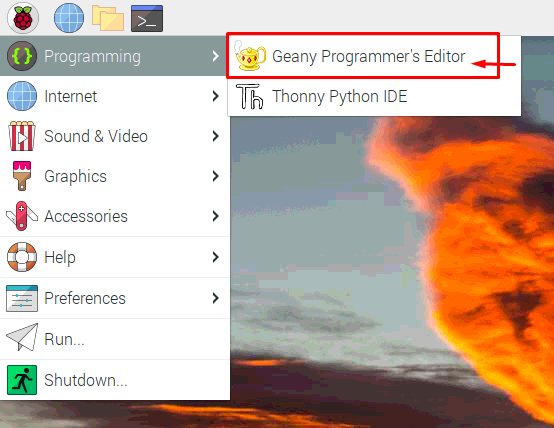
Geany is one of most used platforms by the Raspberry Pi users and you can experience writing code in Python, C or C++ and it is considered a fast enough IDE that can compile your code in no time. Geany comes pre-installed in the Raspberry Pi OS and you can run it by heading towards the menu of the Raspberry Pi and in the “Programming” option, you will see the “Geany Programmer’s Editor” and click on it and it will open on your Raspberry Pi desktop.
If you want to write your first code in C language you will need to do the below steps.
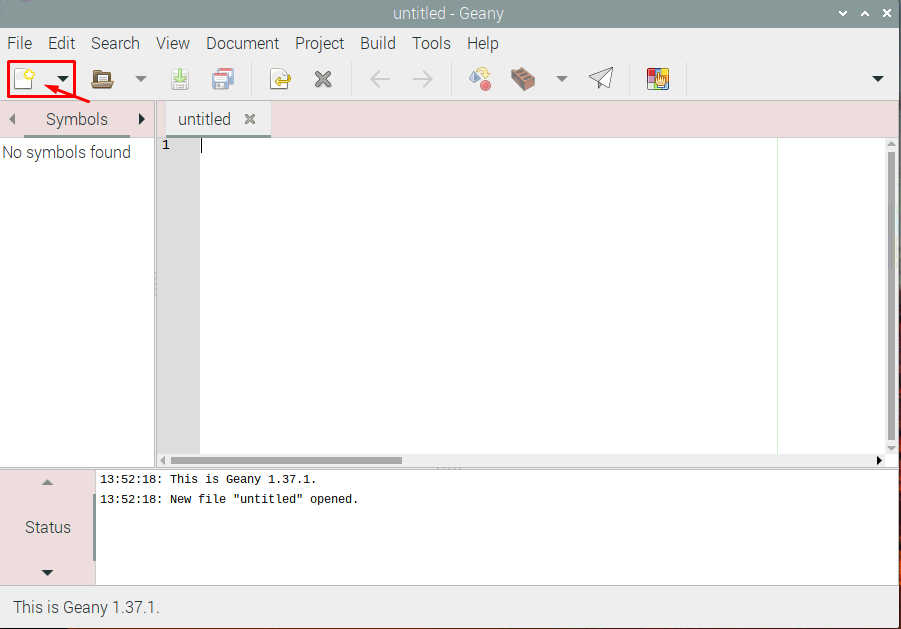
Step 1: The first thing you will need to consider is to create a source file on your Geany text editor. To do it, open the Geany IDE and create a new file by clicking on the option as shown in the image below.
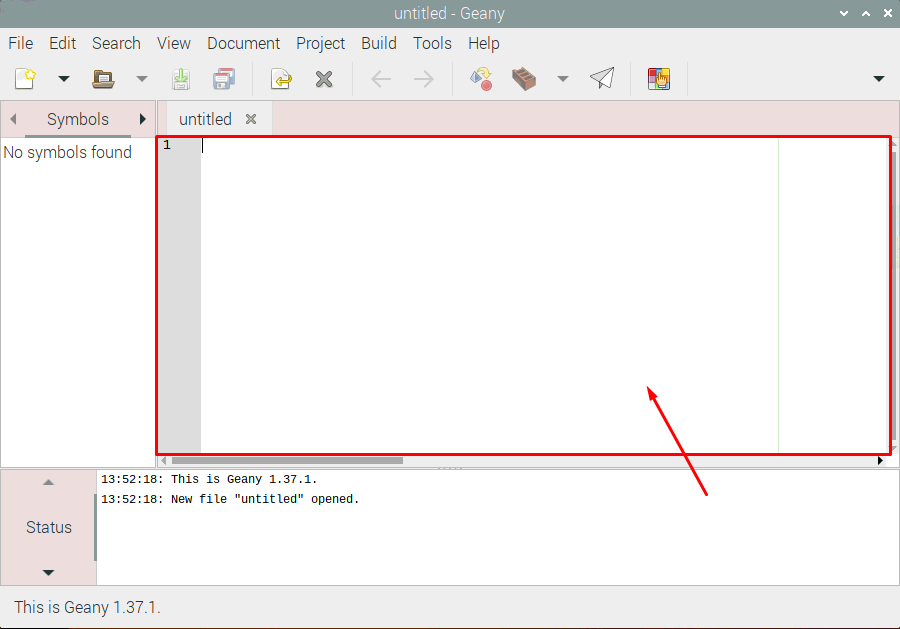
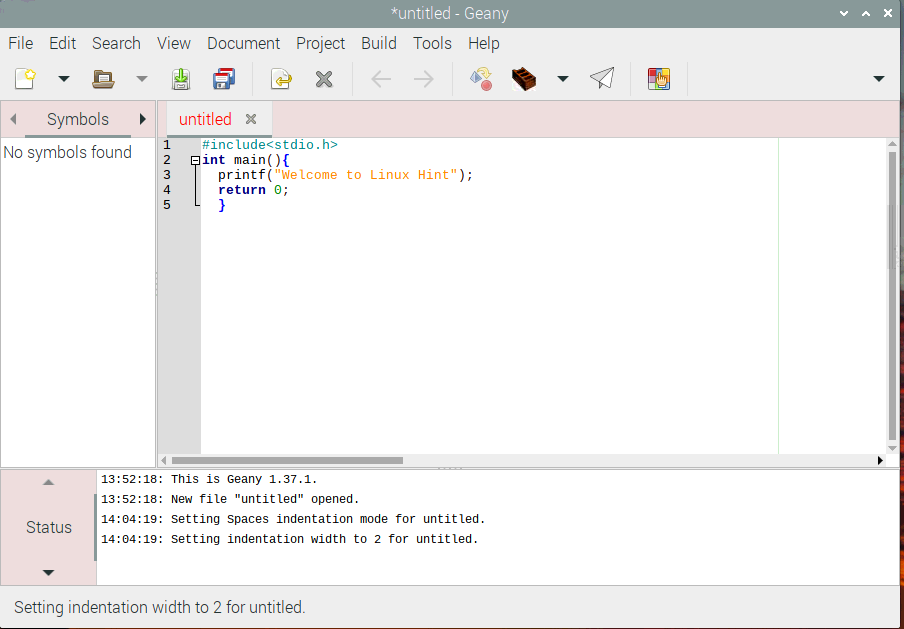
Step 2: When you click on the “Create New File” option, you will see a window appear on the Geany where you can write your C code in it.
Step 3: Now, you can start to write your first basic code in C which is printing the text “Welcome to the Linux Hint” and the code will be like this as shown in the image below.
printf ( “Welcome to Linux Hint” )
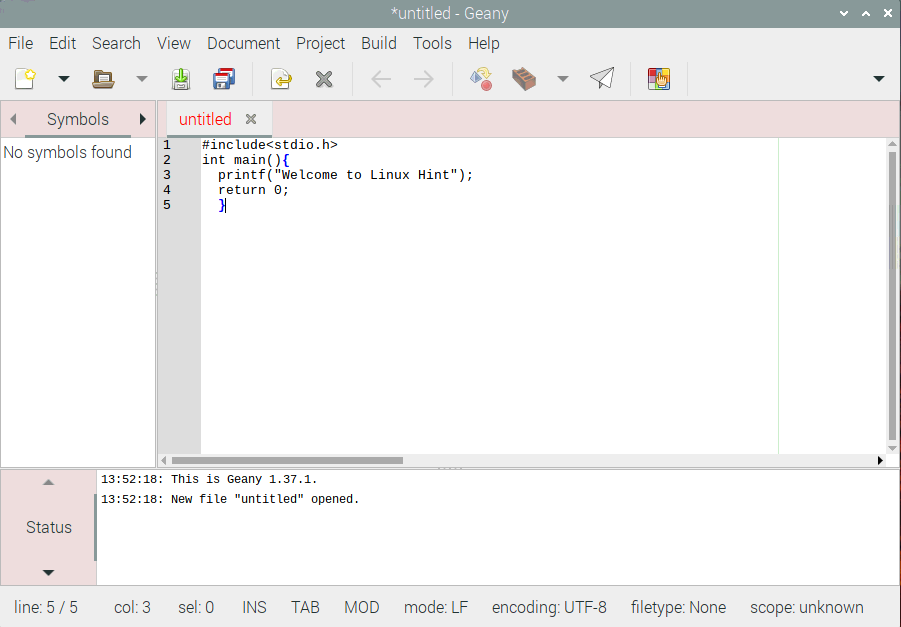
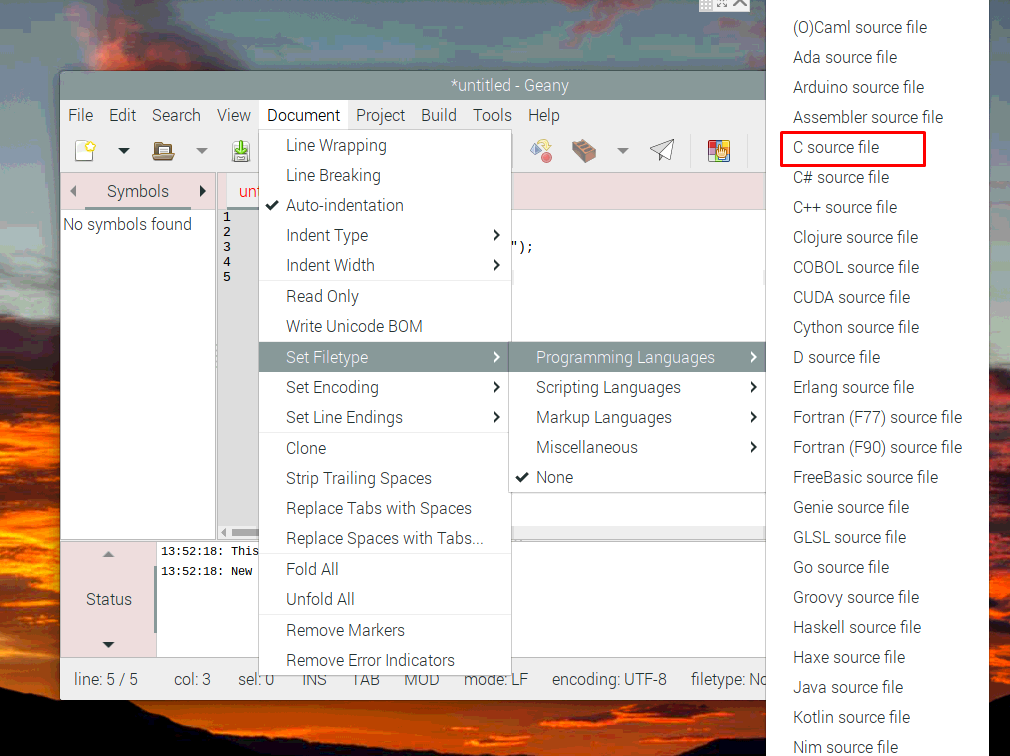
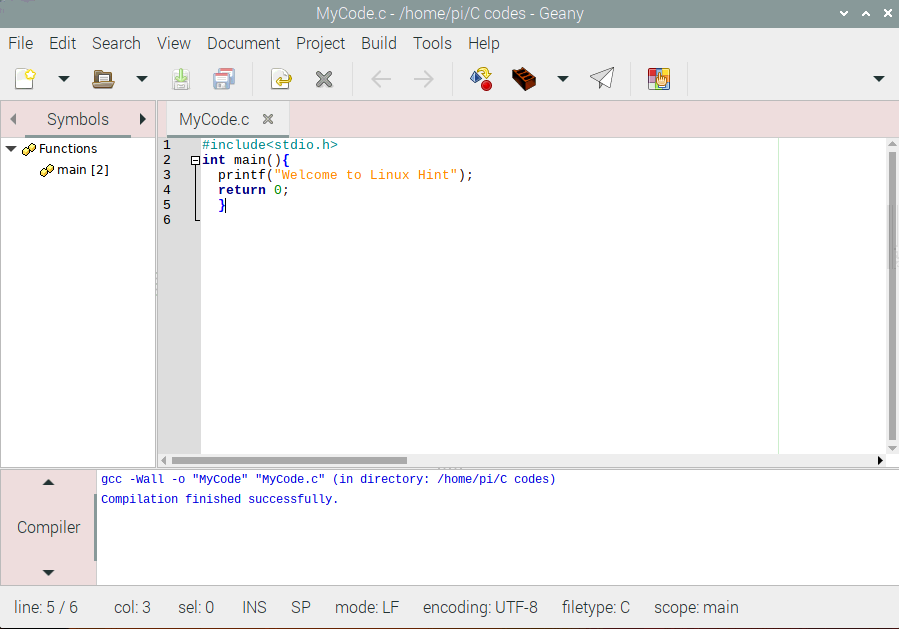
Step 4: Click on the “Document” option, then select “Set Filetype” and in the “Programming Languages Option” select “C source file” option. When you do this, you will see the code which will look like this as shown in the image below.
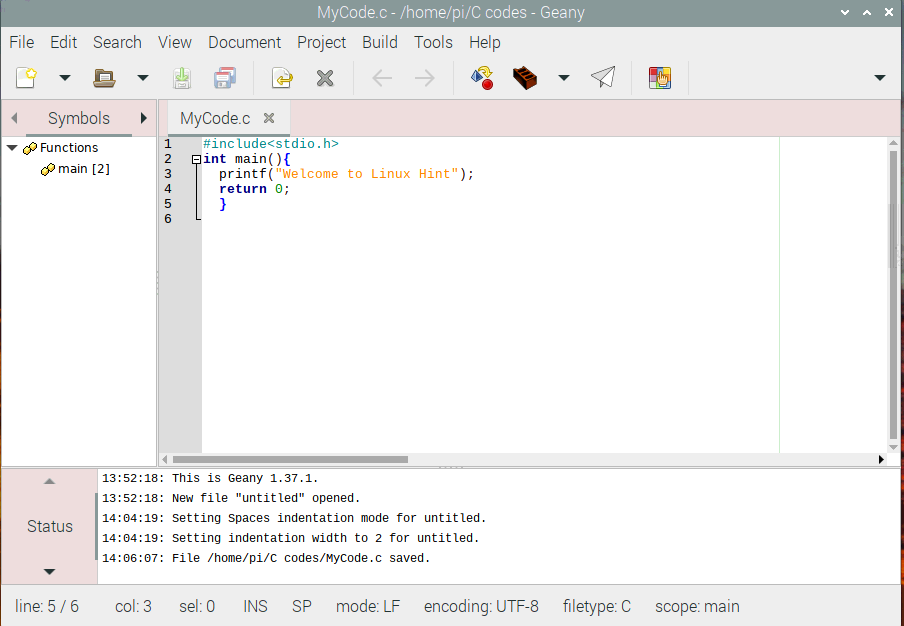
Step 5: After writing the above code press “Ctrl+S” to save the file with the name of your choice by making a folder with the name “C codes” and save the file in it.
Step 6: Now, click on the “Build” option as shown in the image below or press the “F9” button from the keyboard.
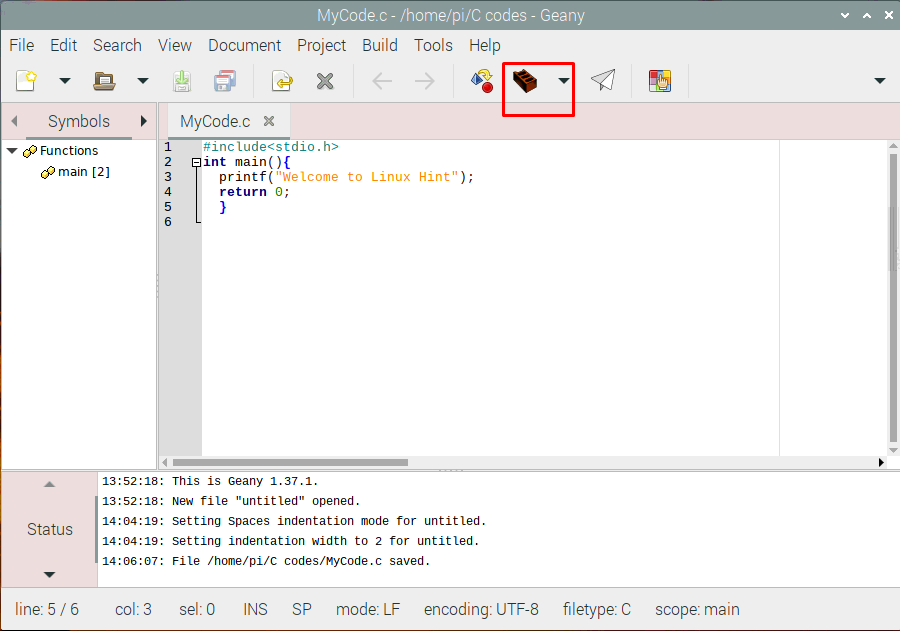
You will see that your code is successfully built in the compiler.
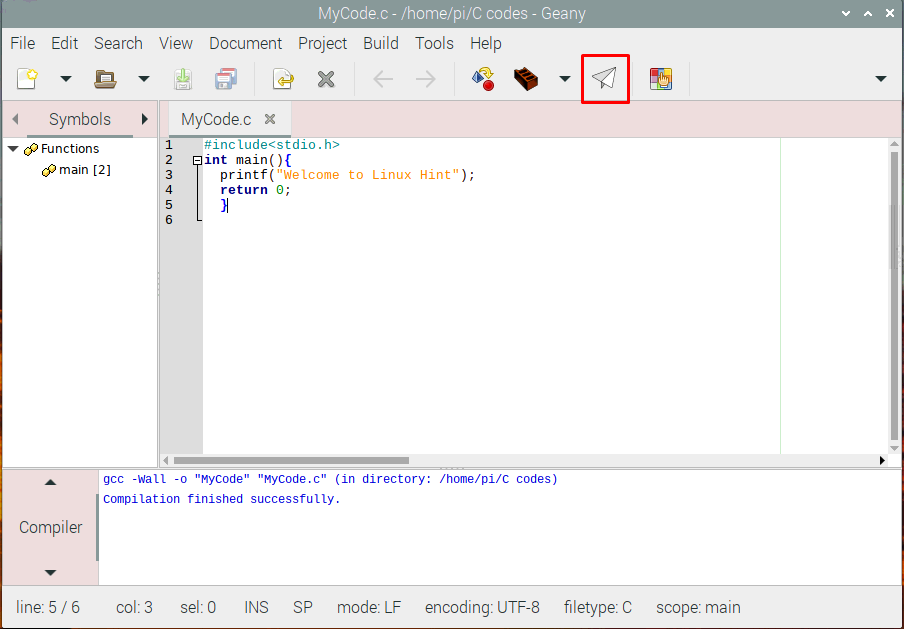
Step 7: Now, click on the “Run or view the current file” option to run the code.
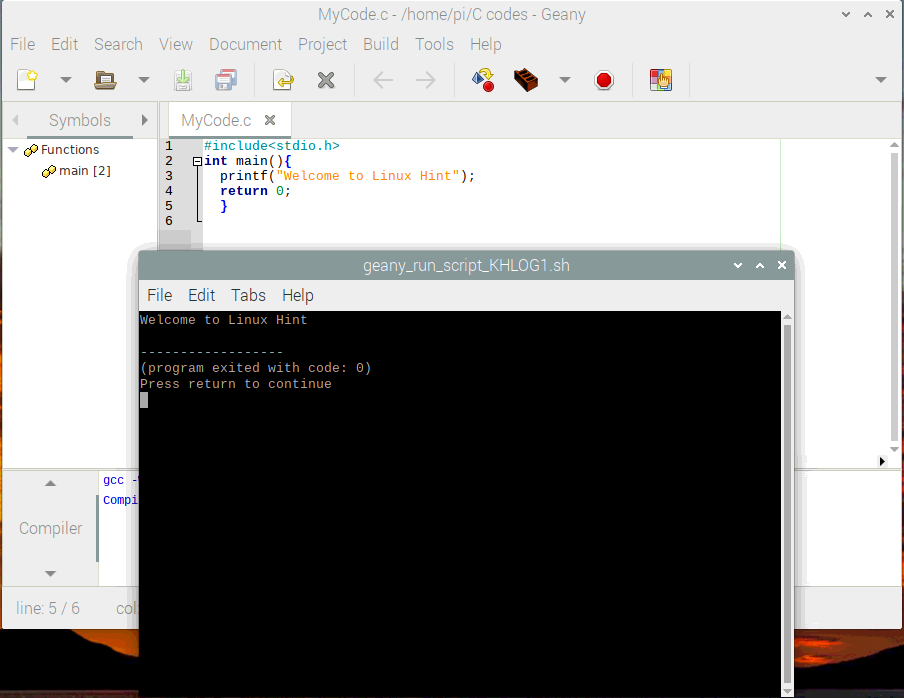
Step 8: When you click on it, you will see a dialog box open on your screen, where you will see your message “Welcome to the Linux Hint” which is your required output.
Conclusion
C programming language is easy to write, learn and fast language that offers tons of libraries. Raspberry Pi is one of devices that can run and execute C programs in a very less complex way. Now that you have successfully learned how you can write and compile your C program on an IDE in Raspberry Pi 4, you should start to write your own codes in C language because this is the only way you can become an expert in C programming and you can easily build projects on it.
About the author
Awais Khan
I’m an Engineer and an academic researcher by profession. My interest for Raspberry Pi, embedded systems and blogging has brought me here to share my knowledge with others.
Основы программирования Raspberry Pi на Python.

Продолжаем наш курс по Raspberry Pi, продвигаемся от самых основ, и сегодня разберем, как выполнять программы, написанные на Python. Как водится, напишем базовый пример, конечно же, «Hello, World».
Итак, начнем с настройки Raspberry. В операционной системе Raspberry Pi OS пакет Python уже установлен, но если бы он отсутствовал, то команда для установки:
sudo apt-get install python
При этом по умолчанию установлены версии 2 и 3. Чтобы узнать, какая из версий используется, вводим команду:
Если результат будет таким (конкретная версия может отличаться), то значит по умолчанию используется Python 2:

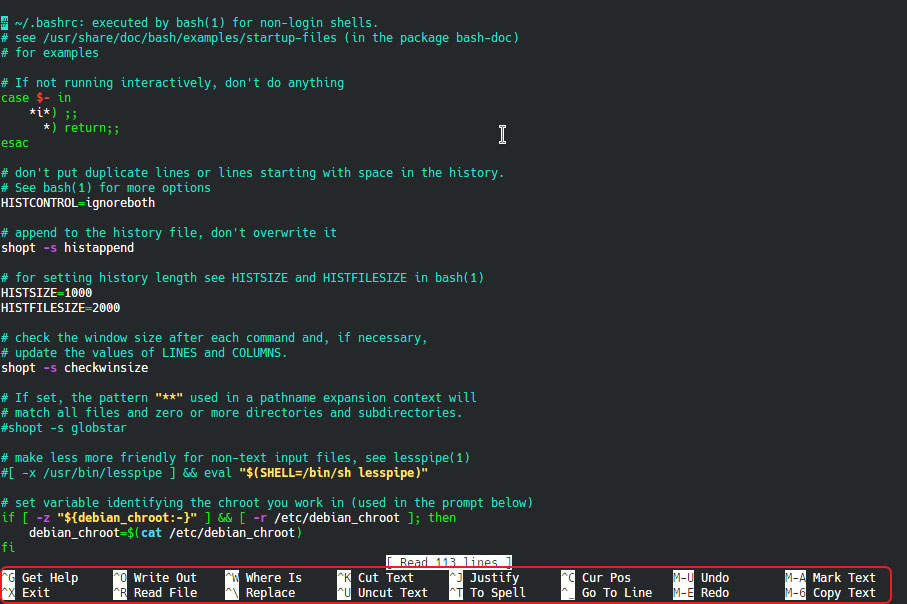
И для того, чтобы это изменить, необходимо отредактировать файл ~/.bashrc. Этот файл находится в домашнем каталоге текущего пользователя и представляет из себя скрипт, который выполняется каждый раз, когда пользователь открывает консоль, подключается по SSH и т. д. Файл используется для настройки окружения пользователя. Используем редактор nano:
После вызова команды файл будет открыт непосредственно в консоли. Обратите внимание на сочетания клавиш для работы с редактором, которые указаны внизу. К примеру, для закрытия редактора используем Ctrl + X:
Прокручиваем файл до самого конца и добавляем строку:
alias python='/usr/bin/python3'
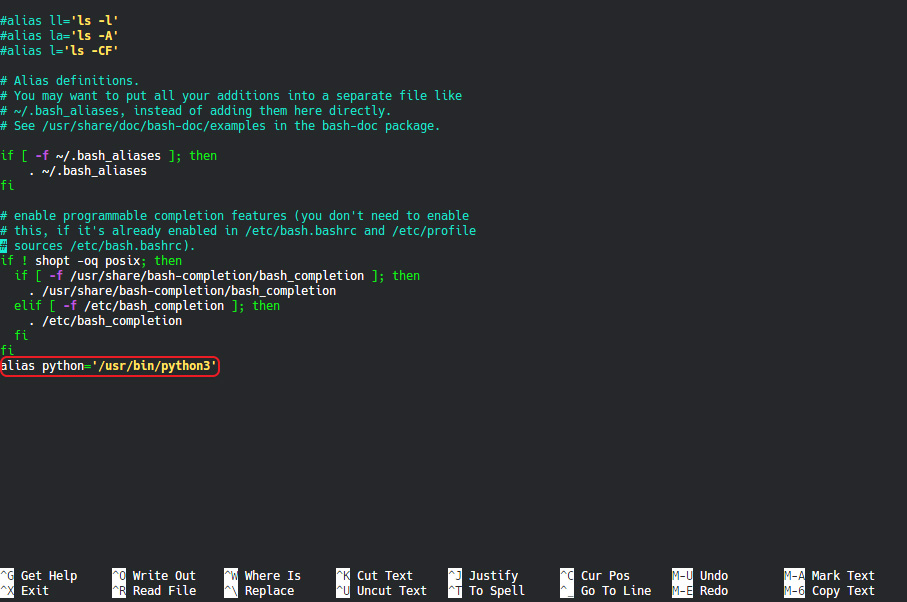
Выходим из редактора и сохраняем файл:
Перезапускаем терминал, перелогиниваемся в случае SSH, либо запускаем скрипт командой:
И теперь уже видим другую картину:

С подготовкой на этом закончили 👍
Для того, чтобы выполнять команды при помощи интерпретатора Python возможны несколько вариантов. К примеру, можно запустить интерпретатор командой:
Символы >>> приглашают нас вводить команды непосредственно в командную строку. Печатаем:

Что получается в итоге? Мы запустили интерпретатор Python и передали ему команду на выполнение, собственно, сразу и увидели результат в виде напечатанной строки «Hello, World!». Кстати для выхода используется сочетание Ctrl + D, либо команда:
Но такой способ, конечно, нас не очень интересует. Гораздо более практичным будет создание файла или файлов с кодом программы, которая уже будет выполняться (однократно или многократно — зависит от целей).
Итак, создадим новый файл. Причем разберем универсальный случай, когда Raspberry Pi используется без дисплея, то есть все действия будем производить через командную строку, подключившись по SSH. При наличии дисплея и элементов управления (клавиатуры, мыши), конечно, также можно использовать исключительно терминал, но кроме того, можно и создавать/редактировать файлы средствами операционной системы.
Действуем. Создаем файл test.py:
По умолчанию файл будет создан в папке /home/pi. После ввода команды мы снова оказывается в редакторе nano, поэтому прямо в консоли изменяем файл. А именно добавляем строку:
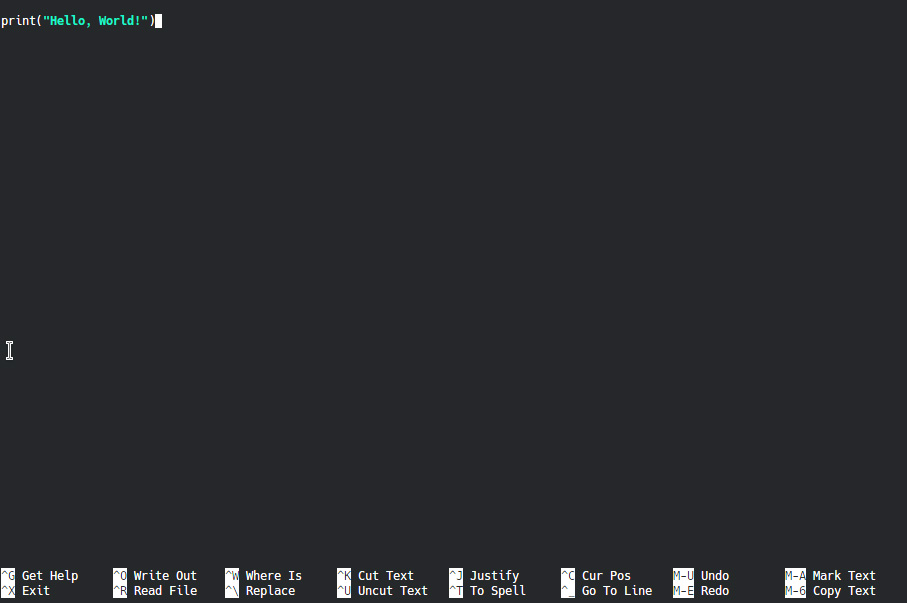
Сохраняем изменения файла так же как делали это ранее. И теперь для запуска просто вводим команду:
Результат ожидаемый и аналогичный:

Вот, собственно, на этом и заканчиваем рассмотрение базовых способов использования Python на Raspberry Pi. В ближайших статьях курса рассмотрим работу с периферией платы (GPIO, I2C, SPI и т. д.).