- Python Tkinter Geometry
- Adjusting Tkinter Screen Size
- Centering Tkinter Window with Geometry
- How to center a Window on the Screen in Tkinter
- Using the Geometry() Function
- Tkinter eval() function
- Tkinter Window
- Changing the window title
- Changing window size and location
- Resizing behavior
- Transparency
- Window stacking order
- Changing the default icon
- Summary
Python Tkinter Geometry
In this tutorial we will discuss the Python Tkinter Geometry method, and the various ways in which it can used to manipulate the Tkinter Window on the Screen.
There are two main uses of the geometry() method, first to adjust the Tkinter Window Size, and secondly to adjust the Tkinter Window’s position on the Screen.
Adjusting Tkinter Screen Size
Often when making GUI applications with Tkinter, you may want to define a size for the Tkinter Window. Now there are many different ways of doing this, such as using a Frame with a specified size. Another popular and easy way to do so is using the Geometry() function.
All you need to do is call the geometry() function on the Tkinter instance created from the Tk() function, and pass in the screen size that you want as parameter.
import tkinter as tk root = tk.Tk() label = tk.Label(root, text = "A 200x150 Window") label.place(x = 50, y = 60) root.geometry('200x150') root.mainloop() Now let’s try adjusting the size a bit, and try again.
import tkinter as tk root = tk.Tk() label = tk.Label(root, text = "A 400x300 Window") label.place(x = 150, y = 120) root.geometry('400x300') root.mainloop() 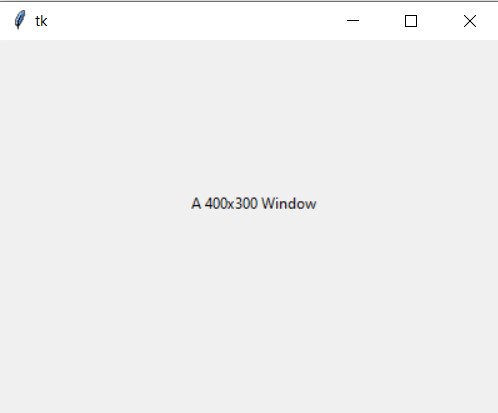
Centering Tkinter Window with Geometry
Another cool use of geometry() is adjusting the initial startup position for the Window. All we need to do is add two more values into the string passed into the geometry() . Instead of num1 x num2 it’s going to be num1 + num2 because we are adding an X and Y offset.
We have used a couple of useful functions to determine the size of the Screen (e.g: 1920×1080) and then doing some simple calculations to determine where the top-left corner of the Tkinter Window should spawn so that it’s perfectly centered.
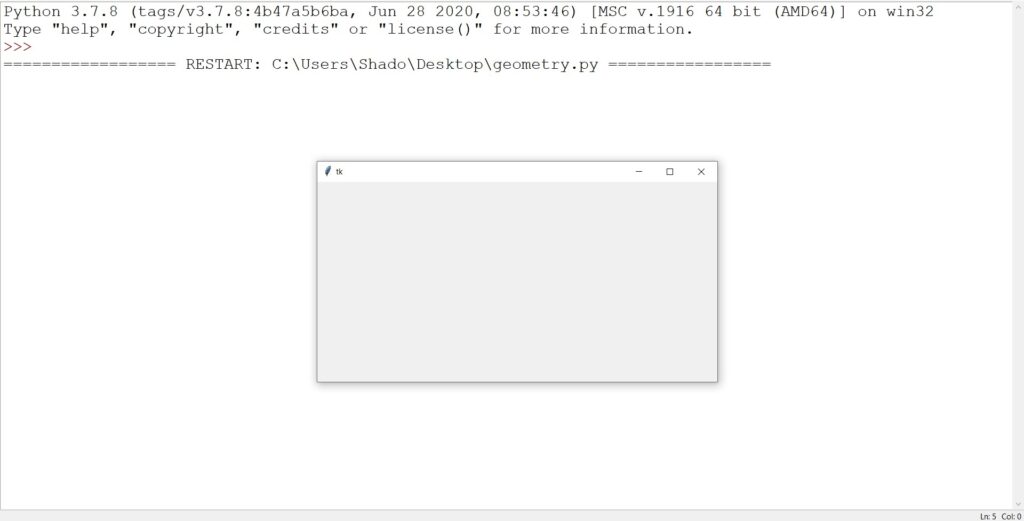
import tkinter as tk root = tk.Tk() w = 600 # Width h = 300 # Height screen_width = root.winfo_screenwidth() # Width of the screen screen_height = root.winfo_screenheight() # Height of the screen # Calculate Starting X and Y coordinates for Window x = (screen_width/2) - (w/2) y = (screen_height/2) - (h/2) root.geometry('%dx%d+%d+%d' % (w, h, x, y)) root.mainloop() The output: (Try it out on your screen!)
If you think this is too much code for such a simple task, there is another method for centering Windows that you can check out.
This marks the end of the Python Tkinter Geometry Tutorial. Any suggestions or contributions for CodersLegacy are more than welcome. Questions regarding the tutorial content can be asked in the comments section below.
How to center a Window on the Screen in Tkinter
In this tutorial we will discuss how to center a Tkinter Window on the Screen!
It’s rather annoying isn’t it? When you launch your Tkinter program, and it appears somewhere in the corner of the screen. Although this might seem acceptable to you, but it certainly won’t to any end-users you may distribute your software too.
Luckily we have two methods which we will be discussing in this tutorial on how to adjust the Screen position upon startup.
Using the Geometry() Function
Often when making GUI applications with Tkinter, you may want to define a size for the Tkinter Window. Now there are many different ways of doing this, such as using a Frame with a specified size. Another popular and easy way to do so is using the Geometry() function.
The Geometry function can also be extended to adjust the initial starting point of the Window.
In the below example, we have used a couple of useful functions to determine the size of the Screen (e.g: 1920×1080) and then doing some simple calculations to determine where the top-left corner of the Tkinter Window should spawn so that it’s perfectly centered.
import tkinter as tk root = tk.Tk() width = 600 # Width height = 300 # Height screen_width = root.winfo_screenwidth() # Width of the screen screen_height = root.winfo_screenheight() # Height of the screen # Calculate Starting X and Y coordinates for Window x = (screen_width/2) - (width/2) y = (screen_height/2) - (height/2) root.geometry('%dx%d+%d+%d' % (w, h, x, y)) root.mainloop()
Tkinter eval() function
Another short and very easy way of centering the Tkinter Screen is to use the eval() function on the Tkinter instance with the appropriate parameter as shown below.
import tkinter as tk root = tk.Tk() label = tk.Label(root, text = "A Window") label.place(x = 70, y = 80) root.eval('tk::PlaceWindow . center') root.mainloop() Try running the code for yourself to the see the magic unfold!
Note: I personally like the first method more, as it gives one alot of control over how things are handled, and can be further customized.
This marks the end of the How to center a Window on the Screen in Tkinter Tutorial. Any suggestions or contributions for CodersLegacy are more than welcome. Questions regarding the tutorial content can be asked in the comments section below.
Tkinter Window
Summary: in this tutorial, you’ll learn how to manipulate various attributes of a Tkinter window.
Let’s start with a simple program that consists of a window:
import tkinter as tk root = tk.Tk() root.mainloop()Code language: Python (python)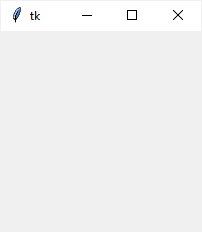
The root window has a title that defaults to tk . It also has three system buttons including Minimize, Maximize, and Close.
Let’s learn how to change the attributes of the root window.
Changing the window title
To change the window’s title, you use the title() method like this:
window.title(new_title)Code language: Python (python)For example, the following changes the title of the root window to ‘Tkinter Window Demo’ :
import tkinter as tk root = tk.Tk() root.title('Tkinter Window Demo') root.mainloop()Code language: Python (python)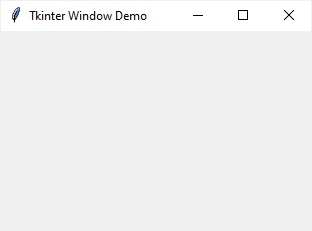
To get the current title of a window, you use the title() method with no argument:
title = window.title()Code language: Python (python)Changing window size and location
In Tkinter, the position and size of a window on the screen is determined by geometry.
The following shows the geometry specification:
widthxheight±x±yCode language: Python (python)
- The width is the window’s width in pixels.
- The height is the window’s height in pixels.
- The x is the window’s horizontal position. For example, +50 means the left edge of the window should be 50 pixels from the left edge of the screen. And -50 means the right edge of the window should be 50 pixels from the right edge of the screen.
- The y is the window’s vertical position. For example, +50 means the top edge of the window should be 50 pixels below the top of the screen. And -50 means the bottom edge of the window should be 50 pixels above the bottom of the screen.
To change the size and position of a window, you use the geometry() method:
window.geometry(new_geometry)Code language: Python (python)The following example changes the size of the window to 600×400 and the position of the window to 50 pixels from the top and left of the screen:
import tkinter as tk root = tk.Tk() root.title('Tkinter Window Demo') root.geometry('600x400+50+50') root.mainloop()Code language: Python (python)Sometimes, you may want to center the window on the screen. The following program illustrates how to do it:
import tkinter as tk root = tk.Tk() root.title('Tkinter Window - Center') window_width = 300 window_height = 200 # get the screen dimension screen_width = root.winfo_screenwidth() screen_height = root.winfo_screenheight() # find the center point center_x = int(screen_width/2 - window_width / 2) center_y = int(screen_height/2 - window_height / 2) # set the position of the window to the center of the screen root.geometry(f'x++') root.mainloop()Code language: PHP (php)- First, get the screen width and height using the winfo_screenwidth() and winfo_screenheight() methods.
- Second, calculate the center coordinate based on the screen and window width and height.
- Finally, set the geometry for the root window using the geometry() method.
If you want to get the current geometry of a window, you can use the geometry() method without providing any argument:
window.geometry()Code language: Python (python)Resizing behavior
By default, you can resize the width and height of a window. To prevent the window from resizing, you can use the resizable() method:
window.resizable(width,height)Code language: Python (python)The resizable() method has two parameters that specify whether the width and height of the window can be resizable.
The following shows how to make the window with a fixed size:
import tkinter as tk root = tk.Tk() root.title('Tkinter Window Demo') root.geometry('600x400+50+50') root.resizable(False, False) root.mainloop()Code language: Python (python)
When a window is resizable, you can specify the minimum and maximum sizes using the minsize() and maxsize() methods:
window.minsize(min_width, min_height) window.maxsize(min_height, max_height)Code language: Python (python)Transparency
Tkinter allows you to specify the transparency of a window by setting its alpha channel ranging from 0.0 (fully transparent) to 1.0 (fully opaque):
window.attributes('-alpha',0.5)Code language: Python (python)The following example illustrates a window with 50% transparent:
import tkinter as tk root = tk.Tk() root.title('Tkinter Window Demo') root.geometry('600x400+50+50') root.resizable(False, False) root.attributes('-alpha', 0.5) root.mainloop()Code language: Python (python)![]()
Window stacking order
The window stack order refers to the order of windows placed on the screen from bottom to top. The closer window is on the top of the stack and it overlaps the one lower.
To ensure that a window is always at the top of the stacking order, you can use the -topmost attribute like this:
window.attributes('-topmost', 1)Code language: Python (python)To move a window up or down of the stack, you can use the lift() and lower() methods:
window.lift() window.lift(another_window) window.lower() window.lower(another_window)Code language: Python (python)The following example places the root window on top of all other windows. In other words, the root window is always on top:
import tkinter as tk root = tk.Tk() root.title('Tkinter Window Demo') root.geometry('300x200+50+50') root.resizable(0, 0) root.attributes('-topmost', 1) root.mainloop()Code language: Python (python)Changing the default icon
Tkinter window displays a default icon. To change this default icon, you follow these steps:
- Prepare an image in the .ico format. If you have the image in other formats like png or jpg , you can convert it to the .ico format. There are many online tools that allow you to do it quite easily.
- Place the icon in a folder that can be accessible from the program.
- Call the iconbitmap() method of the window object.
The following program illustrates how to change the default icon to a new one:
import tkinter as tk root = tk.Tk() root.title('Tkinter Window Demo') root.geometry('300x200+50+50') root.resizable(False, False) root.iconbitmap('./assets/pythontutorial.ico') root.mainloop()Code language: PHP (php)![]()
If you want to use the above icon, you can download it to your computer:
Summary
- Use the title() method to change the title of the window.
- Use the geometry() method to change the size and location of the window.
- Use the resizable() method to specify whether a window can be resizable horizontally or vertically.
- Use the window.attributes(‘-alpha’,0.5) to set the transparency for the window.
- Use the window.attributes(‘-topmost’, 1) to make the window always on top.
- Use lift() and lower() methods to move the window up and down of the window stacking order.
- Use the iconbitmap() method to change the default icon of the window.