- Tkinter Text Widget | MultiLine Input in Python
- Creating the Text Widget
- Indexes
- Insert Text
- Retrieve Text
- Delete Text
- Adding Images
- Adding Scrolling
- Video
- Select all text in a Text widget using Python 3 with tkinter
- Example
- Output
- Tkinter Text
- Introduction to Tkinter Text widget
- Inserting initial content
- Retrieving the text value
- Disabling the Text widget
- Summary
Tkinter Text Widget | MultiLine Input in Python
Tkinter, being the large and expansive GUI library that it is, offers us a wide range of widgets to take input in Python. One of these many widgets is the Tkinter Text Widget, which can be used to take multiline input. It also has a ton of amazing features that allow us to create complex GUI applications such as Notepad’s and Syntax Highlighters.
Another very popular alternative is the Tkinter Entry widget, used to take single line input. For most cases, it will be your preferred choice of input.
Creating the Text Widget
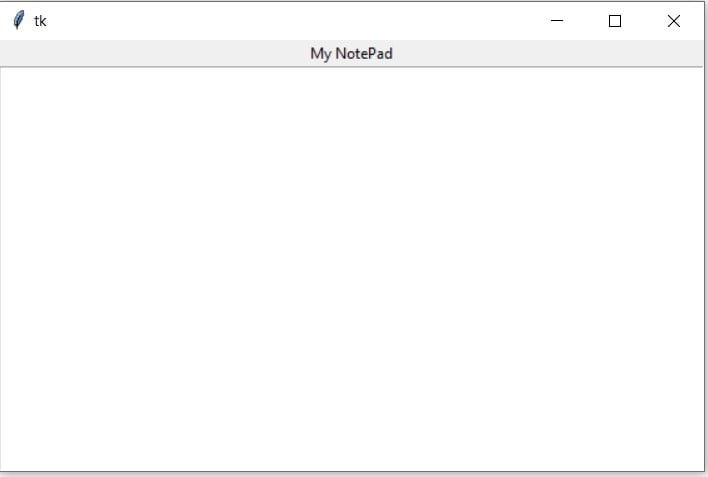
We’ve added in some extra parameters such as Height and Width for a custom size. We have also passed in expand = True and fill = tk.BOTH parameters into the frame and text widget, so that if we resize the window the size of the Text widget will expand in “both” the X and Y direction to adjust accordingly.
import tkinter as tk class Window: def __init__(self, master): self.master = master self.frame = tk.Frame(self.master) self.frame.pack(expand = True, fill = tk.BOTH) self.label = tk.Label(self.frame, text = "My NotePad") self.label.pack() self.text = tk.Text(self.frame, undo = True, height = 20, width = 70) self.text.pack(expand = True, fill = tk.BOTH) root = tk.Tk() window = Window(root) root.mainloop()
Below is the output of the above code:
Indexes
The first thing you need to do, is to understand the indexing system in the Text widget. «1.0» for instance, refers to “Line 1” and “character 1”. So character 1 on line 1. (And yes, remember that indexing starts from zero, but that only applies on the characters, not the lines). Similarly, «3.7» refers to Line 3, character 8.
There are a bunch of other words we can use, like «end» which means the last character in the Text widget. There is also linestart and lineend , which give us the first and last character respectively of a line. «2.4 linestart» will return the index of the first character on line 2.
Insert Text
Using the insert() method on the text widget we created, allows us to directly insert text at a specified index. It takes two parameters, an index and the data to be inserted.
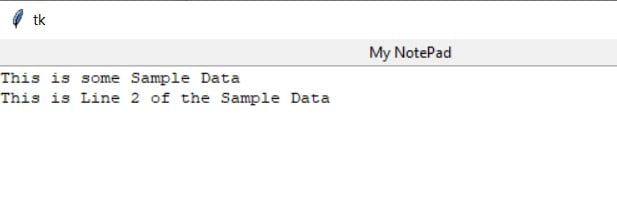
self.text.insert("1.0", "This is some Sample Data \nThis is Line 2 of the Sample Data") As you can see in the code above, and the image below, you can add newline characters to ensure proper formatting as well.
Here is another example of inserting some data. This code will add the text to the end of the Text widget.
self.text.insert("end", "\nThis is some Sample Data \nThis is Line 2 of the Sample Data") Retrieve Text
Since we can insert text into widgets, it makes sense for us to be able to retrieve them as well. Using the get() function, we can retrieve text by specifying a starting index and a ending index. All the data between those two points will be returned.
self.text.get("1.0", "end - 1 chars") The code above returns all the text in the tkinter widget, except for the last newline character. Since the last character in the text widget is a newline character, doing end — 1 chars will give us the position of the character before the newline character. (You don’t have to do this, I just wanted to demonstrate this capability)
self.text.get("1.0", "end - 1 lines") Similarly, the above code returns all of the text in the text widget, with the exception of the last line.
The above code returns the first line of text in the text widget.
self.text.get("1.0", "1.0 + 3 lines") The above code returns the first 3 lines of code in the text widget.
Delete Text
If you’ve been paying attention, you’ll realize immediately that the below code uses the delete() function to remove all the text in the text widget.
Here is another interesting way of using indexes in Text widget. Imagine that you have the index of the first character of a word, and you want to delete the whole word. Now, you don’t know the full size of the word, and thus can’t specify the end range.
This is where the wordstart and wordend features comes in. Just like end , it will automatically find the start and end of the word.
self.text.delete("1.3 wordstart", "1.3 wordend") The above code will delete the whole word, situated at the index 1.3 (line 1, character 3).
Adding Images
With a combination of the Tkinter PhotoImage and image_create() functions, we can load, create and insert an image into the Tkinter Text widget.
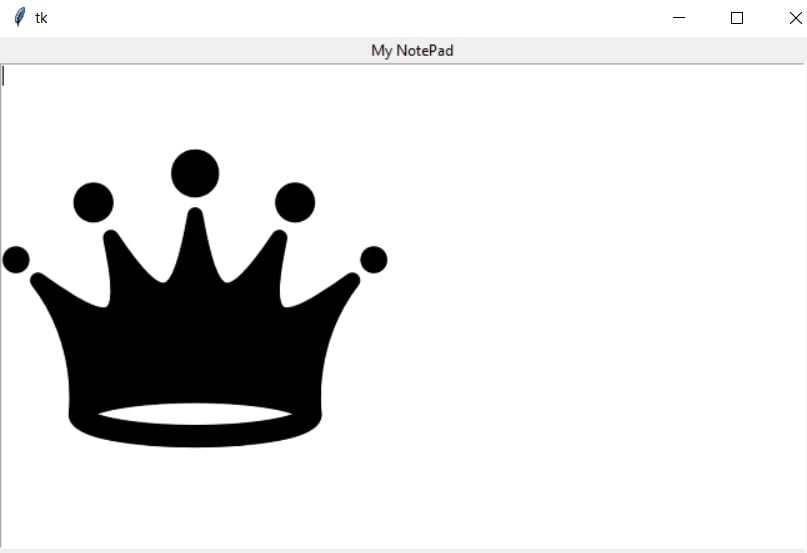
self.img = tk.PhotoImage( file = "crown.png") self.text.image_create("end", image = self.img) In the code above, we load up the «crown.png» , and insert it at the end of the text widget.
self.img = tk.PhotoImage( file = "crown.png") self.text.image_create(tk.INSERT, image = self.img)
Here is another very interesting piece of code which uses the tk.INSERT index. The unique thing about this is that it returns the index of the “Insert” cursor. (You can see it in the image below, near the top). Wherever this cursor of yours is, it will insert the image there.
Adding Scrolling
Another handy thing we can do is add a scrollbar to the Text widget. This is actually part of the Tkinter ScrollBar tutorial, but I decided to include this here too.
class Window: def __init__(self, master): self.master = master self.frame = tk.Frame(self.master) self.frame.pack(expand = True, fill = tk.BOTH) self.label = tk.Label(self.frame, text = "My NotePad") self.label.pack() # Creating ScrollBars self.scrolly = tk.Scrollbar(self.frame) self.scrolly.pack(side = tk.RIGHT, fill = tk.Y) self.scrollx = tk.Scrollbar(self.frame, orient = tk.HORIZONTAL) self.scrollx.pack(side = tk.BOTTOM, fill = tk.X) # Creating Text Widget self.text = tk.Text(self.frame, wrap = tk.NONE, undo = True, yscrollcommand = self.scrolly.set, xscrollcommand = self.scrollx.set) self.text.pack(expand = True, fill = tk.BOTH) # Config the Scrollbars self.scrolly.config(command = self.text.yview) self.scrollx.config(command = self.text.xview)
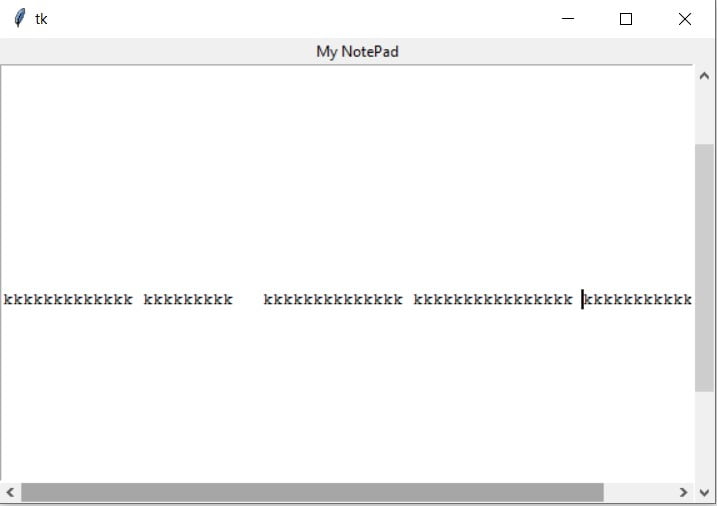
If you want an explanation for the above code, just refer to the Scrollbar tutorial, otherwise the output is shown below.
Video
Here, we have a short video series on the Tkinter Text Widget. It’s great if you want more depth and demonstration on the various options and code that we discussed in this tutorial. It’s also great for understanding how exactly we can use the Tkinter Text widget in real life applications.
Be sure to check out the last video, where we create an actual Syntax Highlighter using the Tkinter Text Widget.
Select all text in a Text widget using Python 3 with tkinter
Tkinter text widgets are used for creating text fields that contain multiline user input. It has many inbuilt functions and methods which can be invoked to perform certain operations on text widgets. In contrast, let us assume that we have written a bunch of context in the text widget and if we want to select all the text, then we can use tag_add(tag, range) to select the text and add tag and tag_configure(tag, options) to style the tag property.
Example
#Import tkinter library from tkinter import * #Create an instance of tkinter frame win = Tk() #Set the geometry win.geometry("750x200") def select_text(): text.tag_add("start", "1.0","end") text.tag_configure("start",background="black", foreground= "white") #Create a Text Widget text= Text(win) text.insert(INSERT, "Python is an interpreted, high-level and generalpurpose programming language. Python's design philosophy emphasizes code readability with its notable use of significant indentation") text.pack() #Create a button to select all the text in the text widget button= Button(win, text= "Select", background= "gray71", command=select_text) button.pack(pady=20, side= TOP) win.mainloop() Output
Executing the above code will display a window with a button «Select» which can be used to select all the content written in the text widget.
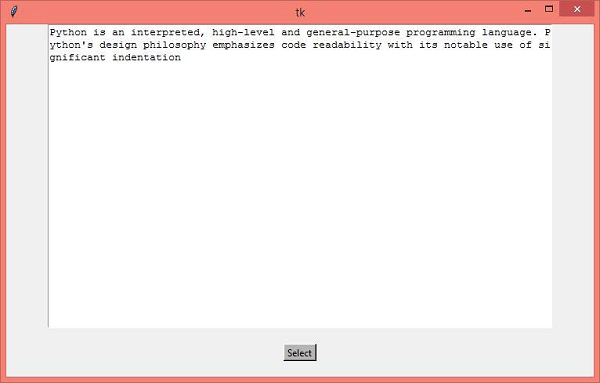
Now, click the «Select» button to select all the text in the widget.
Tkinter Text
Summary: in this tutorial, you’ll learn how to use the Tkinter Text widget to add a text editor to your application.
Introduction to Tkinter Text widget
The Text widget allows you to display and edit multi-line textarea with various styles. Besides the plain text, the Text widget supports embedded images and links.
To create a text widget, you use the following syntax:
text = tk.Text(master, conf=<>, **kw)- The master is the parent component of the Text widget.
- The cnf is a dictionary that specifies the widget’s configuration.
- The kw is one or more keyword arguments used to configure the Text widget.
Note that the Text widget is only available in the Tkinter module, not the Tkinter.ttk module.
The following example creates a Text widget with eight rows and places it on the root window:
from tkinter import Tk, Text root = Tk() root.resizable(False, False) root.title("Text Widget Example") text = Text(root, height=8) text.pack() root.mainloop()Code language: JavaScript (javascript)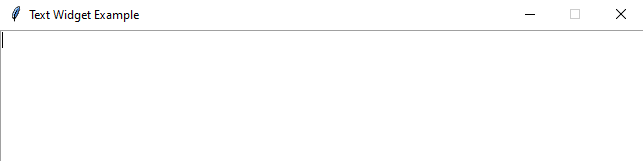
In this example, the height argument specifies the number of rows of the Text widget.
Inserting initial content
To insert contents into the text area, you use the insert() method. For example:
from tkinter import Tk, Text root = Tk() root.resizable(False, False) root.title("Text Widget Example") text = Text(root, height=8) text.pack() text.insert('1.0', 'This is a Text widget demo') root.mainloop()Code language: JavaScript (javascript)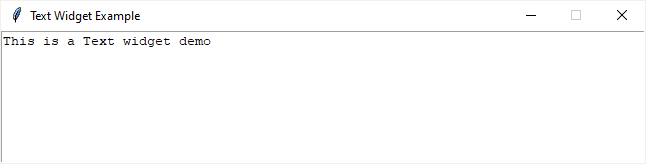
The first argument of the insert() method is the position where you want to insert the text.
The position has the following format:
'line.column'Code language: JavaScript (javascript)In the above example, ‘1.0’ means line 1, character 0, which is the first character of the first line on the text area.
Retrieving the text value
To retrieve the contents of a Text widget, you use its get() method. For example:
text_content = text.get('1.0','end')Code language: JavaScript (javascript)The get() method accepts two arguments. The first argument is the start position, and the second is the end position.
To retrieve only part of the text, you can specify different start and end positions.
Disabling the Text widget
To prevent users from changing the contents of a Text widget, you can disable it by setting the state option to ‘disabled’ like this:
text['state'] = 'disabled'Code language: JavaScript (javascript)To re-enable editing, you can change the state option back to normal :
text['state'] = 'normal'Code language: JavaScript (javascript)