- Subplots spacings and margins#
- Programmatically controlling subplot adjustment#
- Как настроить интервал между подграфиками Matplotlib
- Создать подсюжеты
- Отрегулируйте интервал между подграфиками, используя tight_layout()
- Отрегулируйте интервал заголовков подзаголовков
- Отрегулируйте интервал общего заголовка
Subplots spacings and margins#
Adjusting the spacing of margins and subplots using pyplot.subplots_adjust .
There is also a tool window to adjust the margins and spacings of displayed figures interactively. It can be opened via the toolbar or by calling pyplot.subplot_tool .

import matplotlib.pyplot as plt import numpy as np # Fixing random state for reproducibility np.random.seed(19680801) plt.subplot(211) plt.imshow(np.random.random((100, 100))) plt.subplot(212) plt.imshow(np.random.random((100, 100))) plt.subplots_adjust(bottom=0.1, right=0.8, top=0.9) cax = plt.axes([0.85, 0.1, 0.075, 0.8]) plt.colorbar(cax=cax) plt.show()
Programmatically controlling subplot adjustment#
This example is primarily intended to show some advanced concepts in Matplotlib.
If you are only looking for having enough space for your labels, it is almost always simpler and good enough to either set the subplot parameters manually using Figure.subplots_adjust , or use one of the automatic layout mechanisms ( Constrained Layout Guide or Tight Layout guide ).
This example describes a user-defined way to read out Artist sizes and set the subplot parameters accordingly. Its main purpose is to illustrate some advanced concepts like reading out text positions, working with bounding boxes and transforms and using events . But it can also serve as a starting point if you want to automate the layouting and need more flexibility than tight layout and constrained layout.
Below, we collect the bounding boxes of all y-labels and move the left border of the subplot to the right so that it leaves enough room for the union of all the bounding boxes.
There’s one catch with calculating text bounding boxes: Querying the text bounding boxes ( Text.get_window_extent ) needs a renderer ( RendererBase instance), to calculate the text size. This renderer is only available after the figure has been drawn ( Figure.draw ).
A solution to this is putting the adjustment logic in a draw callback. This function is executed after the figure has been drawn. It can now check if the subplot leaves enough room for the text. If not, the subplot parameters are updated and second draw is triggered.
import matplotlib.pyplot as plt import matplotlib.transforms as mtransforms fig, ax = plt.subplots() ax.plot(range(10)) ax.set_yticks([2, 5, 7], labels=['really, really, really', 'long', 'labels']) def on_draw(event): bboxes = [] for label in ax.get_yticklabels(): # Bounding box in pixels bbox_px = label.get_window_extent() # Transform to relative figure coordinates. This is the inverse of # transFigure. bbox_fig = bbox_px.transformed(fig.transFigure.inverted()) bboxes.append(bbox_fig) # the bbox that bounds all the bboxes, again in relative figure coords bbox = mtransforms.Bbox.union(bboxes) if fig.subplotpars.left bbox.width: # Move the subplot left edge more to the right fig.subplots_adjust(left=1.1*bbox.width) # pad a little fig.canvas.draw() fig.canvas.mpl_connect('draw_event', on_draw) plt.show()

The use of the following functions, methods, classes and modules is shown in this example:
Как настроить интервал между подграфиками Matplotlib
Часто вы можете использовать подзаголовки для отображения нескольких графиков рядом друг с другом в Matplotlib. К сожалению, эти подсюжеты имеют тенденцию перекрывать друг друга по умолчанию.
Самый простой способ решить эту проблему — использовать функцию Matplotlibtight_layout ().В этом руководстве объясняется, как использовать эту функцию на практике.
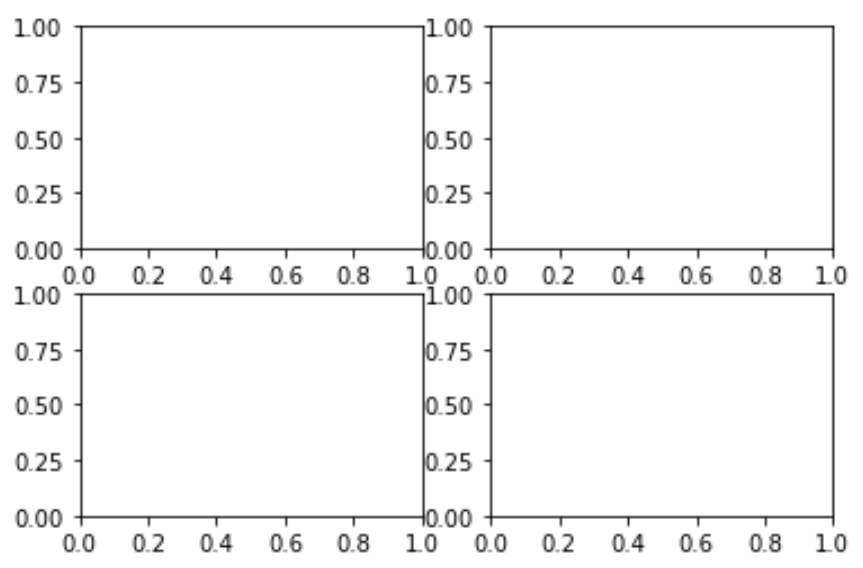
Создать подсюжеты
Рассмотрим следующее расположение 4 подзаголовков в 2 столбцах и 2 строках:
import matplotlib.pyplot as plt #define subplots fig, ax = plt.subplots(2, 2) #display subplots plt.show() 
Обратите внимание, как сюжеты немного перекрывают друг друга.
Отрегулируйте интервал между подграфиками, используя tight_layout()
Самый простой способ решить эту проблему перекрытия — использовать функцию Matplotlibtight_layout () :
import matplotlib.pyplot as plt #define subplots fig, ax = plt.subplots(2, 2) fig. tight_layout () #display subplots plt.show() 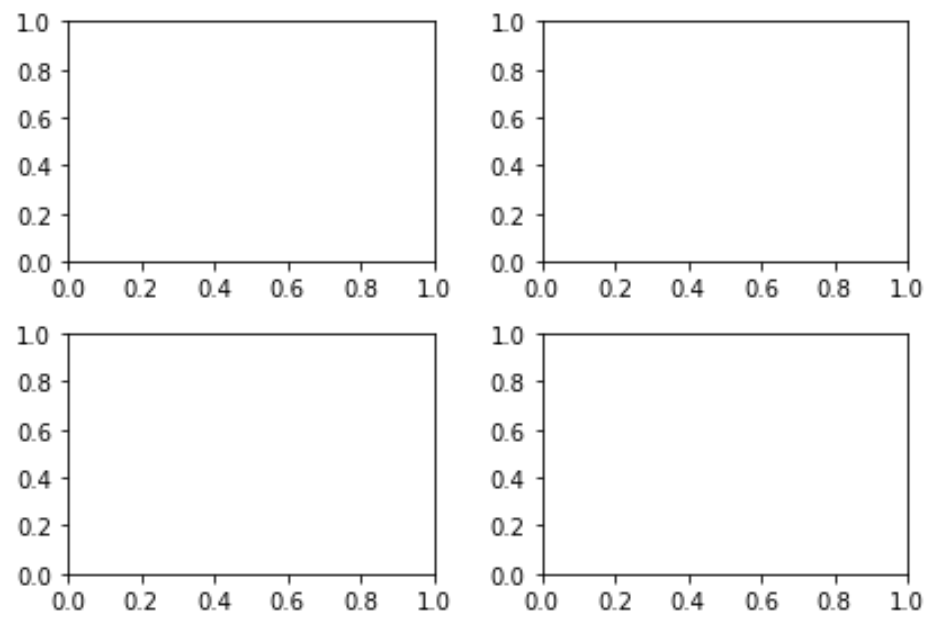
Отрегулируйте интервал заголовков подзаголовков
В некоторых случаях у вас также могут быть названия для каждого из ваших сюжетов. К сожалению, даже функция tight_layout() приводит к перекрытию заголовков подзаголовков:
import matplotlib.pyplot as plt #define subplots fig, ax = plt.subplots(2, 2) fig. tight_layout () #define subplot titles ax[0, 0].set_title('First Subplot') ax[0, 1].set_title('Second Subplot') ax[1, 0].set_title('Third Subplot') ax[1, 1].set_title('Fourth Subplot') #display subplots plt.show() 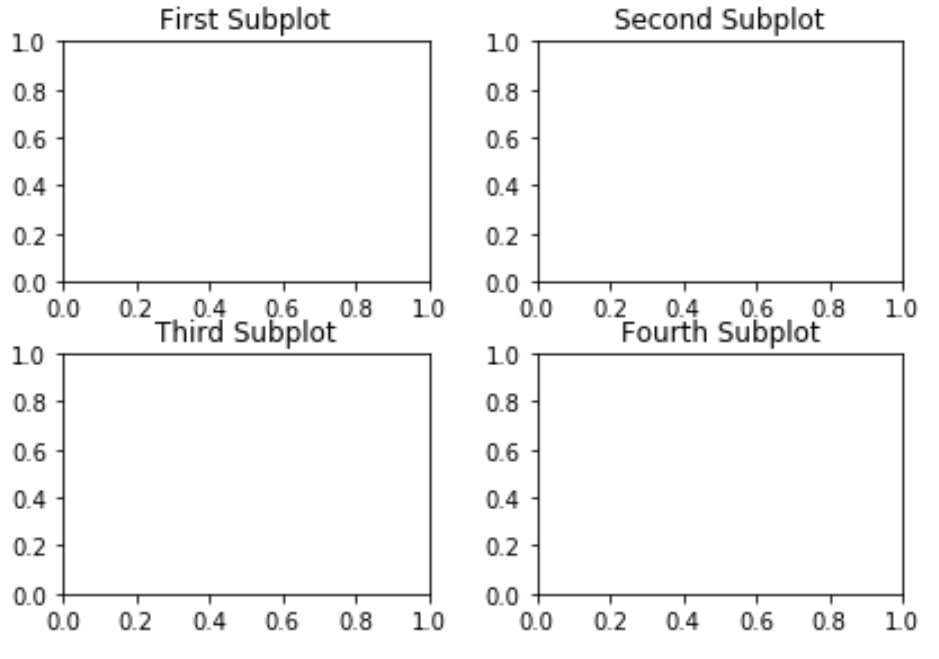
Способ решить эту проблему — увеличить отступ по высоте между подграфиками с помощью аргумента h_pad :
import matplotlib.pyplot as plt #define subplots fig, ax = plt.subplots(2, 2) fig. tight_layout (h_pad= 2 ) #define subplot titles ax[0, 0].set_title('First Subplot') ax[0, 1].set_title('Second Subplot') ax[1, 0].set_title('Third Subplot') ax[1, 1].set_title('Fourth Subplot') #display subplots plt.show() 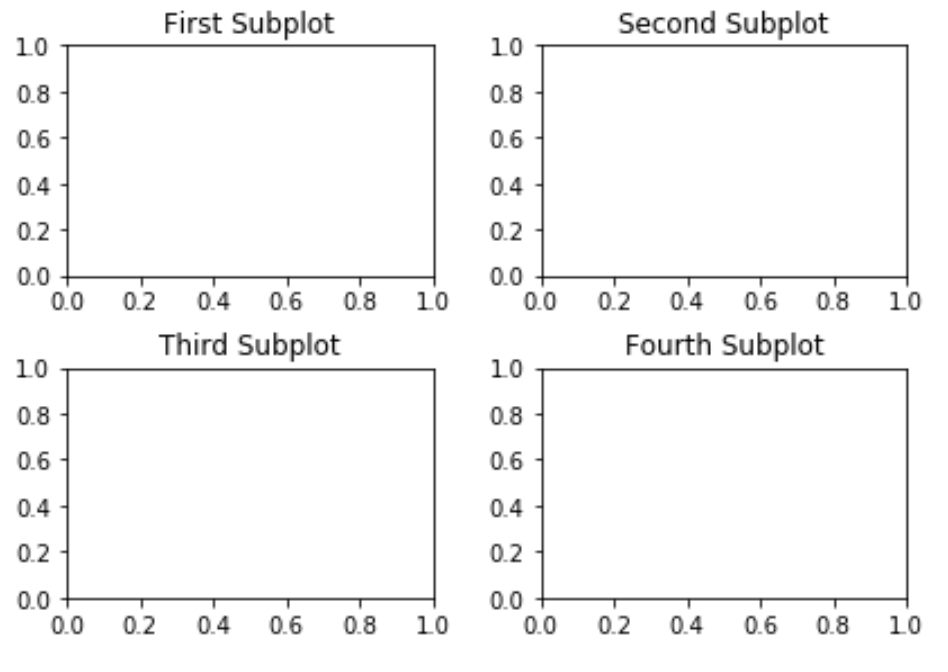
Отрегулируйте интервал общего заголовка
Если у вас есть общий заголовок, вы можете использовать функцию subplots_adjust() , чтобы убедиться, что он не перекрывается с заголовками подзаголовков:
import matplotlib.pyplot as plt #define subplots fig, ax = plt.subplots(2, 2) fig. tight_layout (h_pad= 2 ) #define subplot titles ax[0, 0].set_title('First Subplot') ax[0, 1].set_title('Second Subplot') ax[1, 0].set_title('Third Subplot') ax[1, 1].set_title('Fourth Subplot') #add overall title and adjust it so that it doesn't overlap with subplot titles fig.suptitle('Overall Title') plt.subplots_adjust(top= 0.85 ) #display subplots plt.show() 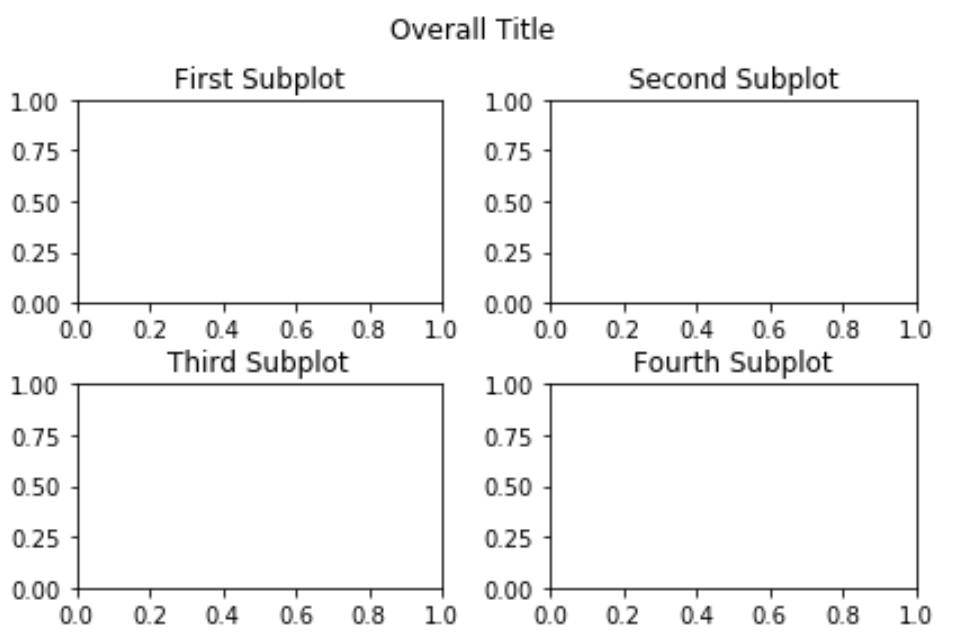
Вы можете найти больше руководств по Matplotlib здесь .