How To Take A Screenshot In Python Using PIL
In this tutorial, I will demonstrate how to take a screenshot using PIL in Python. Window, macOS and Linux are all supported.
PIL (Python Imaging Library / Pillow) is a Python library that adds support for opening, manipulating, and saving many different image file formats. It has a very friendly API with lots of help online including good documentation.
PIL supports Windows macOS and Linux and supports many versions of Python; see the installation notes to identify which version of PIL you will need for the version of Python you are using. At the time of wiring this, PIL 7 has been released and supports Python 3.8 — 3.5.
To install PIL, execute the following in a terminal:
python -m pip install Pillow To install an older version of PIL, execute python -m pip install pip= eg. python -m pip install pip=7.2.0 . You can find older versions released in the release notes.
To validate it was installed correctly, go to IDLE or a python shell and execute:
If no import error is raised, it was installed successfully.
Make sure you have executed the install command above; if you’re not sure you have executed it already, it is safe to execute it a second time.
If there were no errors when installing it and it says PIL is installed successfully, make sure you’re 100% sure that you installed PIL in the same distribution of Python that you’re trying to import it in. Go to my tutorial on How to Manage Multiple Python Distributions if you’re having some issues or are unsure about this.
To take a screenshot, we first need to import the ImageGrab module from PIL.
After we have the ImageGrab module, we can call .grab() to take a screenshot
from PIL import ImageGrab screenshot = ImageGrab.grab() # Take the screenshot On Linux, you must be using PIL 7.1.0 or higher for this to work; see release notes.
To view the screenshot, we can call .show() on the returned Image object. For example, using the code from above:
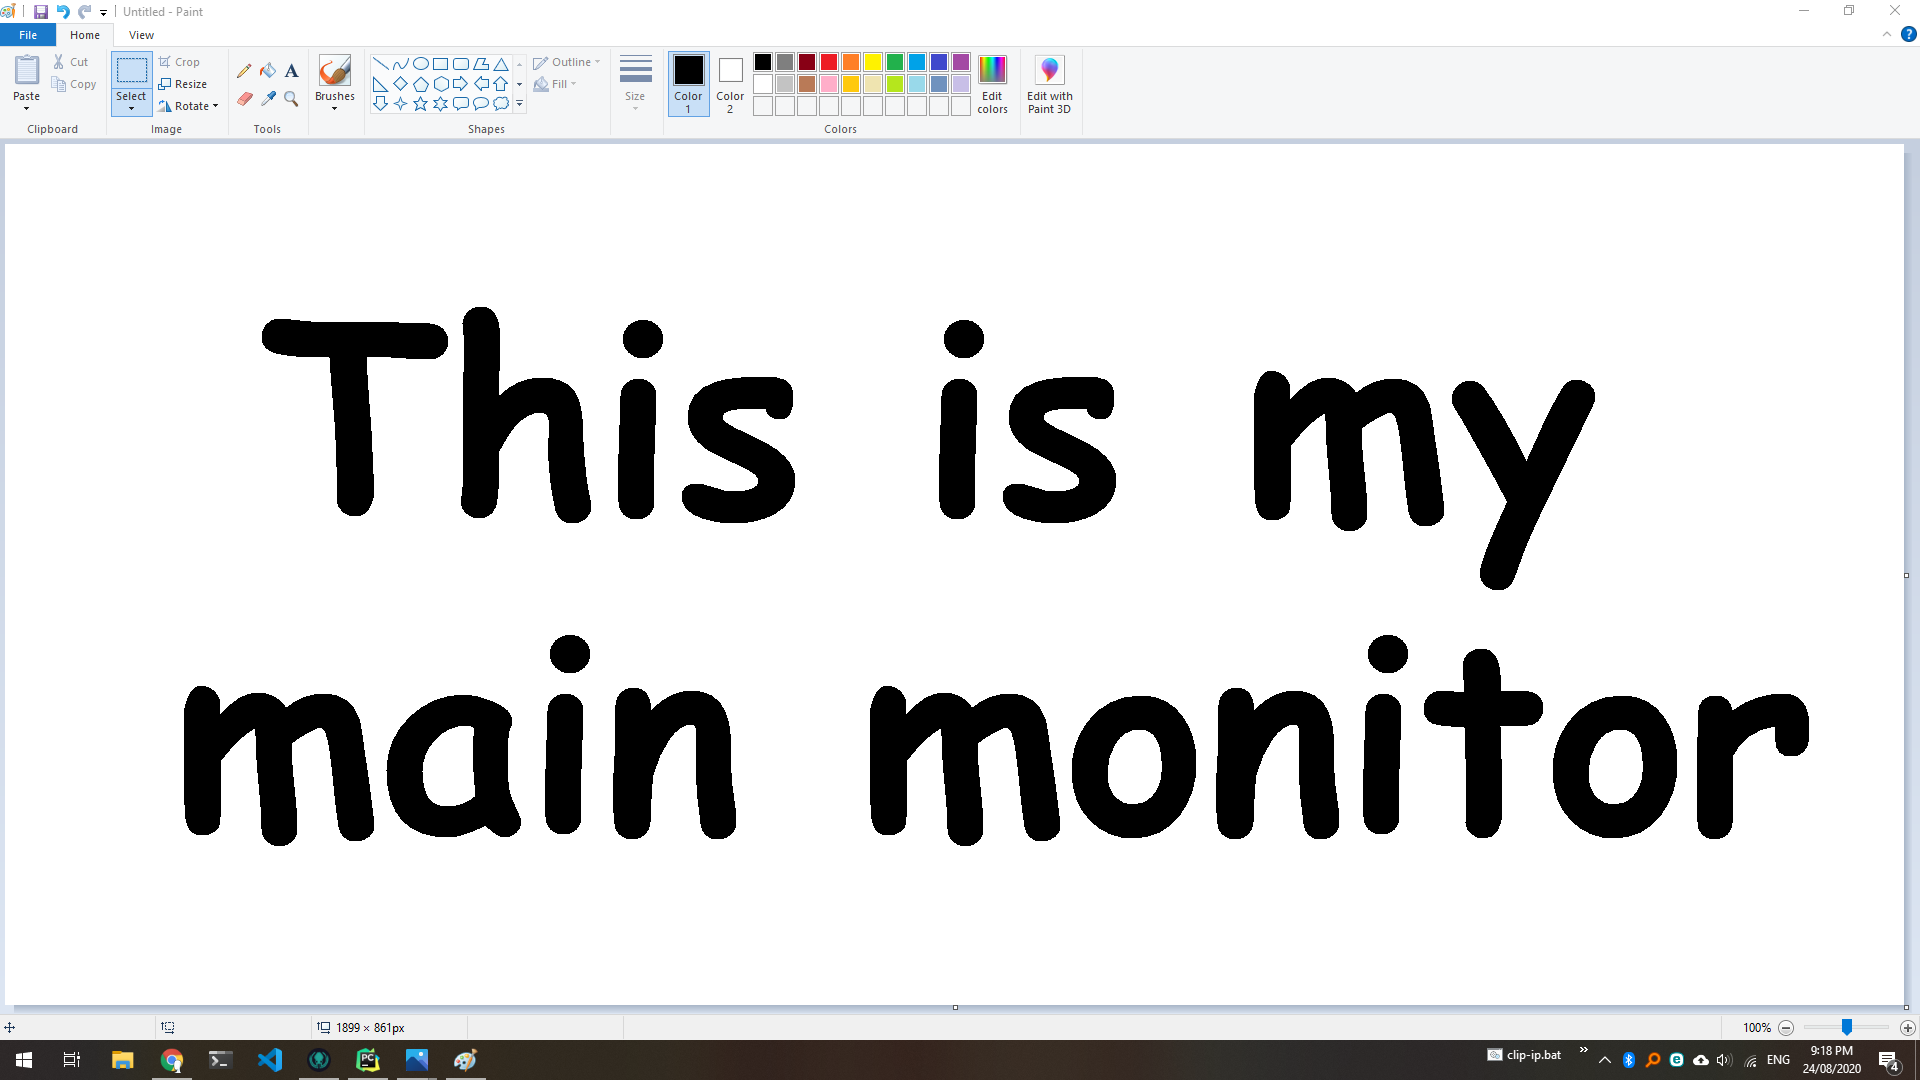
from PIL import ImageGrab screenshot = ImageGrab.grab() screenshot.show() # Show the image using the default image viewer Executing this will open the screenshot in your default image viewer. If you have more than one display, you will notice that this screenshot is only of the first display; I will expand on this further below.
Here is an example of a screenshot I took:
Saving images in PIL is very easy, calling .save() on the returned Image object will allow us to save the image into a file.
from PIL import ImageGrab filepath = 'my_image.png' screenshot = ImageGrab.grab() screenshot.save(filepath, 'PNG') # Equivalent to `screenshot.save(filepath, format='PNG')` Now if you go and open the file filepath («my_image.png» in the current working directory for this example), you will see the screenshot has been saved.
If you provide a file path with an extension of a supported image format, you can omit the format.
If you have a file already open in write mode or want to save the image to a file object, you can pass that instead of the filename. For example:
from PIL import ImageGrab file = open('my_file.png', 'w') screenshot = ImageGrab.grab() screenshot.save(file, 'PNG') # Save the image to the file object as a PNG file.close() # Make sure to close the file when you're done from io import BytesIO from PIL import ImageGrab bytes_io = BytesIO() screenshot = ImageGrab.grab() screenshot.save(bytes_io, 'PNG') # Save the image to bytes_io as a PNG # Do what you want with the bytes_io object Taking A Screenshot Of A Different Display
Back when we took a screenshot using ImageGrab.grab() , it only captured the main display. To take a screenshot of all displays, we can pass all_screens=True :
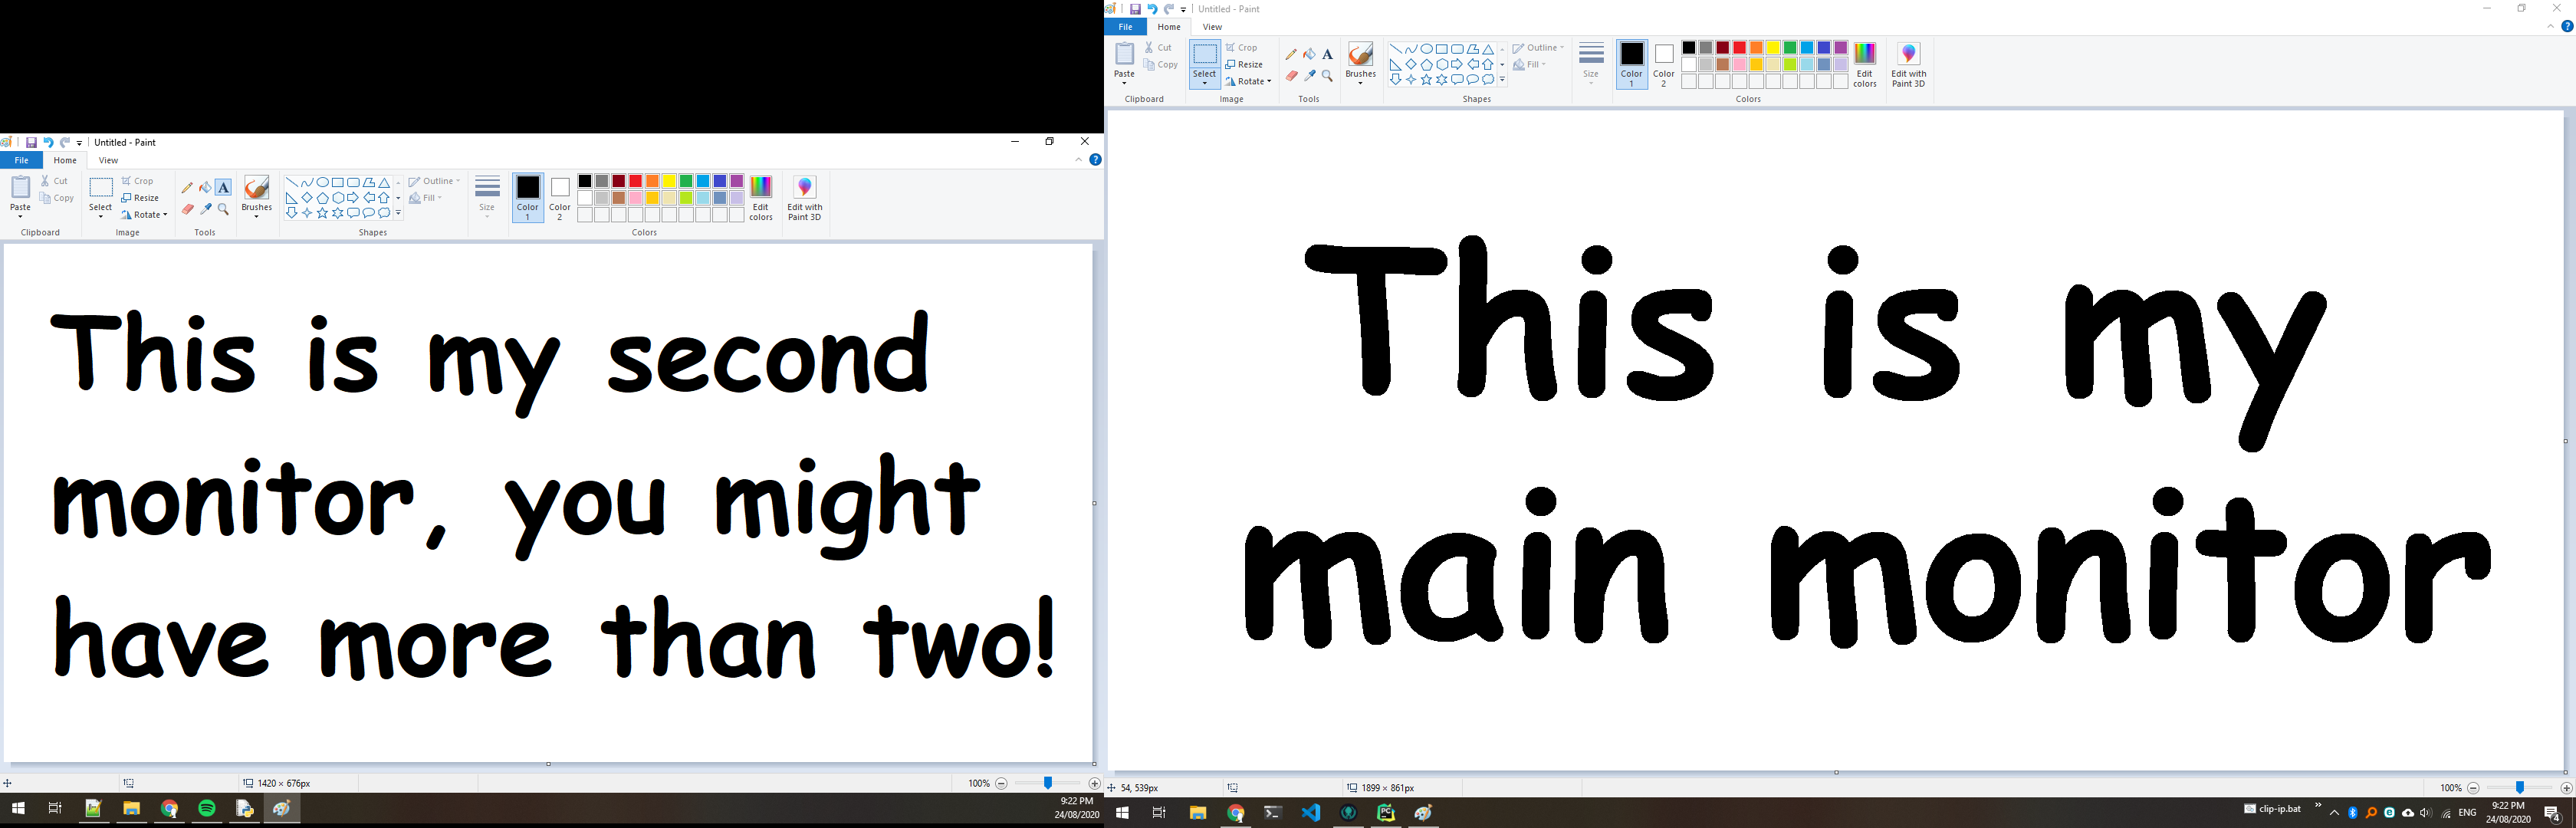
from PIL import ImageGrab screenshot = ImageGrab.grab(all_screens=True) # Take a screenshot that includes all screens Please note that all_screens is currently only supported in Windows
Now when you call screenshot.show() , you will see that multiple monitors are now displayed. Here is an example of my monitors:
Now that you have this larger image, you can crop it using other methods in PIL: How to crop an image using PIL.
Using MSS to Screenshot Each Displays
I also have a tutorial How To Take A Screenshot In Python Using MSS which goes over how to take screenshots using the Python MSS library. The tutorial is very similar, however MSS has better support for screenshots of different individual displays (including macOS and Windows).
Owner of PyTutorials and creator of auto-py-to-exe. I enjoy making quick tutorials for people new to particular topics in Python and tools that help fix small things.
Screenshot Functions
PyAutoGUI can take screenshots, save them to files, and locate images within the screen. This is useful if you have a small image of, say, a button that needs to be clicked and want to locate it on the screen. These features are provided by the PyScreeze module, which is installed with PyAutoGUI.
Screenshot functionality requires the Pillow module. OS X uses the screencapture command, which comes with the operating system. Linux uses the scrot command, which can be installed by running sudo apt-get install scrot .
The screenshot() Function
Calling screenshot() will return an Image object (see the Pillow or PIL module documentation for details). Passing a string of a filename will save the screenshot to a file as well as return it as an Image object.
>>> import pyautogui >>> im1 = pyautogui.screenshot() >>> im2 = pyautogui.screenshot('my_screenshot.png')
On a 1920 x 1080 screen, the screenshot() function takes roughly 100 milliseconds — it’s not fast but it’s not slow.
There is also an optional region keyword argument, if you do not want a screenshot of the entire screen. You can pass a four-integer tuple of the left, top, width, and height of the region to capture:
>>> import pyautogui >>> im = pyautogui.screenshot(region=(0,0, 300, 400))
The Locate Functions
NOTE: As of version 0.9.41, if the locate functions can’t find the provided image, they’ll raise ImageNotFoundException instead of returning None .
You can visually locate something on the screen if you have an image file of it. For example, say the calculator app was running on your computer and looked like this:
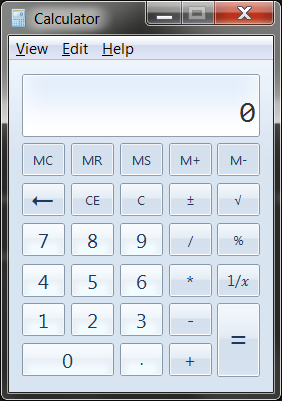
You can’t call the moveTo() and click() functions if you don’t know the exact screen coordinates of where the calculator buttons are. The calculator can appear in a slightly different place each time it is launched, causing you to re-find the coordinates each time. However, if you have an image of the button, such as the image of the 7 button:

… you can call the locateOnScreen(‘calc7key.png’) function to get the screen coordinates. The return value is a 4-integer tuple: (left, top, width, height). This tuple can be passed to center() to get the X and Y coordinates at the center of this region. If the image can’t be found on the screen, locateOnScreen() raises ImageNotFoundException .
>>> import pyautogui >>> button7location = pyautogui.locateOnScreen('calc7key.png') >>> button7location Box(left=1416, top=562, width=50, height=41) >>> button7location[0] 1416 >>> button7location.left 1416 >>> button7point = pyautogui.center(button7location) >>> button7point Point(x=1441, y=582) >>> button7point[0] 1441 >>> button7point.x 1441 >>> button7x, button7y = button7point >>> pyautogui.click(button7x, button7y) # clicks the center of where the 7 button was found >>> pyautogui.click('calc7key.png') # a shortcut version to click on the center of where the 7 button was found
The optional confidence keyword argument specifies the accuracy with which the function should locate the image on screen. This is helpful in case the function is not able to locate an image due to negligible pixel differences:
>>> import pyautogui >>> button7location = pyautogui.locateOnScreen('calc7key.png', confidence=0.9) >>> button7location Box(left=1416, top=562, width=50, height=41)
Note: You need to have OpenCV installed for the confidence keyword to work.
The locateCenterOnScreen() function combines locateOnScreen() and center() :
>>> import pyautogui >>> x, y = pyautogui.locateCenterOnScreen('calc7key.png') >>> pyautogui.click(x, y)
On a 1920 x 1080 screen, the locate function calls take about 1 or 2 seconds. This may be too slow for action video games, but works for most purposes and applications.
There are several “locate” functions. They all start looking at the top-left corner of the screen (or image) and look to the right and then down. The arguments can either be a
- locateOnScreen(image, grayscale=False) — Returns (left, top, width, height) coordinate of first found instance of the image on the screen. Raises ImageNotFoundException if not found on the screen.
- locateCenterOnScreen(image, grayscale=False) — Returns (x, y) coordinates of the center of the first found instance of the image on the screen. Raises ImageNotFoundException if not found on the screen.
- locateAllOnScreen(image, grayscale=False) — Returns a generator that yields (left, top, width, height) tuples for where the image is found on the screen.
- locate(needleImage, haystackImage, grayscale=False) — Returns (left, top, width, height) coordinate of first found instance of needleImage in haystackImage . Raises ImageNotFoundException if not found on the screen.
- locateAll(needleImage, haystackImage, grayscale=False) — Returns a generator that yields (left, top, width, height) tuples for where needleImage is found in haystackImage .
The “locate all” functions can be used in for loops or passed to list() :
>>> import pyautogui >>> for pos in pyautogui.locateAllOnScreen('someButton.png') . print(pos) . (1101, 252, 50, 50) (59, 481, 50, 50) (1395, 640, 50, 50) (1838, 676, 50, 50) >>> list(pyautogui.locateAllOnScreen('someButton.png')) [(1101, 252, 50, 50), (59, 481, 50, 50), (1395, 640, 50, 50), (1838, 676, 50, 50)]
These “locate” functions are fairly expensive; they can take a full second to run. The best way to speed them up is to pass a region argument (a 4-integer tuple of (left, top, width, height)) to only search a smaller region of the screen instead of the full screen:
>>> import pyautogui >>> pyautogui.locateOnScreen('someButton.png', region=(0,0, 300, 400))
Grayscale Matching
Optionally, you can pass grayscale=True to the locate functions to give a slight speedup (about 30%-ish). This desaturates the color from the images and screenshots, speeding up the locating but potentially causing false-positive matches.
>>> import pyautogui >>> button7location = pyautogui.locateOnScreen('calc7key.png', grayscale=True) >>> button7location (1416, 562, 50, 41)
Pixel Matching
To obtain the RGB color of a pixel in a screenshot, use the Image object’s getpixel() method:
>>> import pyautogui >>> im = pyautogui.screenshot() >>> im.getpixel((100, 200)) (130, 135, 144)
Or as a single function, call the pixel() PyAutoGUI function, which is a wrapper for the previous calls:
>>> import pyautogui >>> pix = pyautogui.pixel(100, 200) >>> pix RGB(red=130, green=135, blue=144) >>> pix[0] 130 >>> pix.red 130
If you just need to verify that a single pixel matches a given pixel, call the pixelMatchesColor() function, passing it the X coordinate, Y coordinate, and RGB tuple of the color it represents:
>>> import pyautogui >>> pyautogui.pixelMatchesColor(100, 200, (130, 135, 144)) True >>> pyautogui.pixelMatchesColor(100, 200, (0, 0, 0)) False
The optional tolerance keyword argument specifies how much each of the red, green, and blue values can vary while still matching:
>>> import pyautogui >>> pyautogui.pixelMatchesColor(100, 200, (130, 135, 144)) True >>> pyautogui.pixelMatchesColor(100, 200, (140, 125, 134)) False >>> pyautogui.pixelMatchesColor(100, 200, (140, 125, 134), tolerance=10) True
© Copyright 2019, Al Sweigart Revision 24d638dc .
Versions latest Downloads pdf html epub On Read the Docs Project Home Builds Free document hosting provided by Read the Docs.