- Парсинг сайта с JavaScript на Python
- Saved searches
- Use saved searches to filter your results more quickly
- License
- PiotrDabkowski/pyjsparser
- Name already in use
- Sign In Required
- Launching GitHub Desktop
- Launching GitHub Desktop
- Launching Xcode
- Launching Visual Studio Code
- Latest commit
- Git stats
- Files
- README.md
- About
- Scraping data from a JavaScript webpage with Python
- Motivation
- Using requests_html to render JavaScript
- Scraping options data for each expiration date
- Share this:
Парсинг сайта с JavaScript на Python

Многие начинающие программисты на Python часто сталкиваются с проблемой: при парсинге сайта программа не находит элемент на сайте, хотя при его обычном посещении через браузер он присутствует. Оно и понятно, ведь вы, скорее всего, получаете HTML-документ через GET-запрос на сайт с помощью стандартной библиотеки requests.
Но почему в браузере Вы видите весь контент, в отличии от Вашей программы? Дело в том, что при переходе на нужный домен браузер получает HTML-документ, CSS-стили и JavaScript. С первыми двумя, я думаю, всё понятно — они нужны для базовой отрисовки страницы. А вот JavaScript отличается от остальных. Это язык программирования, поддержка которого присутствует во всех браузерах. Чаще всего его применяют для добавления анимаций и расширения функций сайта с помощью изменения DOM-дерева.

Сейчас набирает популярность создание своих SPA-приложений. Это так называемые одностраничные приложения (Single Page Application). Весь сайт отображается с помощью JavaScript, а в HTML-документе прописана лишь загрузка нужного JS-файла. Отключив JavaScript в своём браузере Вы, чаще всего, увидите пустую страницу с подобным текстом: “Для отображения сайта необходим JavaScript”..
Не сложно догадаться, что парсинг такого сайта через Python и библиотеку requests не получится. Перейдём к коду и практическим примерам.
Для Python была разработана библиотека Selenium. Предназначена она для автоматизации действий в веб-браузере, выполнения рутинных задач и тестирования Web-приложений.
Для того, чтобы работать с библиотекой, нам также понадобится WebDriver. WebDriver нужен для эмуляции обычного браузера, который будет управляться через Selenium. Советую не заморачиваться и установить веб-драйвер для того браузера, который установлен у вас на ПК. В моём случае я использую ChromeDriver .
Создаём Python-файл для будущего парсера. В директорию с ним переносим ранее установленный веб-драйвер.
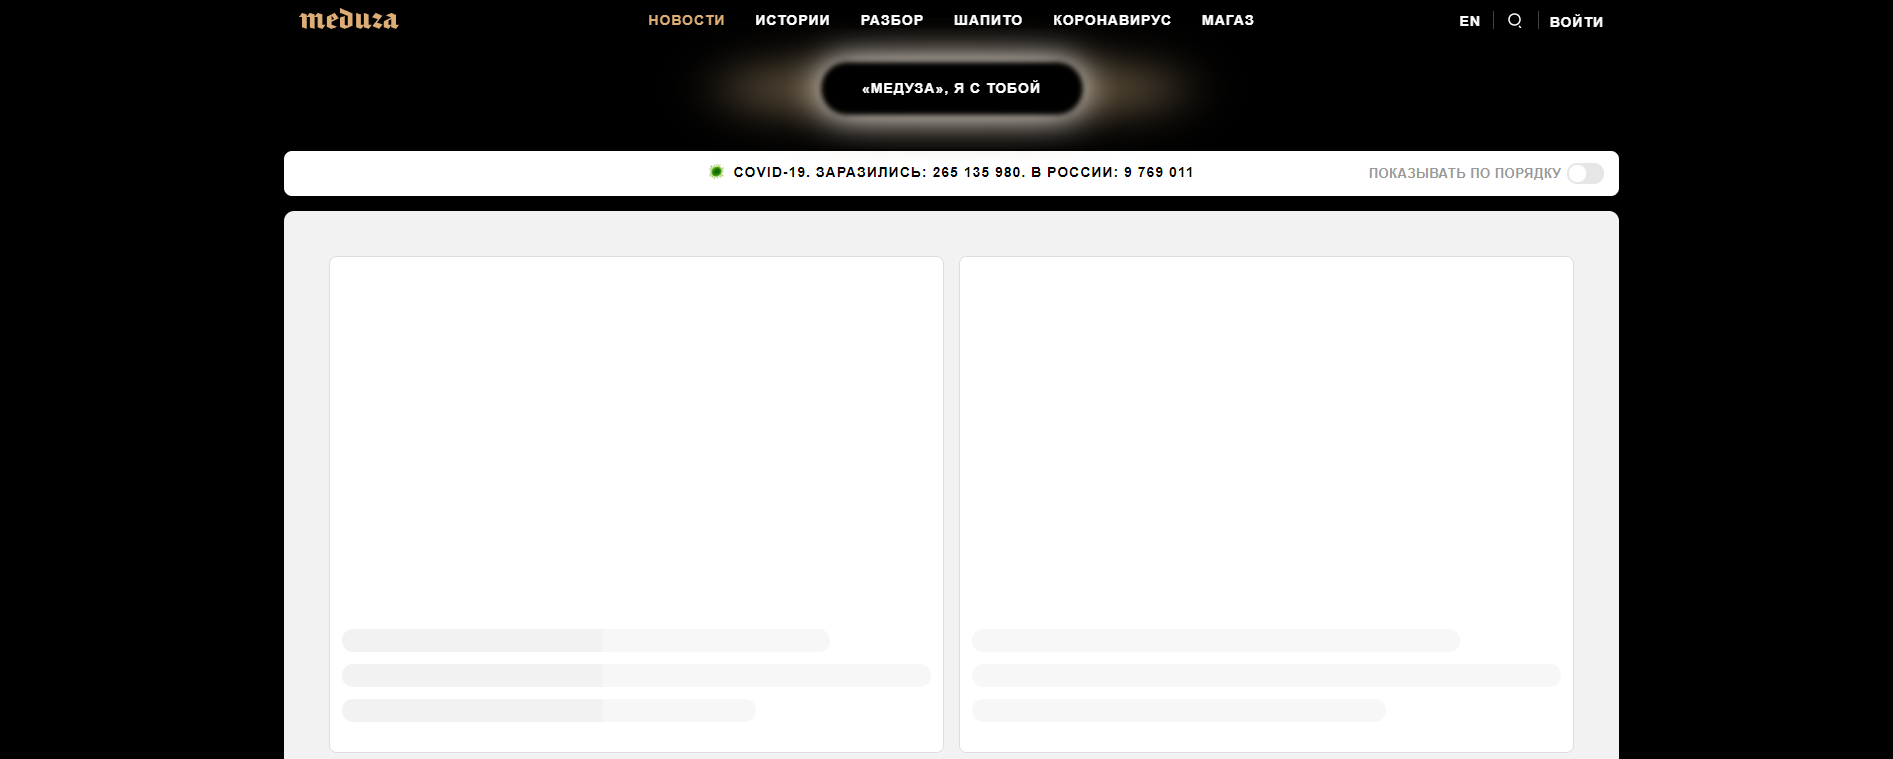
В качестве объекта для практики я выбрал новостной сайт Meduza . На сайте много информации, из-за чего процесс парсинга станет интересней. При парсинге через requests информация о новостях не отображается, ну и не должна):
Весь код будет написан в функциональном стиле. Для начала импортируем нужную библиотеку и инициализируем сам WebDriver:
from selenium.webdriver import Chrome
Чтобы не добавлять ChromeDriver в переменные среды моей ОС я передал путь к драйверу в аргументе executable_path.
При запуске данного кода не произойдёт ничего необычного: у вас запустится окно браузера с базовым адресом “data:,”.
Для перехода по страницам в Selenium используется метод get у класса драйвера. Принимает всего лишь 1 аргумент — url. Поэтому напишем следующее:
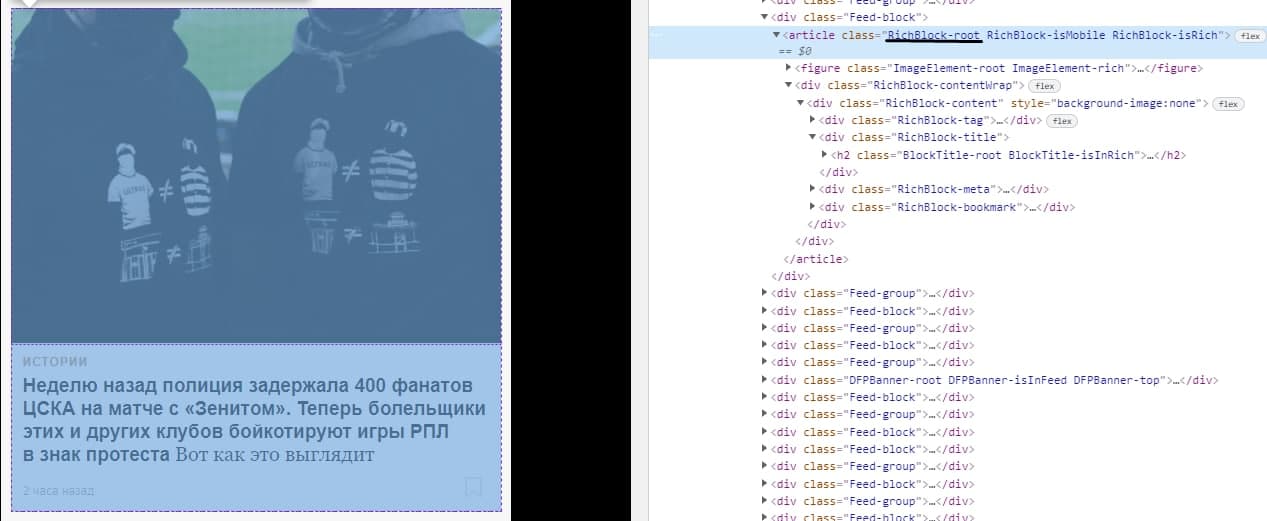
Сразу определимся с тем, что нам нужно. Мы будем парсить картинку, заголовок и дату публикации. Исходя из этого в нашей программе будет 4 функции для парсинга (get_news, get_image, get_title, get_date) и 1 для вывода.
Для карточки новости соответствует класс “RichBlock-root”:
Чтобы производить поиск по чему-либо необходимо импортировать класс By:
from selenium.webdriver.common.by import By
def get_news():
news = []
news_elements = driver.find_elements(By.CLASS_NAME, «RichBlock-root»)
for element in news_elements:
data = «image»: get_image(element),
«title»: get_title(element),
«date»: get_date(element),
>
news.append(data)
Инициализируем пустой список и находим все элементы карточек новостей. Для каждой карточки мы получаем изображение, заголовок, дату и записываем это в переменную data. После всего этого мы добавляем данные в список, который мы возвращаем в конце функции.
Сейчас в значения для данных функции записываются несуществующие функции. Давайте исправим это. Создавать функции будем по порядку.
Чтобы получить картинку нам нужно выбрать класс “ImageElement-root”, а затем первый элемент с тегом “source”:
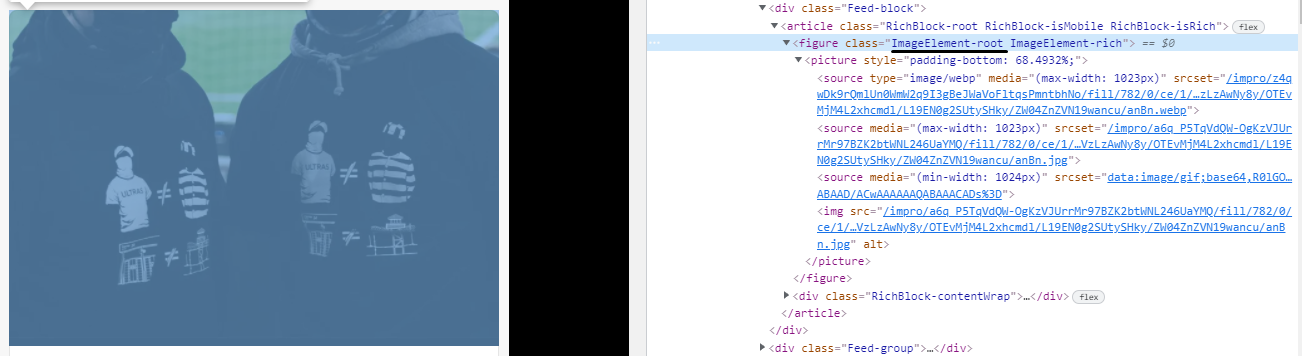
Но как мы видим, у “source” нет никакого текста, только атрибут srcset. Для получения атрибутов мы используем метод get_attribute на элементе.
def get_image(element):
images_element = element.find_element(By.CLASS_NAME, «ImageElement-root»)
image_element = images_element.find_element(By.TAG_NAME, «source»)
return «https://meduza.io» + image_element.get_attribute(«srcset»).strip()
Возвращаем абсолютную ссылку на картинку. При получении атрибута srcset в начале образовался отступ. Чтобы его убрать используем функцию strip.
Заголовок карточки помещён в тег a с классом “Link-root”.

def get_title(element):
title_element = element.find_element(By.CLASS_NAME, «Link-root»)
Весь текст, который находится в этом элементе, получаем с помощью переменной text.
И, наконец, дата создания. В этом случае ищем элемент по классу “Timestamp-module_root__coOvT”

def get_date(element):
date_element = element.find_element(By.CLASS_NAME, «Timestamp-module_root__coOvT»)
Тут, я думаю, объяснять ничего не нужно.
Последняя функция в нашем коде — print_data_news:
def print_data_news():
news_items = get_news()
Осталось добавить в точку входа (после создания драйвера и перехода на страницу) вызов функции print_data_news().
Наконец-то мы написали наш парсер динамической страницы. После запуска программа выдаёт следующее:

Это можно считать успехом, ведь все наши цели выполнены и мы можем спокойно отдохнуть
Saved searches
Use saved searches to filter your results more quickly
You signed in with another tab or window. Reload to refresh your session. You signed out in another tab or window. Reload to refresh your session. You switched accounts on another tab or window. Reload to refresh your session.
Fast JavaScript parser for Python.
License
PiotrDabkowski/pyjsparser
This commit does not belong to any branch on this repository, and may belong to a fork outside of the repository.
Name already in use
A tag already exists with the provided branch name. Many Git commands accept both tag and branch names, so creating this branch may cause unexpected behavior. Are you sure you want to create this branch?
Sign In Required
Please sign in to use Codespaces.
Launching GitHub Desktop
If nothing happens, download GitHub Desktop and try again.
Launching GitHub Desktop
If nothing happens, download GitHub Desktop and try again.
Launching Xcode
If nothing happens, download Xcode and try again.
Launching Visual Studio Code
Your codespace will open once ready.
There was a problem preparing your codespace, please try again.
Latest commit
Enable partial ES6 Arrow function support
Git stats
Files
Failed to load latest commit information.
README.md
Fast JavaScript parser — manual translation of esprima.js to python. Takes 1 second to parse whole angular.js library so parsing speed is about 100k characters per second which makes it the fastest and most comprehensible JavaScript parser for python out there.
Supports whole ECMAScript 5.1 and parts of ECMAScript 6. The documentation for the generated AST can be found here.
>>> from pyjsparser import parse >>> parse('var $ = "Hello!"') < "type": "Program", "body": [ < "type": "VariableDeclaration", "declarations": [ < "type": "VariableDeclarator", "id": < "type": "Identifier", "name": "$" >, "init": < "type": "Literal", "value": "Hello!", "raw": '"Hello!"' > > ], "kind": "var" > ] >
About
Fast JavaScript parser for Python.
Scraping data from a JavaScript webpage with Python

This post will walk through how to use the requests_html package to scrape options data from a JavaScript-rendered webpage. requests_html serves as an alternative to Selenium and PhantomJS, and provides a clear syntax similar to the awesome requests package. The code we’ll walk through is packaged into functions in the options module in the yahoo_fin package, but this article will show how to write the code from scratch using requests_html so that you can use the same idea to scrape other JavaScript-rendered webpages.
requests_html requires Python 3.6+. If you don’t have requests_html installed, you can download it using pip:
Motivation
Let’s say we want to scrape options data for a particular stock. As an example, let’s look at Netflix (since it’s well known). If we go to the below site, we can see the option chain information for the earliest upcoming options expiration date for Netflix:
On this webpage there’s a drop-down box allowing us to view data by other expiration dates. What if we want to get all the possible choices – i.e. all the possible expiration dates?

We can try using requests with BeautifulSoup, but that won’t work quite the way we want. To demonstrate, let’s try doing that to see what happens.
from bs4 import BeautifulSoup import requests resp = requests.get("https://finance.yahoo.com/quote/NFLX/options?p=NFLX") html = resp.content soup = BeautifulSoup(html) option_tags = soup.find_all("option") Running the above code shows us that option_tags is an empty list. This is because there are no option tags found in the HTML we scrapped from the webpage above. However, if we look at the source via a web browser, we can see that there are, indeed, option tags:

Why the disconnect? The reason why we see option tags when looking at the source code in a browser is that the browser is executing JavaScript code that renders that HTML i.e. it modifies the HTML of the page dynamically to allow a user to select one of the possible expiration dates. This means if we try just scraping the HTML, the JavaScript won’t be executed, and thus, we won’t see the tags containing the expiration dates. This brings us to requests_html.
Using requests_html to render JavaScript
Now, let’s use requests_html to run the JavaScript code in order to render the HTML we’re looking for.
# import HTMLSession from requests_html from requests_html import HTMLSession # create an HTML Session object session = HTMLSession() # Use the object above to connect to needed webpage resp = session.get("https://finance.yahoo.com/quote/NFLX/options?p=NFLX") # Run JavaScript code on webpage resp.html.render() Similar to the requests package, we can use a session object to get the webpage we need. This gets stored in a response variable, resp. If you print out resp you should see the message Response 200, which means the connection to the webpage was successful (otherwise you’ll get a different message).
Running resp.html will give us an object that allows us to print out, search through, and perform several functions on the webpage’s HTML. To simulate running the JavaScript code, we use the render method on the resp.html object. Note how we don’t need to set a variable equal to this rendered result i.e. running the below code:
stores the updated HTML as in attribute in resp.html. Specifically, we can access the rendered HTML like this:
So now resp.html.html contains the HTML we need containing the option tags. From here, we can parse out the expiration dates from these tags using the find method.
option_tags = resp.html.find("option") dates = [tag.text for tag in option_tags] Similarly, if we wanted to search for other HTML tags we could just input whatever those are into the find method e.g. anchor (a), paragraph (p), header tags (h1, h2, h3, etc.) and so on.
Alternatively, we could also use BeautifulSoup on the rendered HTML (see below). However, the awesome point here is that we can create the connection to this webpage, render its JavaScript, and parse out the resultant HTML all in one package!
soup = BeautifulSoup(resp.html.html, "lxml") option_tags = soup.find_all("option") dates = [tag.text for tag in option_tags] Lastly, we could scrape this particular webpage directly with yahoo_fin, which provides functions that wrap around requests_html specifically for Yahoo Finance’s website.
from yahoo_fin.options import get_expiration_dates dates = get_expiration_dates("nflx") Scraping options data for each expiration date
Once we have the expiration dates, we could proceed with scraping the data associated with each date. In this particular case, the pattern of the URL for each expiration date’s data requires the date be converted to Unix timestamp format. This can be done using the pandas package.
import pandas as pd timestamps = [pd.Timestamp(date).timestamp() for date in dates] sites = ["https://finance.yahoo.com/quote/NFLX/options?p=NFLX&date=" + str(int(elt)) for elt in timestamps] info = [pd.read_html(site) for site in sites] calls_data = dict(zip(dates, [df[0] for df in info])) puts_data = dict(zip(dates, [df[1] for df in info]))
Similarly, we could scrape this data using yahoo_fin. In this case, we just input the ticker symbol, NFLX and associated expiration date into either get_calls or get_puts to obtain the calls and puts data, respectively.
Note: here we don’t need to convert each date to a Unix timestamp as these functions will figure that out automatically from the input dates.
from yahoo_fin.options import get_calls, get_puts calls_data = [get_calls("nflx", date) for date in dates] puts_data = [get_puts("nflx", date) for date in dates] That’s it for this post! To learn more about requests-html, check out my web scraping course on Udemy here!
To see the official documentation for requests_html, click here.