- Optical Character Recognition (OCR) using Tesseract in python
- Process Image
- Batch Processing
- Get BBOX
- Get Blocks
- Searchable PDF
- Timeout
- How to Build Optical Character Recognition (OCR) in Python
- What Is Python Optical Character Recognition (OCR)?
- Python OCR Installation
- Python OCR Implementation
- Text Localization and Detection in Python OCR
Optical Character Recognition (OCR) using Tesseract in python
Optical Character Recognition (OCR) is a technology used for extracting text data from images (both handwritten and typed). It is widely used for different kind of applications for extracting and using data for different purpose. There are different techniques used for processing of images and extract data from images using basic image processing, Machine learning and Deep learning techniques. Tesseract is a open-source OCR engine owened by Google for performing OCR operations on different kind of images. It is written in C and C++ but can be used by other languages using wrappers and AddOns. We can use tesseract in python using pytesseract module which can be installed from PiP. So, for getting started, first we need to install tesseract binary on our system which can be downloaded from this url. https://digi.bib.uni-mannheim.de/tesseract/ After installation, add its path to system environment variables so you can access it anywhere without specifiying path everytime.
# default path C:\Program Files\Tesseract-OCROnce you have installed and setup tesseract, you can verify it by typing tesseract in your command prompt and it will show its details. We can also use it using command line for getting text from images. Here is a simple demonstration to use it using cmd.
# base usage tesseract IMAGE_PATH OPUTPUT_BASE # example: it will process 'first.jpg' and store text in 'result.txt' file tesseract first.png resultNow if we want to use it for processing multiple images and handle output, we can use pytesseract library which can be installed using command prompt.
Process Image
We can use both Pillow and OpenCV to read image files and input to pytesseract methods for processing images or we can directly provide image path to pytesseract but it has limitations. First, we will use direct method to read image file and input to pytesseract.
import pytesseract # if you have not added tesseract exe to path pytesseract.pytesseract.tesseract_cmd = "path_to_executable" # extract text from image resp = pytesseract.image_to_string( "my_image.png" ) print("Response:", resp)laguages = pytesseract.get_languages(config='') print(languages)Now you can specify language you want to use in image_to_string method. Here is a list of supported input and output formats from pytesseract.
| JPEG | PNG | PBM | PGM | PPM | TIFF | BMP | GIF | WEBP |
Supported output types: (default is string)
| string | dict | data.frame | bytes |
For more details on latest supported inputs and outputs, view details on github page below. https://github.com/madmaze/pytesseract/blob/master/pytesseract/pytesseract.py Now if we have some other image formats, we can read using pillow or opencv and then input to pytesseract method. Using Pillow
from PIL import Image # read image my_image = Image.open('IMAGE_PATH') # extract text from image resp = pytesseract.image_to_string( my_image ) print("Response:", resp)Using OpenCV While using opencv, we need one more step as OpenCV read images in BGR format so we need to convert image to RGB format first.
import cv2 # read image my_image = cv2.imread('IMAGE_PATH') my_image = cv2.cvtColor(my_image, cv2.COLOR_BGR2RGB) # convert from BGR to RGB # extract text from image resp = pytesseract.image_to_string(my_image) print("Response:", resp)Batch Processing
resp = pytesseract.image_to_string('images.txt') print(resp)Get BBOX
We can also get position for each detection in image. Later on we can use that data to extract those sub parts of image or draw on them for visualization. Here we will read using opencv and draw for each of the bbox position.
import cv2 # read and convert main_image = cv2.imread("bad-sign.jpg") # we will need it later for drawing my_image = cv2.cvtColor(main_image, cv2.COLOR_BGR2RGB) bboxes = pytesseract.image_to_boxes(Image.open('bad-sign.jpg')) print(bboxes)K 148 229 197 278 0 E 212 229 256 278 0 E 270 229 315 277 0 P 328 229 377 277 0 R 135 34 184 83 0 I 196 34 209 83 0 G 221 21 272 85 0 H 282 35 332 84 0 T 345 35 390 84 0Now we iterate over each detection and draw a rectangle using bbox coordinates. These values can be processed as follows.
h, w, _ = main_image.shape # we need main image shape for row in resp.splitlines(): # split row to values row = row.split(" ") # draw rectangle cv2.rectangle( main_image, # image (int(row[1]), h - int(row[2])), # xmin, h-ymin (int(row[3]), h - int(row[4])), # xmax, h-ymax (255, 0, 0), 2 # color and line size ) # write text on each bbox cv2.putText(main_image, row[0], (int(row[1]), h - int(row[4]) - 5), cv2.FONT_HERSHEY_DUPLEX, 1, (0, 255, 0), 2) 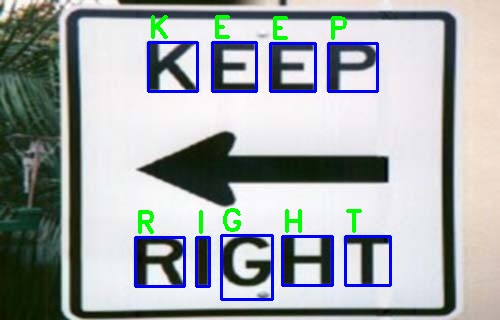
Get Blocks
We can also get blocks detected by tesseract using image_to_data method. It returns more detailed data like bboxes, line numbers, confidence, page numbers and block so that we can perform post processing from tesseract. We can also get output as dictionary or pandas DataFrame. We will use dataframe so that we can process output easily.
# Get output as dataframe image_data = pytesseract.image_to_data(my_image, output_type=pytesseract.Output.DATAFRAME)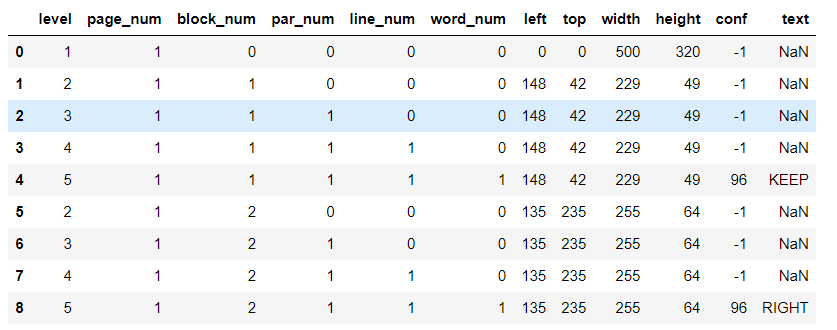
To get blocks, we can iterate over data and use only rows which are marked as blocks.
# iterate over rows where there is a word for i, row in image_data[image_data.word_num==1].iterrows(): xmax = row.left+ row.width # left + width (xmax) ymax =row.top + row.height # top + height (ymax) cv2.rectangle( main_image, (row.left, row.top), (xmax, ymax), (255, 0, 0), 2 ) # write detected text of block cv2.putText(main_image, row[11], (row.left, row.top - 5), cv2.FONT_HERSHEY_DUPLEX, 1, (0, 255, 0), 1) cv2.imwrite("main_image.jpg", main_image)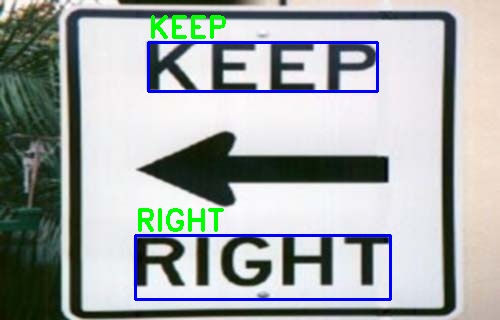
Searchable PDF
pdf = pytesseract.image_to_pdf_or_hocr(my_image, extension='pdf') # to pdf with open('my_image.pdf', 'w+b') as f: # write as a pdf f.write(pdf)Timeout
try: resp = pytesseract.image_to_string('test.jpg', timeout=1)) # Timeout after 1 second except RuntimeError as timeout_error: # Tesseract processing is terminated print("Timeout:", str(timeout_error)How to Build Optical Character Recognition (OCR) in Python
Optical character recognition (OCR) is a tool that can recognize text in images. Here’s how to build an OCR engine in Python.

Fahmi Nurfikri is a software engineer for the machine learning firm Prosa.ai, with more than five years of experience in artificial intelligence, Python and data science. Nurfikri holds a master’s degree in Informatics from Telkom University.

Optical character recognition (OCR) is a technology that recognizes text in images , such as scanned documents and photos. Perhaps you’ve taken a photo of a text just because you didn’t want to take notes or because taking a photo is faster than typing it. Fortunately, thanks to smartphones today, we can apply OCR so that we can copy the picture of text we took before without having to retype it.
What Is Python Optical Character Recognition (OCR)?
Python OCR is a technology that recognizes and pulls out text in images like scanned documents and photos using Python. It can be completed using the open-source OCR engine Tesseract.
We can do this in Python using a few lines of code. One of the most common OCR tools that are used is the Tesseract . Tesseract is an optical character recognition engine for various operating systems.
Python OCR Installation
Tesseract runs on Windows, macOS and Linux platforms. It supports Unicode (UTF-8) and more than 100 languages. In this article, we will start with the Tesseract OCR installation process, and test the extraction of text in images.
The first step is to install the Tesseract. In order to use the Tesseract library, we need to install it on our system. If you’re using Ubuntu, you can simply use apt-get to install Tesseract OCR:
sudo apt-get install Tesseract-ocrFor macOS users, we’ll be using Homebrew to install Tesseract.
For Windows, please see the Tesseract documentation .
Let’s begin by getting pyTesseract installed.
Python OCR Implementation
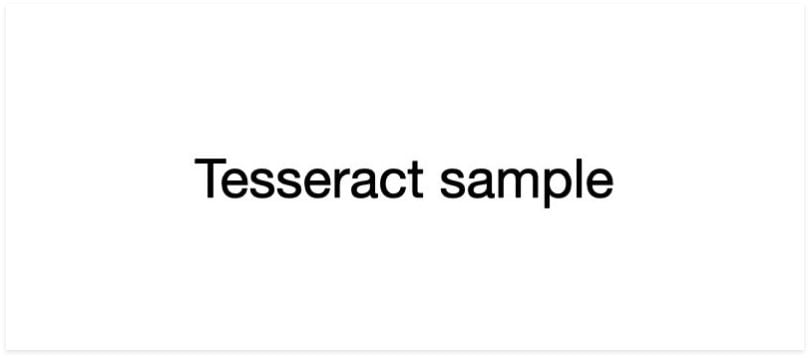
After installation is completed, let’s move forward by applying Tesseract with Python. First, we import the dependencies.
from PIL import Image import pyTesseract import numpy as npI will use a simple image to test the usage of the Tesseract.

Let’s load this image and convert it to text.
filename = 'image_01.png' img1 = np.array(Image.open(filename)) text = pyTesseract.image_to_string(img1)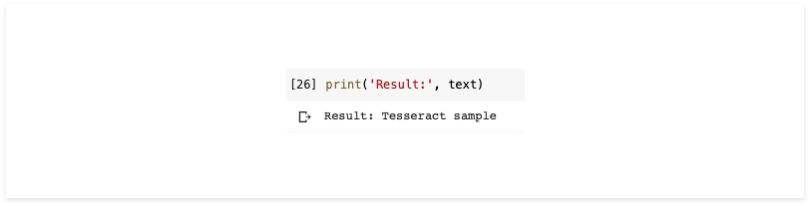
The results obtained from the Tesseract are good enough for simple images. However, in the real world it is difficult to find images that are really simple, so I will add noise to test the performance of the Tesseract.
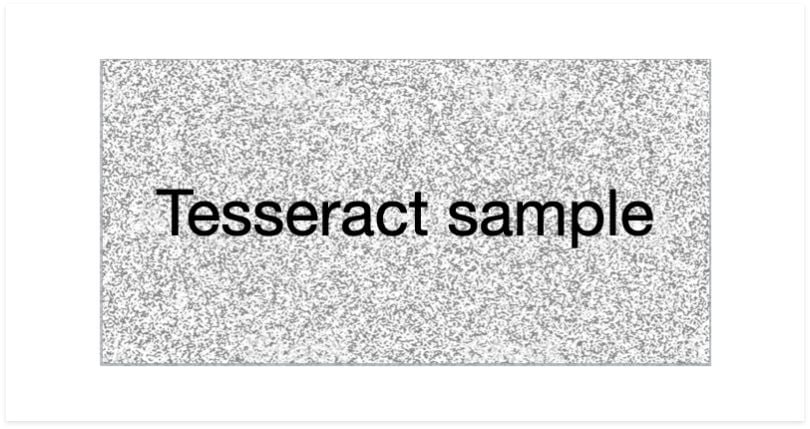
We’ll do the same process as before.
filename = 'image_02.png' img2 = np.array(Image.open(filename)) text = pyTesseract.image_to_string(img2) print(text)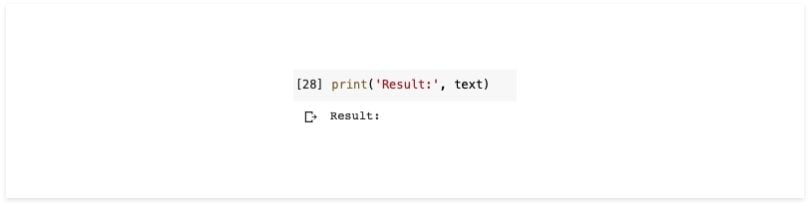
The result is, nothing. This means that tesseract cannot read words in images that have noise.
Next we’ll try to use a little image processing to eliminate noise in the image. Here I will use the OpenCV library. In this experiment, I’m using normalization, thresholding and image blur.
import numpy as np import cv2norm_img = np.zeros((img.shape[0], img.shape[1])) img = cv2.normalize(img, norm_img, 0, 255, cv2.NORM_MINMAX) img = cv2.threshold(img, 100, 255, cv2.THRESH_BINARY)[1] img = cv2.GaussianBlur(img, (1, 1), 0)The result will be like this:
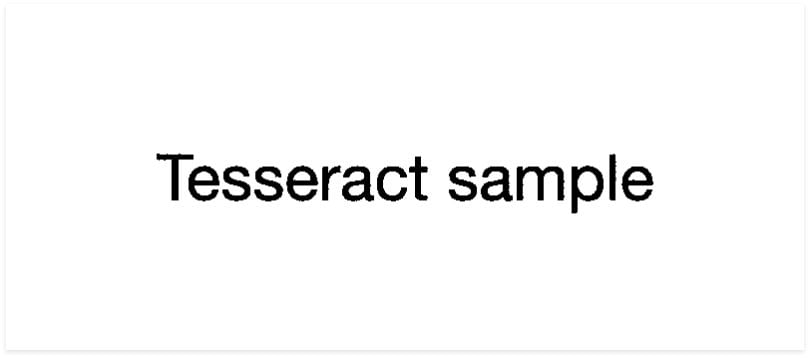
Now that the image is clean enough, we will try again with the same process as before. And this is the result.

As you can see, the results are in accordance with what we expect.
Video introducing the basics of how to use PyTesseract to extract text from images. | Video: ProgrammingKnowledge
Text Localization and Detection in Python OCR
With Tesseract, we can also do text localization and detection from images. We will first enter the dependencies that we need.
from pyTesseract import Output import pyTesseract import cv2I will use a simple image like the example above to test the usage of the Tesseract.
Now, let’s load this image and extract the data.
filename = 'image_01.png' image = cv2.imread(filename)This is different from what we did in the previous example. In the previous example we immediately changed the image into a string. In this example, we’ll convert the image into a dictionary .
results = pyTesseract.image_to_data(image, output_type=Output.DICT)The following results are the contents of the dictionary.
I will not explain the purpose of each value in the dictionary. Instead, we will use the left, top, width and height to draw a bounding box around the text along with the text itself. In addition, we will need a conf key to determine the boundary of the detected text.
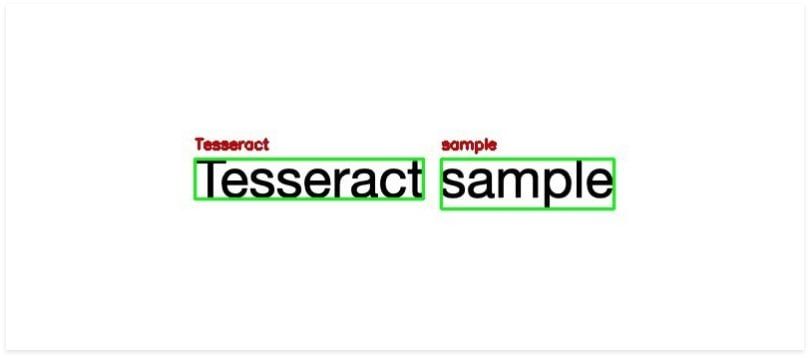
Now, we will extract the bounding box coordinates of the text region from the current result, and we’ll specify the confidence value that we want. Here, I’ll use the value conf = 70. The code will look like this:
for i in range(0, len(results[“text”])): x = results[“left”][i] y = results[“top”][i] w = results[“width”][i] h = results[“height”][i] text = results[“text”][i] conf = int(results[“conf”][i]) if conf > 70: text = "".join([c if ord(c) < 128 else "" for c in text]).strip() cv2.rectangle(image, (x, y), (x + w, y + h), (0, 255, 0), 2) cv2.putText(image, text, (x, y - 10), cv2.FONT_HERSHEY_SIMPLEX, 0.5, (0, 0, 200), 2)Now that everything is set, we can display the results using this code.
Ultimately, the Tesseract is most suitable when building a document processing pipeline where images are scanned and processed. This works best for situations with high-resolution input, where foreground text is neatly segmented from the background.
For text localization and detection, there are several parameters that you can change, such as confident value limits. Or if you find it unattractive, you can change the thickness or color of the bounding box or text.