- Saved searches
- Use saved searches to filter your results more quickly
- License
- androidigniter/Login-and-Registration-in-Android-with-PHP-and-MySQL
- Name already in use
- Sign In Required
- Launching GitHub Desktop
- Launching GitHub Desktop
- Launching Xcode
- Launching Visual Studio Code
- Latest commit
- Git stats
- Files
- README.md
- About
- Android Login and Registration Tutorial with PHP MySQL
- Android Login and Registration Video Tutorial
- Creating Web Services
- Why Web Services
- Creating Database
- Android PHP MySQL Login Tutorial
- Pre-requisites
- Create a Login table
- Create a New PHP Project
- Edit config.php file
- Edit login.php file
- Creating a New Android Project
- Edit activity_main.xml layout
- Create a Login Activity
- Edit activity_login.xml layout
- Create a New class
- Edit AsyncLogin.java class
- Edit LoginActivity.java class
- Edit AndroidManifest.xml
- Run Your Project
Saved searches
Use saved searches to filter your results more quickly
You signed in with another tab or window. Reload to refresh your session. You signed out in another tab or window. Reload to refresh your session. You switched accounts on another tab or window. Reload to refresh your session.
Login and Registration in Android with PHP and MySQL Example with images & Documentation
License
androidigniter/Login-and-Registration-in-Android-with-PHP-and-MySQL
This commit does not belong to any branch on this repository, and may belong to a fork outside of the repository.
Name already in use
A tag already exists with the provided branch name. Many Git commands accept both tag and branch names, so creating this branch may cause unexpected behavior. Are you sure you want to create this branch?
Sign In Required
Please sign in to use Codespaces.
Launching GitHub Desktop
If nothing happens, download GitHub Desktop and try again.
Launching GitHub Desktop
If nothing happens, download GitHub Desktop and try again.
Launching Xcode
If nothing happens, download Xcode and try again.
Launching Visual Studio Code
Your codespace will open once ready.
There was a problem preparing your codespace, please try again.
Latest commit
Git stats
Files
Failed to load latest commit information.
README.md
Login and Registration in Android with PHP and MySQL

In this tutorial, we will learn how we can implement simple Login and Registration in Android with PHP and MySQL. I will use PHP for backend programming and MySQLdatabase to store data in remote database. You can Get PHP Web-service here: PHP Backend
This Tutorial have Few steps :
You can Read full Explanation and Documentation about how to implement this with PHP Webservice from Here:
- Adding Dependencies
- Adding Permission on AndroidMainfest.xml file
- Creating POJO Classes
- User.java
- Strings.xml
- Creating SessionHandler Class
- Create Login Screen Graphics
- activity_login.xml
- LoginActivity.java
- activity_register.xml
- RegisterActivity.java
- activity_dashboard.xml
- DashboardActivity.java
- Run the Code
- List item


About
Login and Registration in Android with PHP and MySQL Example with images & Documentation
Android Login and Registration Tutorial with PHP MySQL

Hello folks, so here is a very useful post about android login and registration. You know that a registration and login screen is part of almost of the application we see. And if we talk about android then we have to save the user data in our server.
In this android login and registration tutorial we will create a very simple application that will contain 3 screens. The User Registration Screen, User Login Screen and the User Profile Screen.
Here for the server side part we will be using PHP and MySQL with our XAMPP (you can use wamp or lamp as well) server.
So without wasting time lets start our Android Login and Registration tutorial. 🙂
- 1 Android Login and Registration Video Tutorial
- 2 Creating Web Services
- 2.1 Why Web Services
- 2.2 Creating Database
- 2.3 Creating a new PHP Project
- 2.4 Connecting to the Database
- 2.5 Building Web Services
- 2.6 Download PHP Scripts
- 3.1 Creating a New Android Project
- 3.2 Designing User Interface
- 3.3 Creating Helper Classes
- 3.4 Adding Internet Permission in the Manifest
- 3.5 Completing the Registration Part
- 3.6 Completing Profile Part
- 3.7 Completing Login Part
- 4.1 Related
Android Login and Registration Video Tutorial
- Feel boring reading long posts? More comfortable watching video tutorials? Here is a complete playlist for this post.
Creating Web Services
The first phase of this tutorial covers creating web services for User Signup and Login. Now you may be thinking that why we need to create web services?
Why Web Services
The problem here is our application cannot access our server directly. We need some medium between server and the application so that our application can access the database residing in our web server. For this we use Web Services often called APIs, ore more specifically a RESTful API. Now here I am not discussing very much about Rest APIs or Web Services. You can check the below tutorials if you want to explore these things further.
In this post we will not be using any framework to build our APIs. We will use the basic php only.
But for creating any kind of API you must know about JSON, and if you are completely unaware about JSON then you should go through this seven minute quick video first. Here you will understand everything about JSON.
Creating Database

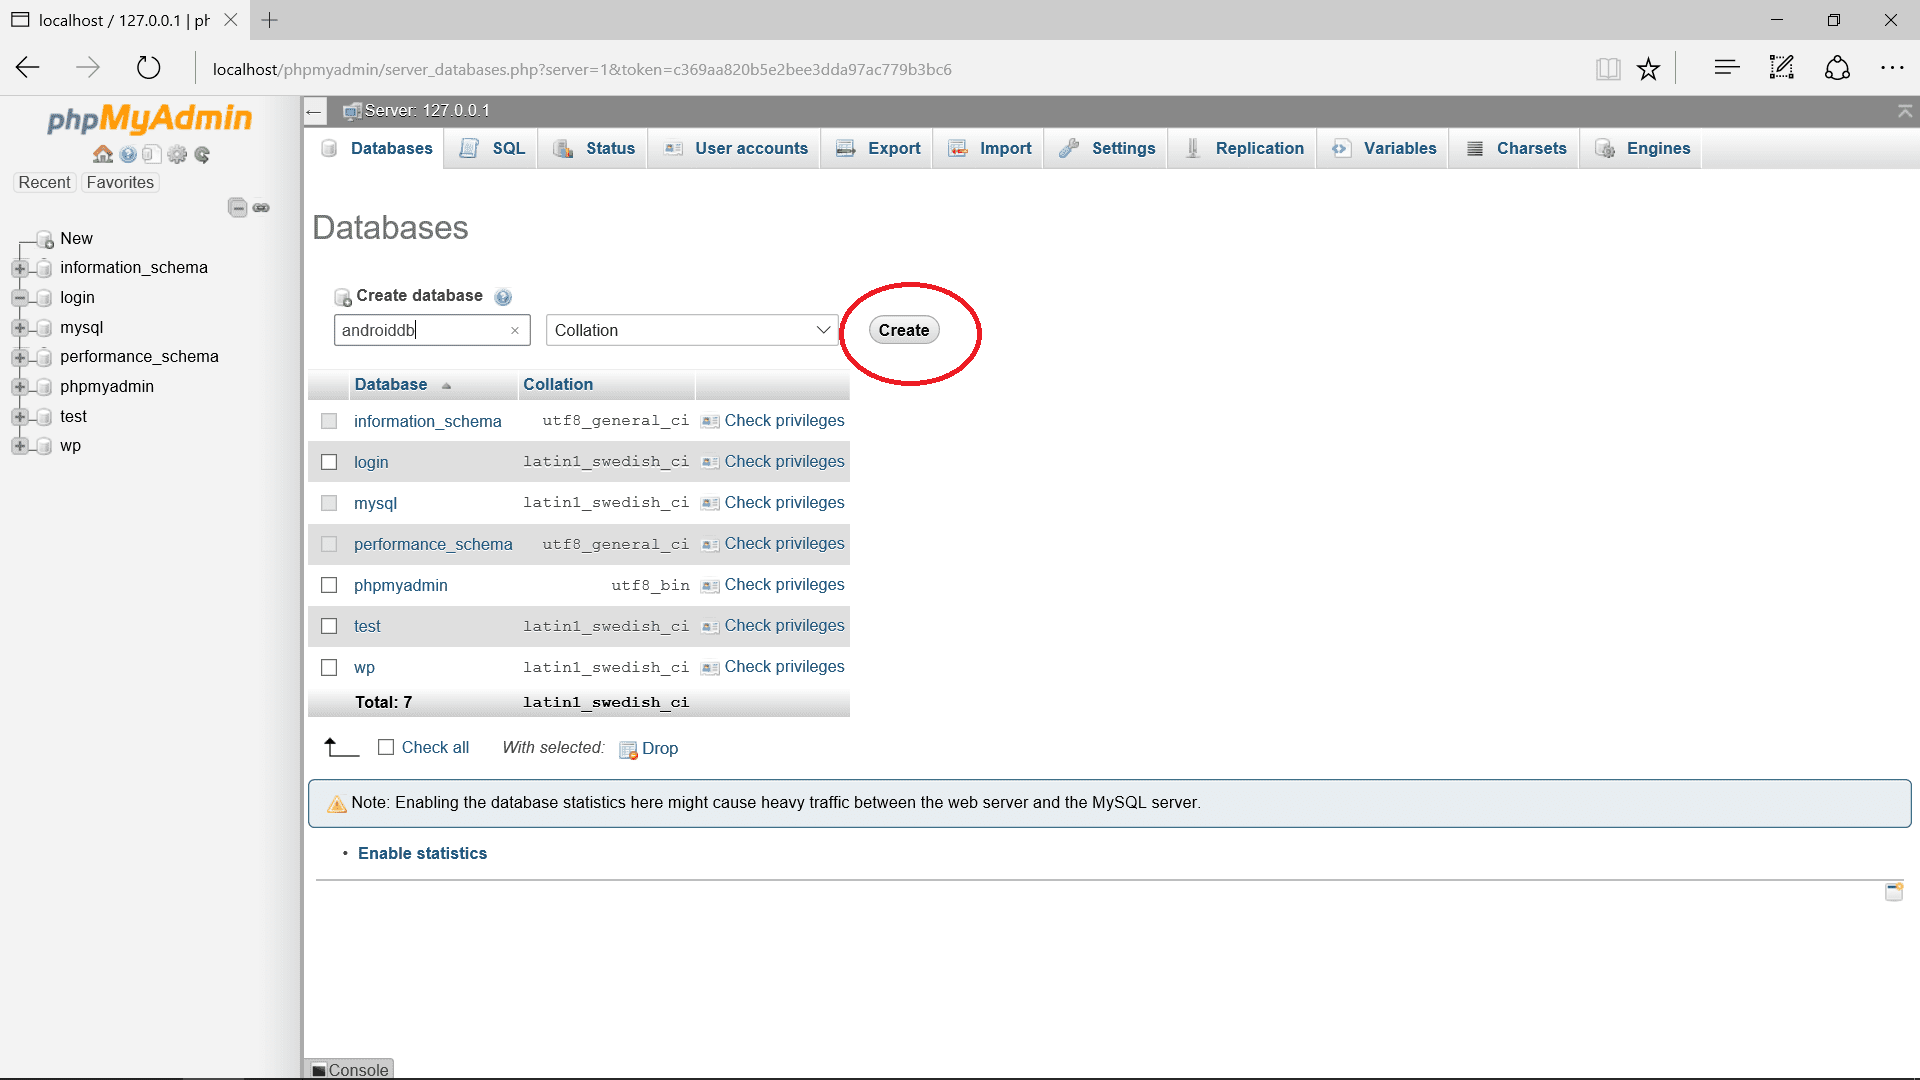
- So first you create a new database in your PhpMyAdmin (localhost/phpmyadmin).
- Inside the database we create the above shown table. And for this you can use the following query.
Android PHP MySQL Login Tutorial

Android has many options to choose which database you want to use in the applications. SQLite database only good for data that store in the local device, it is not possible to use it globally. To share and use one database everywhere then we should web server to achieve it which Android PHP MySQL is a good choice. Moreover, android application is able to connect PHP to use and do some modification in MySQL database. Mysql is an open source relational database management system (RDMS), it is widely used over the world. In this tutorial, you will learn how to connect MySQL in the android application and do a simple login to test out the result.
Pre-requisites
First, you need to open XAMPP and start Apache and MySQL.
Create a Login table
Go to PHPMyAdmin in your localhost, eg (//localhost/phpmyadmin/). Add a new database table name it as “androiddb“.

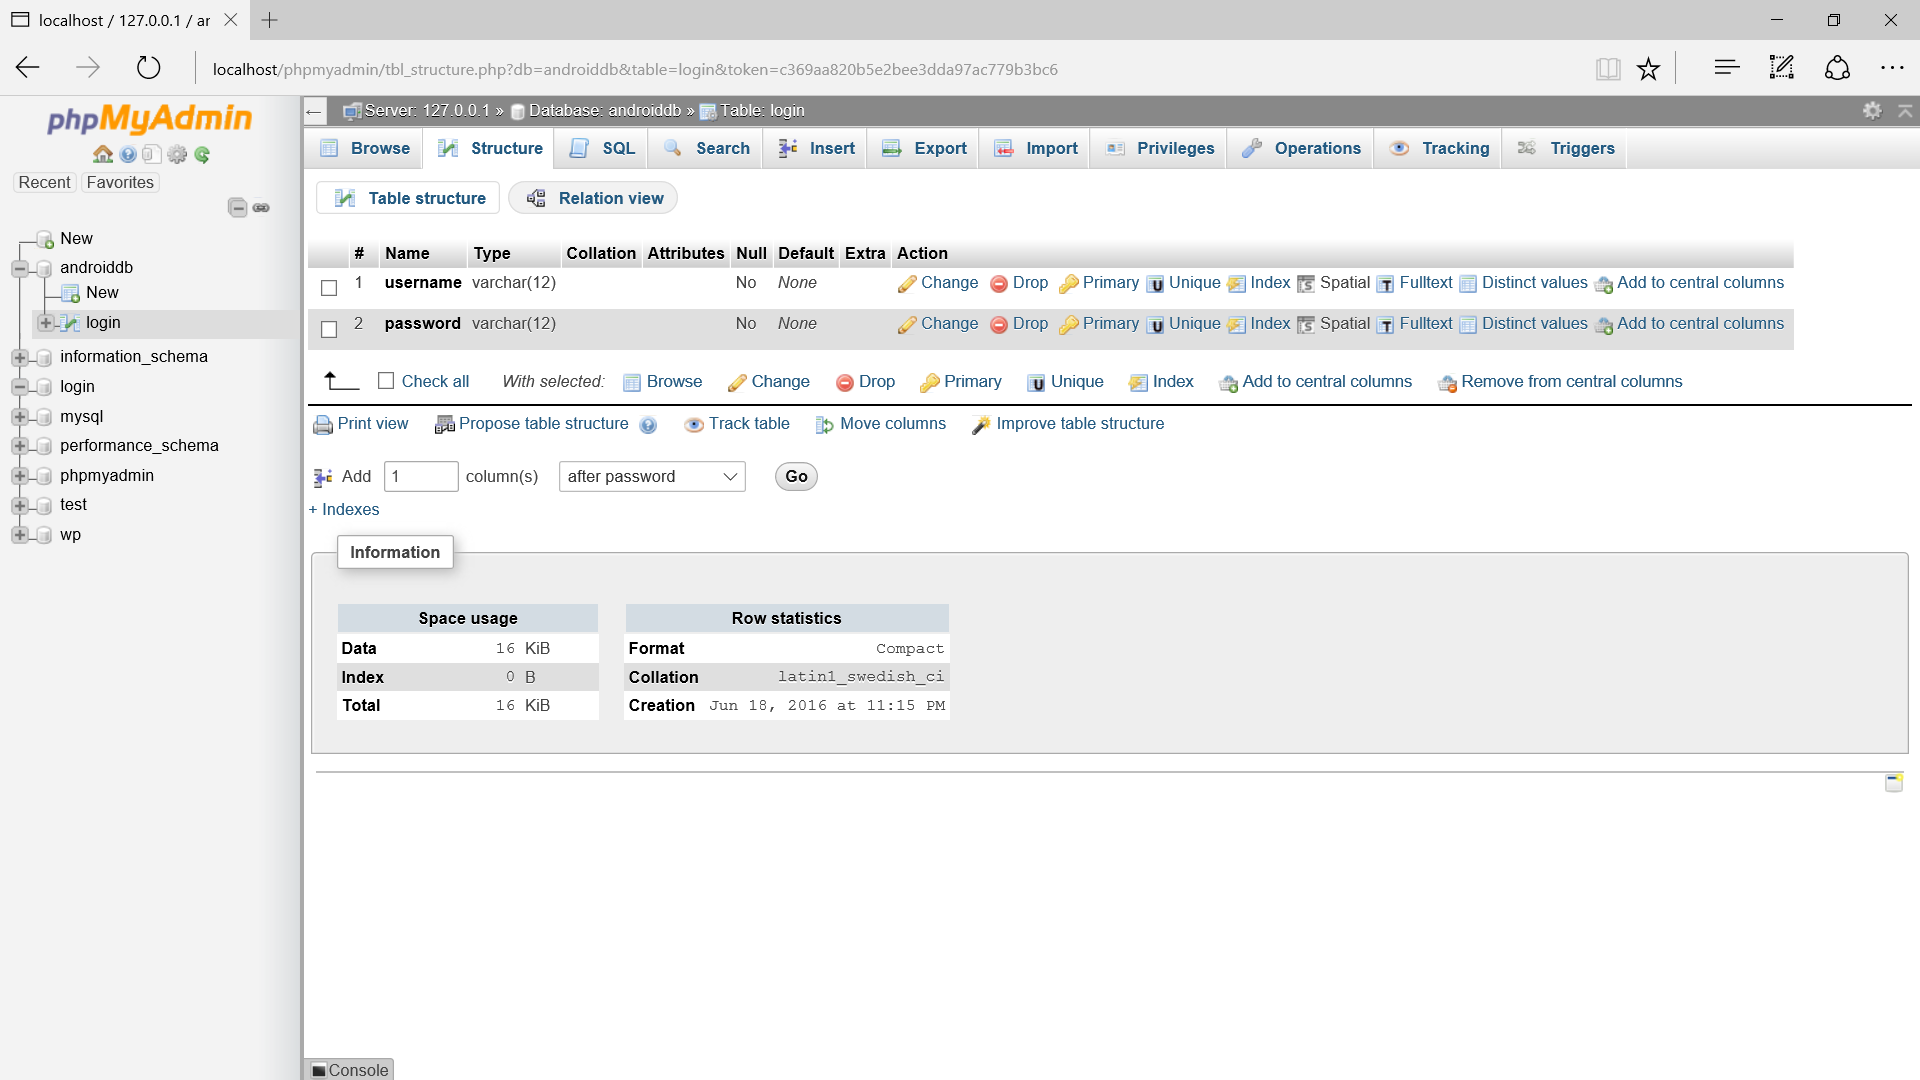
After that, add a new “login” table. The login table has two rows which are username and password. Follow the following field detail to create it.
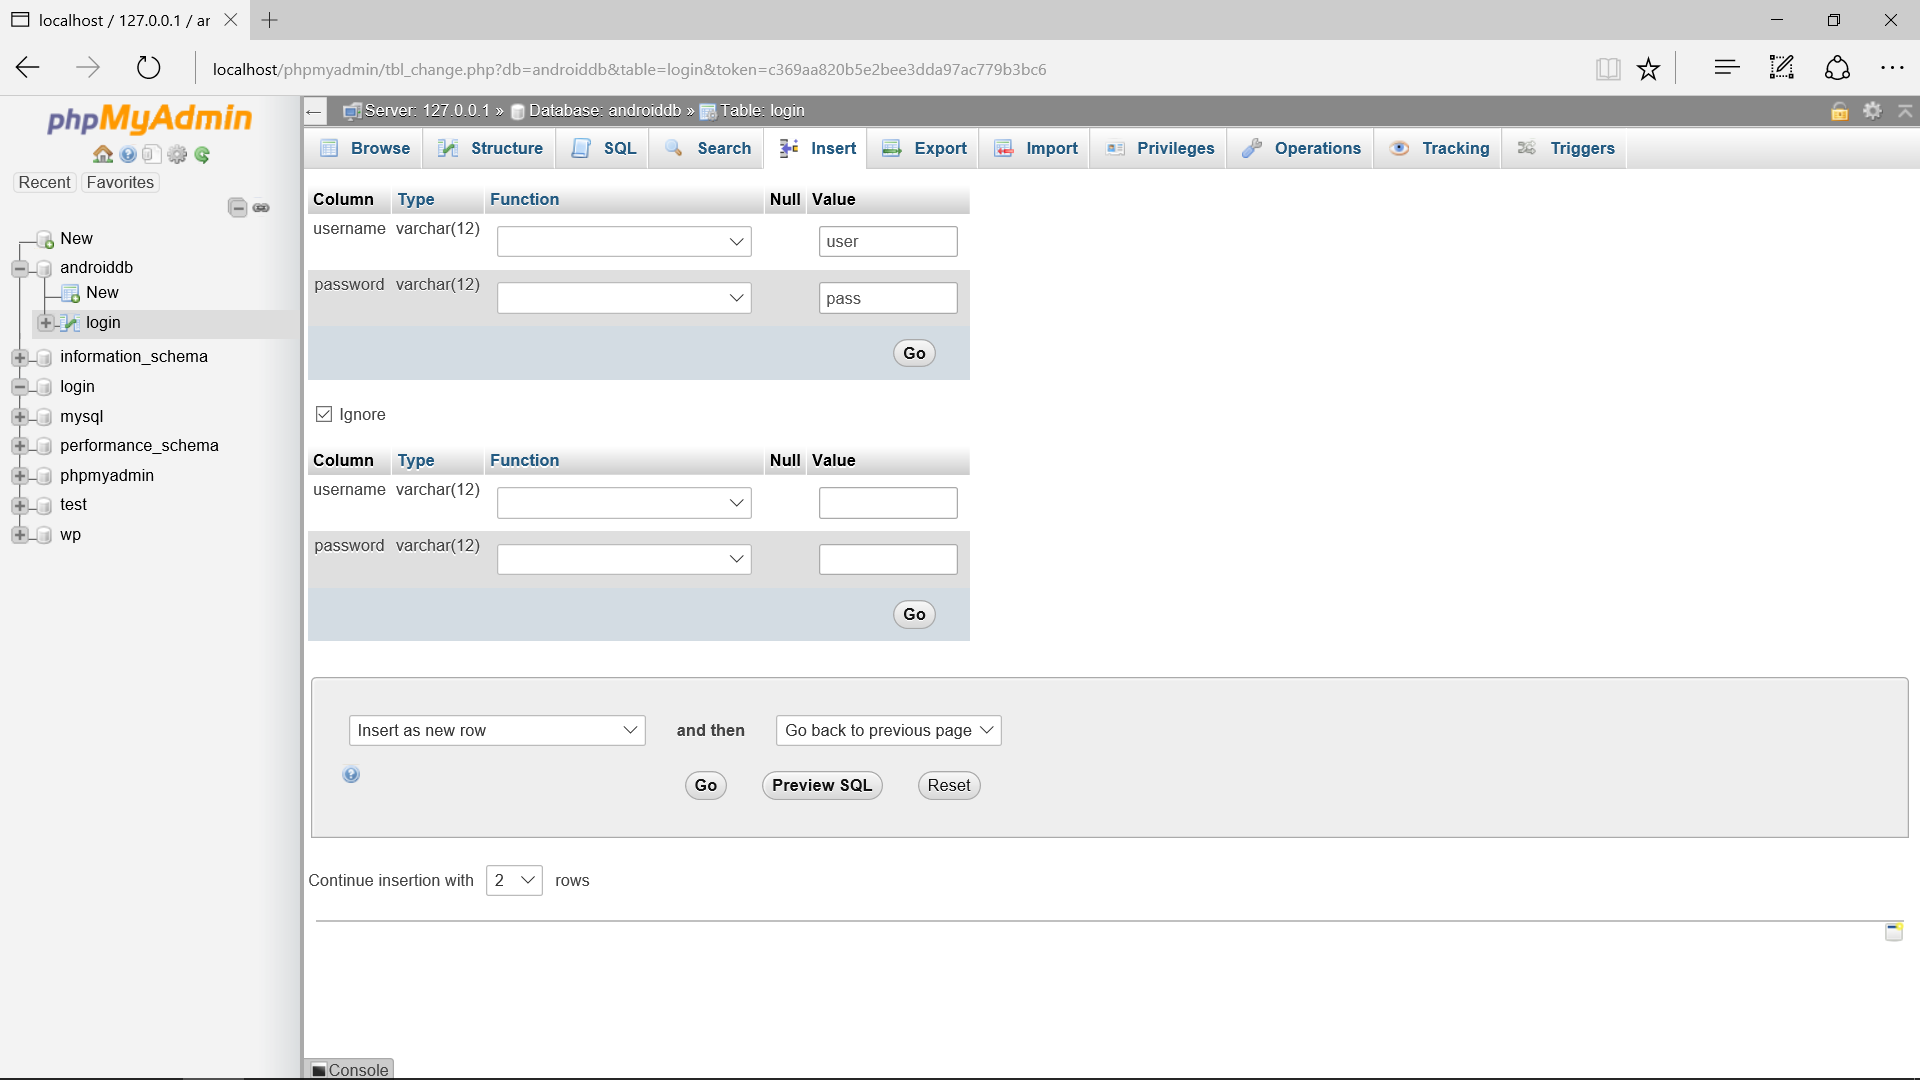
Insert a record, I set the username is “user” and password is “pass” so that later can test with this username in the mobile application.
Create a New PHP Project
Add a new project name “php-android-login” and add two new PHP file. The first is config.php and second is login.php.
Edit config.php file
This file is to connect to the MySQL database, you should enter your server name. In my situation, I use localhost so I enter localhost. Enter the server username and password, my password empty cause I dint set any password. Next, enter the database name “login” that created just now. All information should be correct so that you able to connect the server. You can test run the config.php to test whether connect a not, if not connected it will prompt “Cannot connect to db”.
setAttribute(PDO::ATTR_ERRMODE, PDO::ERRMODE_EXCEPTION); > catch(PDOException $e) < die("Cannot connect to db"); >?>Edit login.php file
Copy below code into your login.php. In short, the code means if username and password match to your login table record, the result will become true. Else, will become false.
prepare($sql); $stmt->bindParam(':username', $username, PDO::PARAM_STR); $stmt->bindParam(':password', $password, PDO::PARAM_STR); $stmt->execute(); if($stmt->rowCount()) < $result="true"; >elseif(!$stmt->rowCount()) < $result="false"; >echo $result; > ?>Creating a New Android Project
1. Open Android Studio IDE in your computer.
2. Create a new project and Edit the Application name to “PhpMysqlExample”.
(Optional) You can edit the company domain or select the suitable location for current project tutorial. Then click next button to proceed.
3. Select Minimum SDK (API 15:Android 4.0.3 (IceCreamSandwich). I choose the API 15 because many android devices currently are support more than API 15. Click Next button.
4. Choose “Empty Activity” and Click Next button
5. Lastly, press finish button.Edit activity_main.xml layout
I add two text view in this layout to determine this is the main page. You can copy the following code.
Create a Login Activity
Right click package name > New > Activity > EmptyActivity. After that, enter your activity name “LoginActivity”. Click finish button.
Edit activity_login.xml layout
The following code is activity_login.xml, I add two EditText for username and password input. Then, I add a button to do background process to enter main activity.
Create a New class
Right click package name > New > Java class and name it as “AsyncLogin”.
Edit AsyncLogin.java class
The below source code is asynclogin.java. Asyntask is to perform background process, the url “//localhost/php-android-login/login.php” should be correct, otherwise, you cannot connect the application to the PHP file. The following URL is my local path, please check your local path correctly.
package com.example.questdot.phpmysqlexample; import android.app.ProgressDialog; import android.content.Intent; import android.net.Uri; import android.os.AsyncTask; import android.widget.Toast; import java.io.BufferedReader; import java.io.BufferedWriter; import java.io.IOException; import java.io.InputStream; import java.io.InputStreamReader; import java.io.OutputStream; import java.io.OutputStreamWriter; import java.net.HttpURLConnection; import java.net.MalformedURLException; import java.net.URL; /** * Created by HP on 19/6/2016. */ public class AsyncLogin extends AsyncTask < private LoginActivity loginActivity; ProgressDialog pdLoading = new ProgressDialog(loginActivity); HttpURLConnection conn; URL url = null; public AsyncLogin(LoginActivity loginActivity) < this.loginActivity = loginActivity; >@Override protected void onPreExecute() < super.onPreExecute(); //this method will be running on UI thread pdLoading.setMessage("\tLoading. "); pdLoading.setCancelable(false); pdLoading.show(); >@Override protected String doInBackground(String. params) < try < url = new URL("//localhost/php-android-login/login.php"); >catch (MalformedURLException e) < // TODO Auto-generated catch block e.printStackTrace(); return "exception"; >try < // Setup HttpURLConnection class to send and receive data from php and mysql conn = (HttpURLConnection) url.openConnection(); conn.setReadTimeout(15000); conn.setConnectTimeout(10000); conn.setRequestMethod("POST"); // setDoInput and setDoOutput method depict handling of both send and receive conn.setDoInput(true); conn.setDoOutput(true); // Append parameters to URL Uri.Builder builder = new Uri.Builder() .appendQueryParameter("username", params[0]) .appendQueryParameter("password", params[1]); String query = builder.build().getEncodedQuery(); // Open connection for sending data OutputStream os = conn.getOutputStream(); BufferedWriter writer = new BufferedWriter( new OutputStreamWriter(os, "UTF-8")); writer.write(query); writer.flush(); writer.close(); os.close(); conn.connect(); >catch (IOException e1) < // TODO Auto-generated catch block e1.printStackTrace(); return "exception"; >try < int response_code = conn.getResponseCode(); // Check if successful connection made if (response_code == HttpURLConnection.HTTP_OK) < // Read data sent from server InputStream input = conn.getInputStream(); BufferedReader reader = new BufferedReader(new InputStreamReader(input)); StringBuilder result = new StringBuilder(); String line; while ((line = reader.readLine()) != null) < result.append(line); >// Pass data to onPostExecute method return (result.toString()); > else < return ("unsuccessful"); >> catch (IOException e) < e.printStackTrace(); return "exception"; >finally < conn.disconnect(); >> @Override protected void onPostExecute(String result) < //this method will be running on UI thread pdLoading.dismiss(); if (result.equalsIgnoreCase("true")) < Intent intent = new Intent(loginActivity, MainActivity.class); loginActivity.startActivity(intent); loginActivity.finish(); >else if (result.equalsIgnoreCase("false")) < // If username and password does not match display a error message Toast.makeText(loginActivity, "Invalid userename or password", Toast.LENGTH_LONG); >else if (result.equalsIgnoreCase("exception") || result.equalsIgnoreCase("unsuccessful")) < Toast.makeText(loginActivity, "OOPs! Something went wrong. Connection Problem.", Toast.LENGTH_LONG); >> >Edit LoginActivity.java class
The following code is loginactivity.java class copy and pastes it.
package com.example.questdot.phpmysqlexample; import android.support.v7.app.AppCompatActivity; import android.os.Bundle; import android.view.View; import android.widget.Button; import android.widget.EditText; public class LoginActivity extends AppCompatActivity < private EditText etUsername; private EditText etPassword; private Button btnLogin; @Override protected void onCreate(Bundle savedInstanceState) < super.onCreate(savedInstanceState); setContentView(R.layout.activity_login); etUsername = (EditText) findViewById(R.id.username); etPassword = (EditText) findViewById(R.id.password); btnLogin = (Button) findViewById(R.id.btnlogin); btnLogin.setOnClickListener(new View.OnClickListener() < @Override public void onClick(View v) < final String username = etUsername.getText().toString(); final String password = etPassword.getText().toString(); new AsyncLogin(LoginActivity.this).execute(username,password); >>); > >
Edit AndroidManifest.xml
You should add two permission which is INTERNET and ACCESS_NETWORK_STATE, else you will get the socket error. Besides, set LoginActivity to first launch.
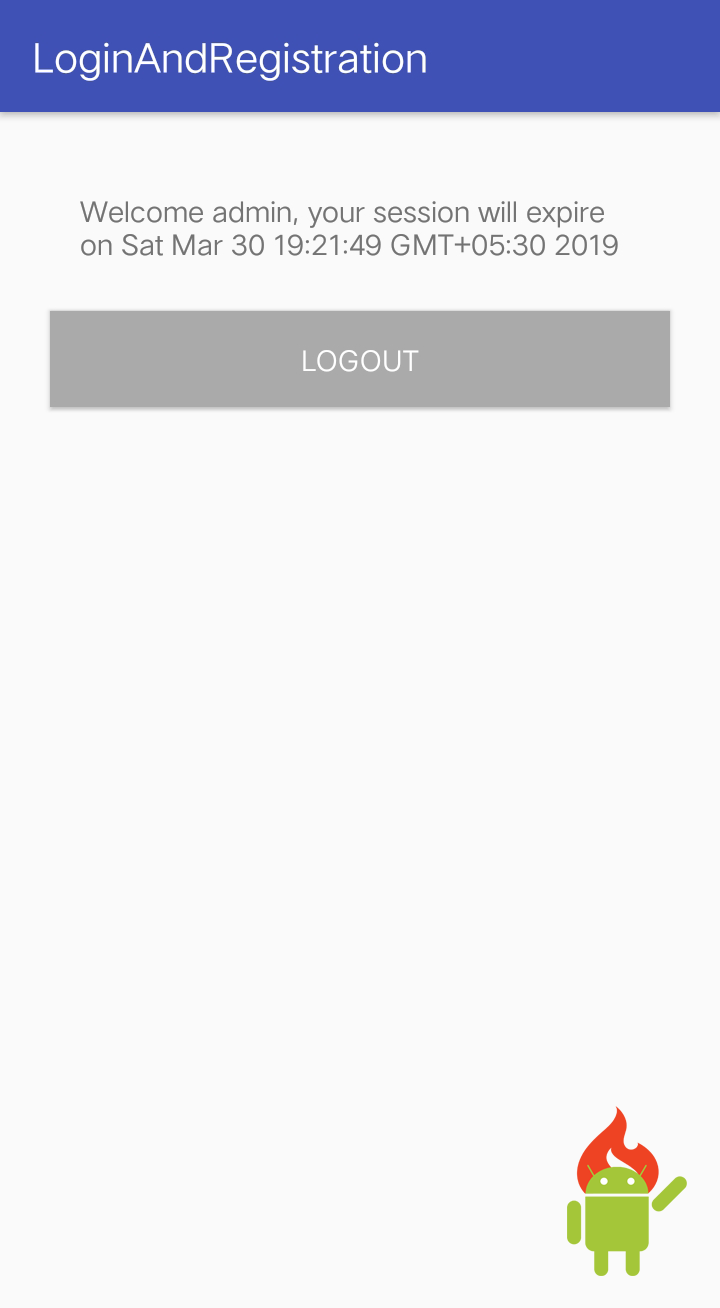
Run Your Project
Now, you can run your project and test whether can log in to the main activity.