- Create a TextView Programmatically in Kotlin Android
- Code – Create TextView
- Android Example – Create TextView programmatically
- Conclusion
- Kotlin Android TextView и EditText – отображение текста
- Пример Kotlin Android TextView и ExitText
- Activity_main.xml
- MainActivity.kt
- Android TextView
- Create TextView in Layout File
- Access TextView in Layout File from Kotlin
- Create TextView programmatically in Kotlin File
- TextView Attributes
- Other Android TextView Tutorials
- Conclusion
- Kotlin android studio textview
- Learn Latest Tutorials
- Preparation
- Trending Technologies
- B.Tech / MCA
- Javatpoint Services
- Training For College Campus
Create a TextView Programmatically in Kotlin Android
We know that we can specify views using layout file. But, we can also create a TextView programmatically and then add this View to layout file.
In this tutorial, we will learn how to create a TextView programmatically in Android, and add this TextView to a LinearLayout in layout file.
Code – Create TextView
A quick snippet of code to create a new TextView programmatically in Kotlin Android
val tv_dynamic = TextView(this) tv_dynamic.textSize = 20f tv_dynamic.text = "This is a dynamic TextView generated programmatically in Kotlin"
Creating a new TextView programmatically at a point in the program requires it to be in UI thread. And also we need the application context to create any new View. Android prevents any View to be created outside the UI thread by throwing a build error.
Android Example – Create TextView programmatically
In this example, we shall present you the layout XML file and Activity Kotlin file on how to create a TextView programmatically and add the TextView to a LinearLayout in Kotlin Android.
activity_main.xml: Following is the activity_main.xml containing the TextView with the text “This is a textview generated from xml”.
MainActivity.kt: Create a new TextView with the text “This is a dynamic TextView generated programmatically in Kotlin” and add it to the LinearLayout. This addition makes the dynamically created TextView to be appended at the end of all child views present in the LinearLayout.
package com.tutorialkart.textviewexample import android.support.v7.app.AppCompatActivity import android.os.Bundle import android.widget.TextView import kotlinx.android.synthetic.main.activity_main.* class MainActivity : AppCompatActivity() < override fun onCreate(savedInstanceState: Bundle?) < super.onCreate(savedInstanceState) setContentView(R.layout.activity_main) // creating TextView programmatically val tv_dynamic = TextView(this) tv_dynamic.textSize = 20f tv_dynamic.text = "This is a dynamic TextView generated programmatically in Kotlin" // add TextView to LinearLayout ll_main_layout.addView(tv_dynamic) >>
Following is the output with the programmatically created TextView.

Conclusion
In this Kotlin Android Tutorial, we have learned to create TextView programmatically and add it to layout.
Kotlin Android TextView и EditText – отображение текста
Android TextView и EditText — это пользовательские интерфейсы, которые отображают текст для пользователя в Kotlin.
Ниже показан простой XML-код TextView в макете.
Мы можем получить и изменить содержимое текстового представления, определенного в макете XML в файле класса Котлин, как:
val textView = findViewById(R.id.text_view_id) textView.setText("string").toString() val textViewValue = textView.text EditText — это пользовательский интерфейс, который используется для ввода и изменения текста. При использовании текста редактирования в макете XML мы должны указать его атрибут inputType, который настраивает клавиатуру в соответствии с упоминанием типа ввода.
Простой XML-код EditText в макете показан ниже.
Мы можем получить и изменить содержимое текста редактирования, определенного в макете XML в файле Kotlin, как:
val editText = findViewById(R.id.editText_id) val editTextValue = editText.text
Пример Kotlin Android TextView и ExitText
В этом примере мы вводим текстовое значение в ExitText и отображаем его значение в TextView при нажатии кнопки.
Мы также наблюдаем за изменениями, сделанными над EditText, используя метод addTextChangedListener() и интерфейс TextWatcher.
Activity_main.xml
В файл activity_main.xml добавьте следующий код.
MainActivity.kt
Добавьте следующий код в класс MainActivity.kt. В этом классе мы получаем значение редактируемого текста и отображаем его в текстовом виде, нажав кнопку. При этом мы также наблюдаем за изменениями, сделанными над EditText, с помощью метода addTextChangedListener() и интерфейса TextWatcher. Чтобы узнать больше о TextWatcher, обратитесь к https://www.javatpoint.com/android-edittext-with-textwatcher.
package example.javatpoint.com.kotlintextviewedittext import android.support.v7.app.AppCompatActivity import android.os.Bundle import android.text.Editable import android.text.TextWatcher import android.view.View import android.widget.TextView import android.widget.Toast import kotlinx.android.synthetic.main.activity_main.* class MainActivity : AppCompatActivity() < override fun onCreate(savedInstanceState: Bundle?) < super.onCreate(savedInstanceState) setContentView(R.layout.activity_main) button.setOnClickListener()< val inputValue: String = editText.text.toString() if(inputValue == null || inputValue.trim()=="")< Toast.makeText(this,"please input data, edit text cannot be blank",Toast.LENGTH_LONG).show() >else < textView4.setText(inputValue).toString() >> textView5.setOnClickListener()< if(textView4.text.toString() == null || textView4.text.toString().trim()=="")< Toast.makeText(this,"clicked on reset textView,\n output textView already reset",Toast.LENGTH_LONG).show() >else < textView4.setText("").toString() >> editText.addTextChangedListener(object: TextWatcher < override fun beforeTextChanged(p0: CharSequence?, p1: Int, p2: Int, p3: Int) < // TODO("not implemented") //To change body of created functions use File | Settings | File Templates. Toast.makeText(applicationContext,"executed before making any change over EditText",Toast.LENGTH_SHORT).show() >override fun onTextChanged(p0: CharSequence?, p1: Int, p2: Int, p3: Int) < // TODO("not implemented") //To change body of created functions use File | Settings | File Templates. Toast.makeText(applicationContext,"executed while making any change over EditText",Toast.LENGTH_SHORT).show() >override fun afterTextChanged(p0: Editable?) < // TODO("not implemented") //To change body of created functions use File | Settings | File Templates. Toast.makeText(applicationContext,"executed after change made over EditText",Toast.LENGTH_SHORT).show() >>) > > Android TextView
Android TextView widget displays text to the user in UI.
In this tutorial, we will learn how to create a TextView using layout XML files, how to access the TextView in layout file from Kotlin file, how to create a TextView in Kotlin file and display it to user, different attributes supported by TextView, with examples covering the most important scenarios.
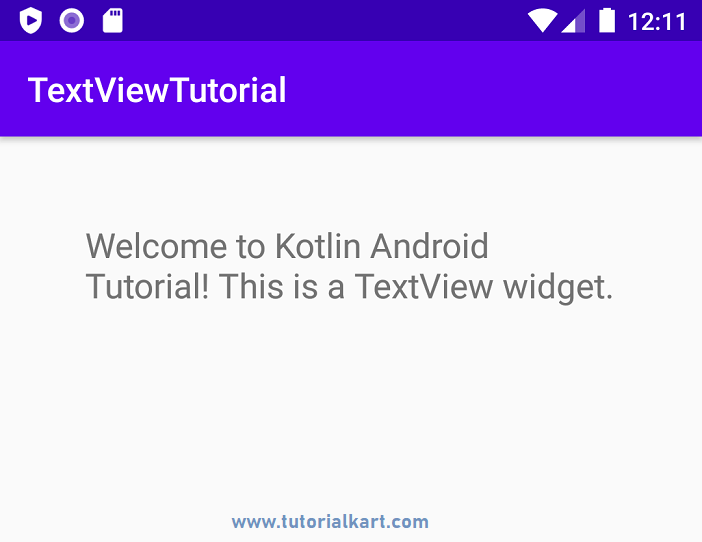
In the following screenshot, we have a TextView with the text “Welcome to Kotlin Android Tutorial! This is a TextView widget.”.
Create TextView in Layout File
To create a TextView in layout file, use TextView widget.
Create an Android Project with Kotlin support and follow these steps.
In the layout activity_main.xml file, define a TextView widget. In this example, we have defined a TextView inside the root element LinearLayout.
activity_main.xml
We have used the string resource hello , in our above layout activity_main.xml file. Following is the content of strings.xml resource file.
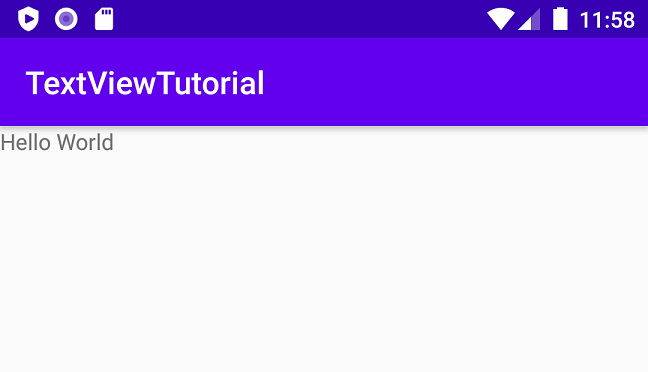
TextViewTutorial Hello World
Our default MainActivity.kt should look like the following, and we are not changing anything in this file, for now. This Kotlin file is the launcher for this Android application.
MainActivity.kt
package com.tutorialkart.textviewtutorial import androidx.appcompat.app.AppCompatActivity import android.os.Bundle class MainActivity : AppCompatActivity() < override fun onCreate(savedInstanceState: Bundle?) < super.onCreate(savedInstanceState) setContentView(R.layout.activity_main) >>
Output Screenshot
Run the Android application on an emulator. You will get the following screen in the device.
Access TextView in Layout File from Kotlin
To access the TextView present in a layout file, from Kotlin file, use findViewById() method with the TextView id passed as argument. The attribute id will help to find the specified widget.
var helloTextView = findViewById(R.id.text_view_id)
Following is a complete example to access the TextView present in layout file.
We have a TextView with id text_view_id in the following layout file.
activity_main.xml
In the following strings.xml file, we have the string resources that we use in both layout activity_main.xml file and MainActivity.kt file.
TextViewTutorial Hello World Good Morning
In the following MainActivity.kt file, we are accessing the TextView using findViewById() function with id text_view_id, and changing the TextView’s text attribute value.
MainActivity.kt
package com.tutorialkart.textviewtutorial import androidx.appcompat.app.AppCompatActivity import android.os.Bundle import android.widget.TextView class MainActivity : AppCompatActivity() < override fun onCreate(savedInstanceState: Bundle?) < super.onCreate(savedInstanceState) setContentView(R.layout.activity_main) //get reference to the textview var helloTextView = findViewById(R.id.text_view_id) //set its text property helloTextView.text = getString(R.string.greeting) > >
Output Screenshot
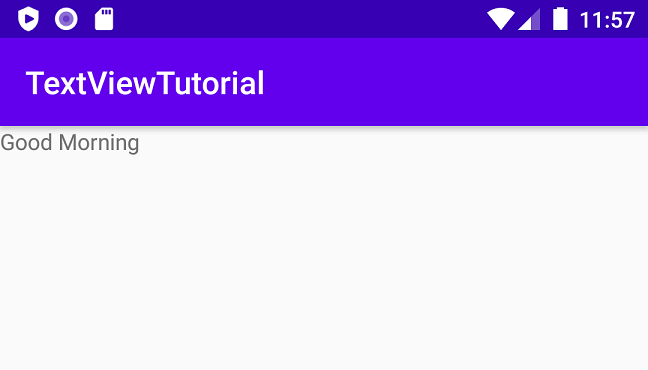
The text has been changed in UI, because we have updated the text attribute of the TextView in Kotlin file.
Create TextView programmatically in Kotlin File
In the above examples, we have seen how to create a TextView in layout XML files. In addition to that, you can also create a TextView in your Kotlin file.
To create a TextView using Kotlin, you can use TextView() class. Call TextView() constructor with context passed as argument, and it shall return a TextView object.
val textViewNew = TextView(this)
You can use the variable name to modify its attributes and add the text view to your UI layout file.
In the following example, we will create a TextView in Kotlin file and add it to the UI.
Following layout file contains a TextView. In addition to this one, we will create one more TextView in MainActivity.kt file.
activity_main.xml
We shall use the following string resources in our layout and MainActivity.kt files.
MainActivity.kt
TextViewTutorial Hello World Good Morning
In the following MainActivity.kt file, we have created a TextView with variable name textViewNew. After that, we have set its text attribute and added this TextView to LinarLayout present at the root of activity_main.xml layout file.
MainActivity.kt
package com.tutorialkart.textviewtutorial import androidx.appcompat.app.AppCompatActivity import android.os.Bundle import android.widget.LinearLayout import android.widget.TextView class MainActivity : AppCompatActivity() < override fun onCreate(savedInstanceState: Bundle?) < super.onCreate(savedInstanceState) setContentView(R.layout.activity_main) //create TextView val textViewNew = TextView(this) //set TextView attributes textViewNew.text = getString(R.string.greeting) //add this TextView to UI findViewById(R.id.linear_layout_id).addView(textViewNew) > >
Output Screenshot
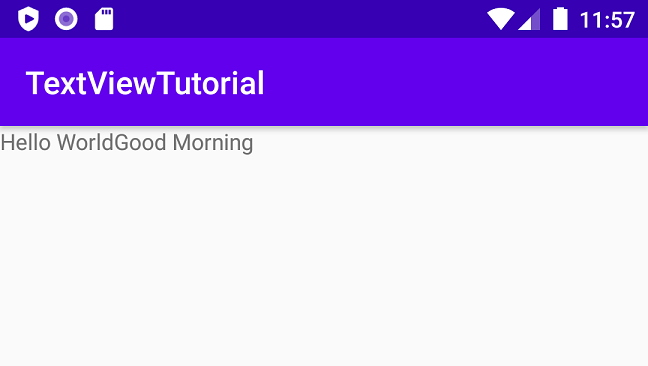
The new TextView is displayed after the TextView present in layout file.
TextView Attributes
In the above examples, we have used some of the attributes for TextView. They are id, layout_height, layout_width and text. There are some more attributes for TextView.
Instead of dumping all the TextView attributes in a list, we shall take some of the challenges with TextView and solve them using its attributes.
Other Android TextView Tutorials
Following are some of the useful TextView tutorials, that would help you when working with TextView widget.
Conclusion
In this Kotlin Android Tutorial, we learned about Android TextView widget.
Kotlin android studio textview
Learn Latest Tutorials


Preparation


Trending Technologies


B.Tech / MCA


Javatpoint Services
JavaTpoint offers too many high quality services. Mail us on h[email protected], to get more information about given services.
- Website Designing
- Website Development
- Java Development
- PHP Development
- WordPress
- Graphic Designing
- Logo
- Digital Marketing
- On Page and Off Page SEO
- PPC
- Content Development
- Corporate Training
- Classroom and Online Training
- Data Entry
Training For College Campus
JavaTpoint offers college campus training on Core Java, Advance Java, .Net, Android, Hadoop, PHP, Web Technology and Python. Please mail your requirement at [email protected].
Duration: 1 week to 2 week
Like/Subscribe us for latest updates or newsletter 


