- How to style forms with CSS: A beginner’s guide
- 1. Setting box-sizing
- 2. CSS selectors for input elements
- 3. Basic styling methods for single-line text input fields
- Over 200k developers use LogRocket to create better digital experiences
- Padding
- Margin
- Border
- Box shadow
- Border radius
- Width
- Fonts
- 4. Styling other input types
- Text areas
- Checkboxes and radio buttons
- Select menus
- Buttons
- 5. UI pseudo-classes
- Generated messages with :required
- :hover and :focus
- 6. Noncustomizable inputs
- Conclusion
- Is your frontend hogging your users’ CPU?
How to style forms with CSS: A beginner’s guide
Apps primarily collect data via forms. Take a generic sign-up form, for example: there are several fields for users to input information such as their name, email, etc.
In the old days, websites just had plain, boring HTML forms with no styles. That was before CSS changed everything. Now we can create more interesting, lively forms using the latest features of CSS.
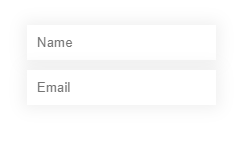
Don’t just take my word for it. Below is what a typical HTML form looks like without any CSS.

Here’s that same form jazzed up with a bit of CSS.
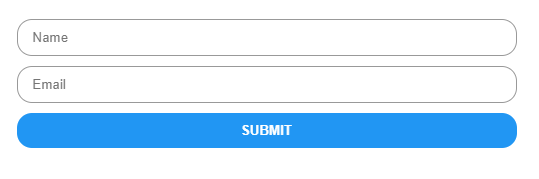
In this tutorial, we’ll show you how to recreate the form shown above as well as a few other amazing modifications you can implement to create visually impressive, user-friendly forms.
We’ll demonstrate how to style forms with CSS in six steps:
- Setting box-sizing
- CSS selectors for input elements
- Basic styling methods for text input fields
- Styling other input types
- UI pseudo-classes
- Noncustomizable inputs
Before we dive in, it’s important to understand that there is no specific style for forms. The possibilities are limited only by your imagination. This guide is meant to help you get started on the path to creating your own unique designs with CSS.
1. Setting box-sizing
I usually set * not only for forms, but also webpages. When you set it, the width of all the elements will contain the padding.
For example, set the width and padding as follows.
The .some-class without box-sizing:border-box will have a width of more than 200px , which can be an issue. That’s why most developers use border-box for all elements.
Below is a better version of the code. It also supports the :before and :after pseudo-elements.
Tip: The * selector selects all the elements in the document.
2. CSS selectors for input elements
The easiest way to select input elements is to use CSS attribute selectors.
input[type=text] < // input elements with type="text" attribute >input[type=password] < // input elements with type="password" attribute >
These selectors will select all the input elements in the document. If you need to specify any selectors, you’ll need to add classes to the elements.
3. Basic styling methods for single-line text input fields
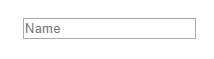
Single-line fields are the most common input fields used in forms. Usually, a single-line text input is a simple box with a border (this depends on the browser).
Here’s the HTML markup for a single-line field with a placeholder.

Over 200k developers use LogRocket to create better digital experiences
![]()
Learn more →
You can use the following CSS properties to make this input field more attractive.
- Padding (to add inner spacing)
- Margin (to add a margin around the input field)
- Border
- Box shadow
- Border radius
- Width
- Font
Let’s zoom in on each of these properties.
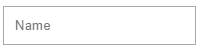
Padding
Adding some inner space to the input field can help improve clarity. You can accomplish this with the padding property.
Margin
If there are other elements near your input field, you may want to add a margin around it to prevent clustering.

Border
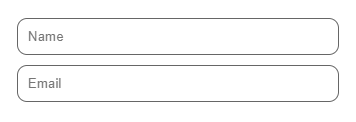
In most browsers, text input fields have borders, which you can customize.
You can also remove a border altogether.
Tip: Be sure to add a background color or box-shadow when the border is removed. Otherwise, users won’t see the input.
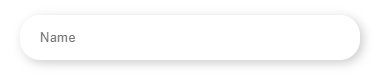
Some web designers prefer to display only the bottom border because feels a bit like writing on a line in a notebook.
Box shadow
You can use the CSS box-shadow property to add a drop shadow. You can achieve a range of effects by playing around with the property’s five values.
Border radius
The border-radius property can have a massive impact on the feel of your forms. By curving the edges of the boxes, you can significantly alter the appearance of your input fields.
You can achieve another look and feel altogether by using box-shadow and border-radius together.
Width
Use the width property to set the width of inputs.
Fonts
Most browsers use a different font family and size for form elements. If necessary, we can inherit the font from the document.
4. Styling other input types
You can style other input types such as text area, radio button, checkbox, and more. Let’s take a closer look.
Text areas
Text areas are similar to text inputs except that they allow multiline inputs. You’d typically use these when you want to collect longer-form data from users, such as comments, messages, etc. You can use all the basic CSS properties we discussed previously to style text areas.
The resize property is also very useful in text areas. In most browsers, text areas are resizable along both the x and y axes (value: both ) by default. You can set it to both , horizontal , or vertical .
Check out this text area I styled:
In this example, I used resize:vertical to allow only vertical resizing. This practice is used in most forms because it prevents annoying horizontal scrollbars.
Note: If you need to create auto-resizing text areas, you’ll need to use a JavaScript approach, which is outside the scope of this article.
Checkboxes and radio buttons
The default checkbox and radio buttons are hard to style and require more complex CSS (and HTML).
To style a checkbox, use the following HTML code.
- Since we’re using to wrap the , if you click any element inside , the will be clicked
- We’ll hide the because browsers don’t allow us to modify it much
- creates a custom checkbox
- We’ll use the input:checked pseudo-class selector to get the checked status and style the custom checkbox
Here’s a custom checkbox (see the comments in the CSS for more explanations):
Here’s a custom radio button:
We used the same concept ( input:checked ) to create custom elements in both examples.
In browsers, checkboxes are box-shaped while radio buttons are round. It’s best to keep this convention in custom inputs to avoid confusing the user.
Select menus
Select menus enable users to select an item from multiple choices.
You can style the element to look more engaging.
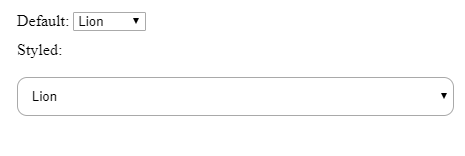
However, you cannot style the dropdown (or elements) because they are styled by default depending on the OS. The only way to style those elements is to use custom dropdowns with JavaScript.
Buttons
Like most elements, buttons have default styles.

5. UI pseudo-classes
Below are some UI pseudo-classes that are commonly used with form elements.
These can be used to show notices based on an element’s attributes:
These can be used to create effects on each state:
Generated messages with :required
To show a message that input is required:
Name Email label < display:block; >input:required + span:after
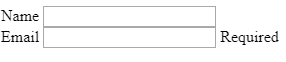
If you remove the required attribute with JavaScript, the «Required» message will be removed automatically.
Note: cannot contain other elements. Therefore, it cannot contain the :after or :before pseudo-elements. Hence, we need to use another element.
We can do the same thing with the :valid and :invalid pseudo-classes.
:hover and :focus
:hover selects an element when the mouse pointer hovers over it. :focus selects an element when it is focused.
These pseudo-classes are often used to create transitions and slight visual changes. For example, you can change the width, background color, border color, shadow strength, etc. Using the transition property with these properties makes those changes much smoother.
Here are some hover effects on form elements (try hovering over the elements).
When users see elements subtly change when they hover over them, they get the sense that the element is actionable. This is an important consideration when designing form elements.
Did you notice that (in some browsers) a blue outline appears when focusing on form elements? You can use the :focus pseudo-class to remove it and add more effects when the element is focused.
The following code removes the focus outline for all elements.
Have you seen search inputs that scale when focused? Try this input.
6. Noncustomizable inputs
Styling form elements has historically been a tall order. There are some form elements that we don’t have much control over styling. For example:
These elements are provided by the browser and styled based on the OS. The only way to style these elements is to use custom controls, which are created using stylable HTML elements such as div , span , etc.
For example, when styling , we can hide the default input and use a custom button.
Custom controls for form elements are developed for most major JavaScript libraries. You can find them on GitHub.
Conclusion
You should now understand how to style simple form elements and how to use custom controls when browser input fields are difficult to style. As I stated at the beginning of this post, these are only the basic building blocks of CSS form styling. You should use these tips as a foundation to let your imagination run wild.
As a closing tip, remember to make all your forms responsive.
Looking for more form design inspiration? Check out this CodePen collection.
Is your frontend hogging your users’ CPU?
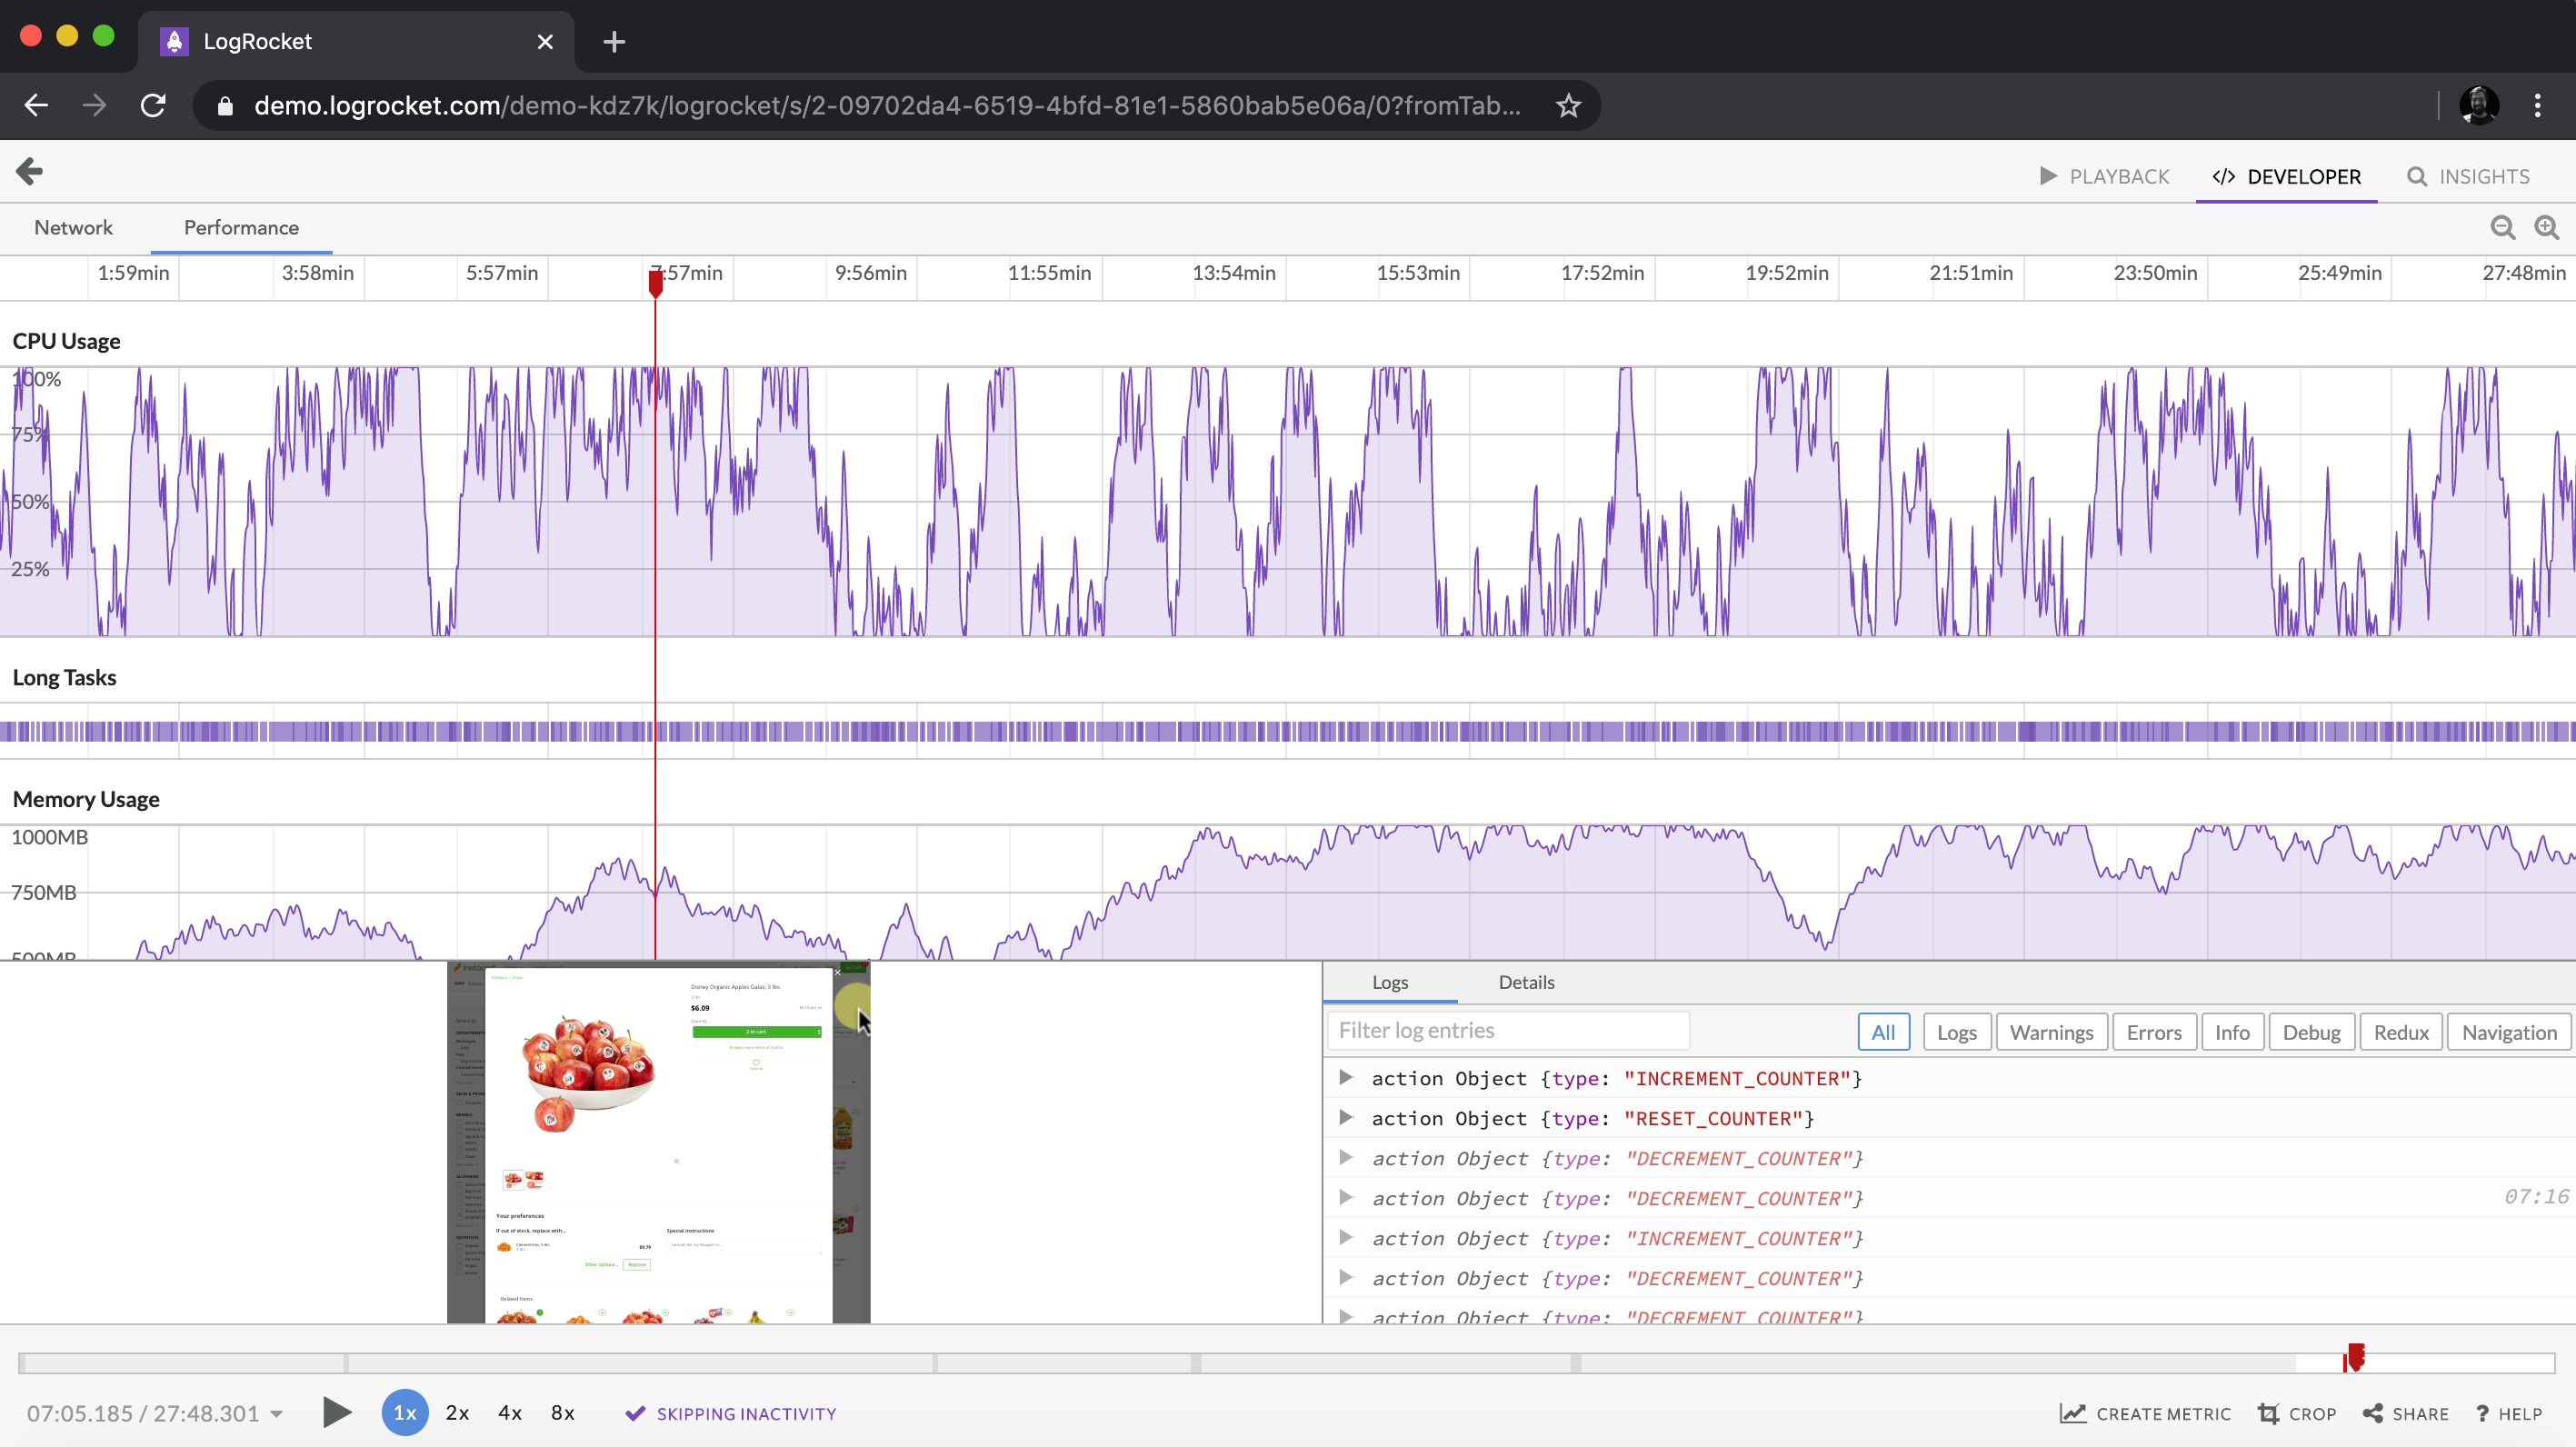
As web frontends get increasingly complex, resource-greedy features demand more and more from the browser. If you’re interested in monitoring and tracking client-side CPU usage, memory usage, and more for all of your users in production, try LogRocket.https://logrocket.com/signup/
LogRocket is like a DVR for web and mobile apps, recording everything that happens in your web app, mobile app, or website. Instead of guessing why problems happen, you can aggregate and report on key frontend performance metrics, replay user sessions along with application state, log network requests, and automatically surface all errors.
Modernize how you debug web and mobile apps — Start monitoring for free.