- КАК ИЗ ФИГМЫ ПЕРЕНЕСТИ В HTML
- How to Export Figma Design Files to HTML
- Part 1. Exporting to HTML with Pixso
- Part 2. Other Methods to Export the Figma File to HTML
- 1. Using Anima
- 2. Using Builder.io
- 3. Using pxCode
- Part 3. Why Handoff Phase is Important?
- Convert Your Creative Designs into a Real Website…
- How to export Figma to HTML 3 min read
- How to convert Figma designs to HTML
- 👉 Option (1): Export an HTML code package directly from Figma
- What’s in the Code Package?
- Ready to hand developers production-ready code for your Figma designs?
КАК ИЗ ФИГМЫ ПЕРЕНЕСТИ В HTML
Как из Figma перенести в html? Это может показаться сложной задачей, но с инструментами, предоставленными самой Figma, это становится довольно просто.
Первым шагом является экспорт всех своих файлов от Figma в формате HTML и CSS. Для этого можно выбрать пункт «File» в верхнем меню, далее «Export» и выбрать необходимые параметры экспорта.
После экспорта файлов в формате HTML и CSS, их можно открыть в любом редакторе кода и приступить к дальнейшей работе. Однако, стоит помнить, что в HTML код необходимо добавить все изображения, используемые в дизайне, что потребует некоторых усилий.
Для простых проектов можно использовать онлайн-сервисы, которые автоматически создадут код HTML и CSS. Однако, этот метод может быть не так точен и требовать дополнительных изменений вручную.
Наши советы: старайтесь иметь ясное понимание того, что вы хотите достичь, дизайнеры Figma могут создать идеальный дизайн, но затем может потребоваться дополнительная работа собственноручно с HTML-страницей, чтобы создать действительно отзывчивый веб-сайт, который работает во всех браузерах и считывает пользовательский контент быстро и эффективно.

Верстка сайта с нуля из Figma для начинающих #1
Плагин для переноса html кода в фигму
Импорт макета из figma в tilda — Tilda Zero Block
Мой первый сайт. Создаём дизайн в Figma, адаптивная вёрстка, выкладываем на хостинг!
Быстрый экспорт макета из Figma/XD/Sketch в HTML верстку
[NEW] 🔥 Панель экспорта и мегакрутецкий лайфхак. Урок 19How to Convert Figma Design to WordPress TUTORIAL
Exportar HTML no Figma — É Possível?
Вёрстка сайта с нуля по макету Figma — HTML, CSS — Часть 1
How to Export Figma Design Files to HTML
Imagine as a designer working in Figma, you have worked hard — exerting your creativity and designing one of the most appealing design prototypes for your client. It looks slick and you know it provides awesome features that will impress your client.
However, when handing it off, you notice that you have a tough time figuring out how to convert Figma to html to hand it off to the developers. In this blog, we will learn how to export Figma to html by exploring some ways to do so.
Part 1. Exporting to HTML with Pixso
In this solution, no plugins are required. You can export your Figma file to HTML with the help of another design tool, Pixso.
Pixso is a free collaborative design tool that can import various design files — ranging from Figma to Sketch. It provides the same versatile design tools that Figma offers and designers can make use of free resources from Pixso’s own design community.
Without further ado, follow these steps to export your Figma file to HTML:
Step 1. Register a Pixso account and log in to your workspace. Create a new file then.
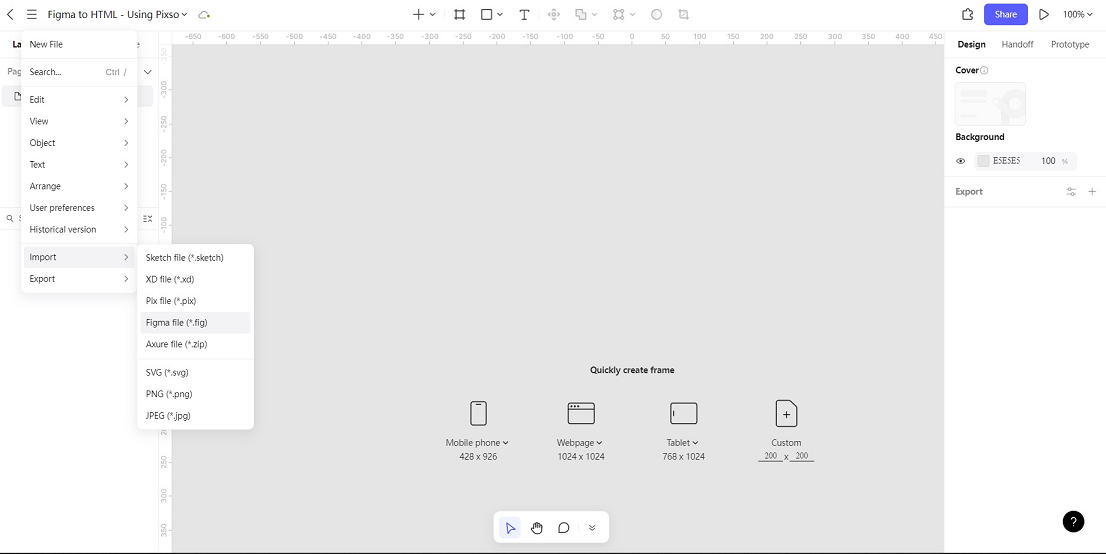
Step 2. Click on the hamburger menu in the top left corner of the screen and select the import option. Then you will have the option to import your Figma file.
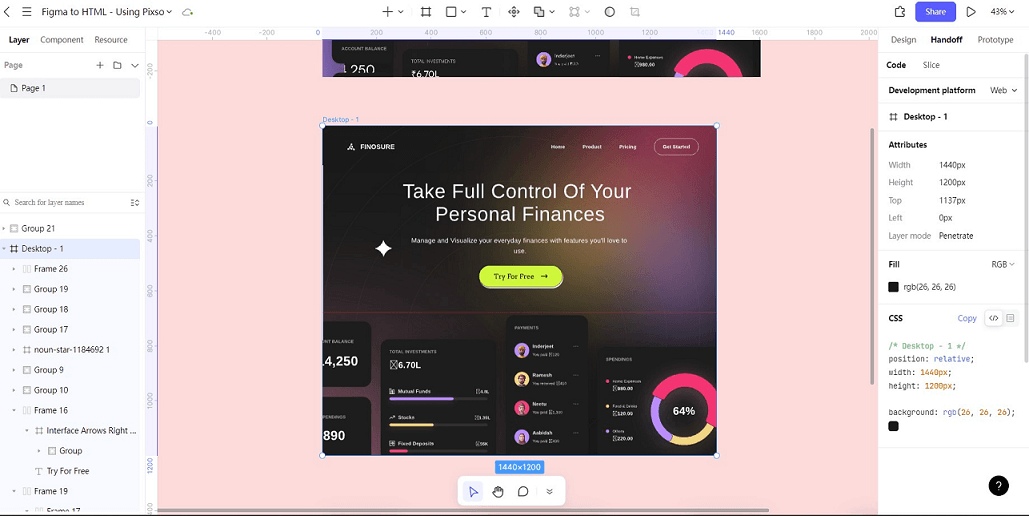
Step 3. Once you have imported the Figma design file into the Pixso canvas, head over to the right side panel of your screen and click on the Handoff tab.
Step 4. Over there, you will see your CSS code and will be able to copy the code with ease.
Part 2. Other Methods to Export the Figma File to HTML
Here are a few other ways to export your Figma file to HTML:
1. Using Anima
Anima is a plugin that can help you to create high-fidelity code prototypes in not only Figma but also in Adobe XD, Sketch, and other design tools. Here are the following steps to export the Figma file to HTML:
- Step 1. Download the Anima plugin for Figma and open it in your Figma file.
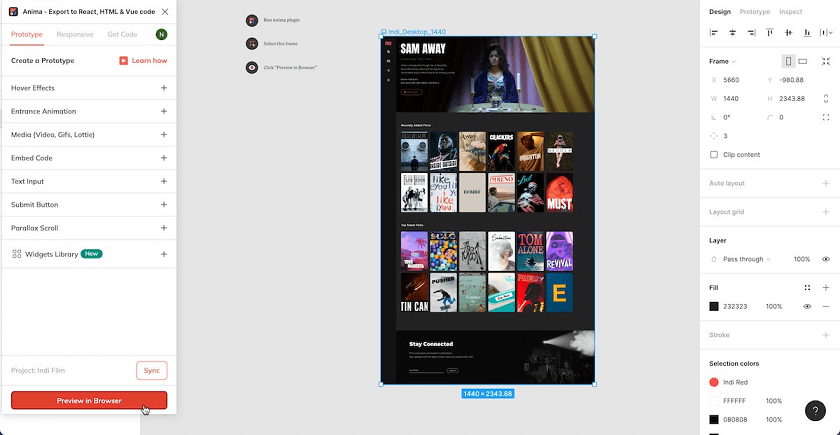
- Step 2. Once you open the Anima plugin, you can click the “Preview in Browser” button at the bottom of the panel after selecting the design frames you want to be exported.
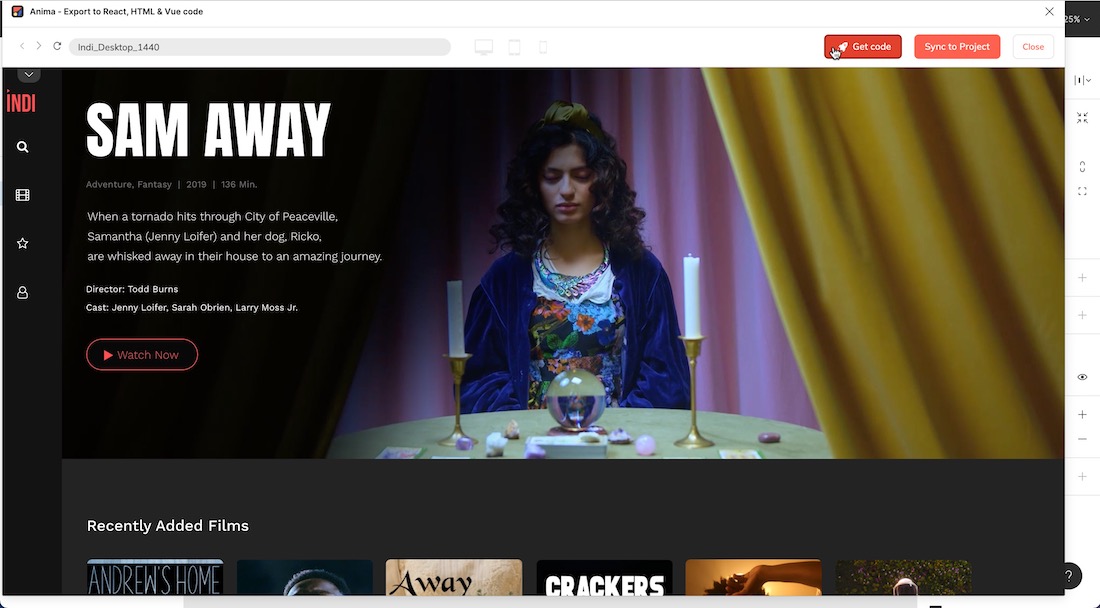
- Step 3. After checking your Figma design in the browser preview, you can click on the “Get code” button on the top right corner of the screen.
- Step 4. Another pop-up will appear asking you to confirm getting the code. Click on the “Sync & Get Code” button to have it synced to your Anima app.
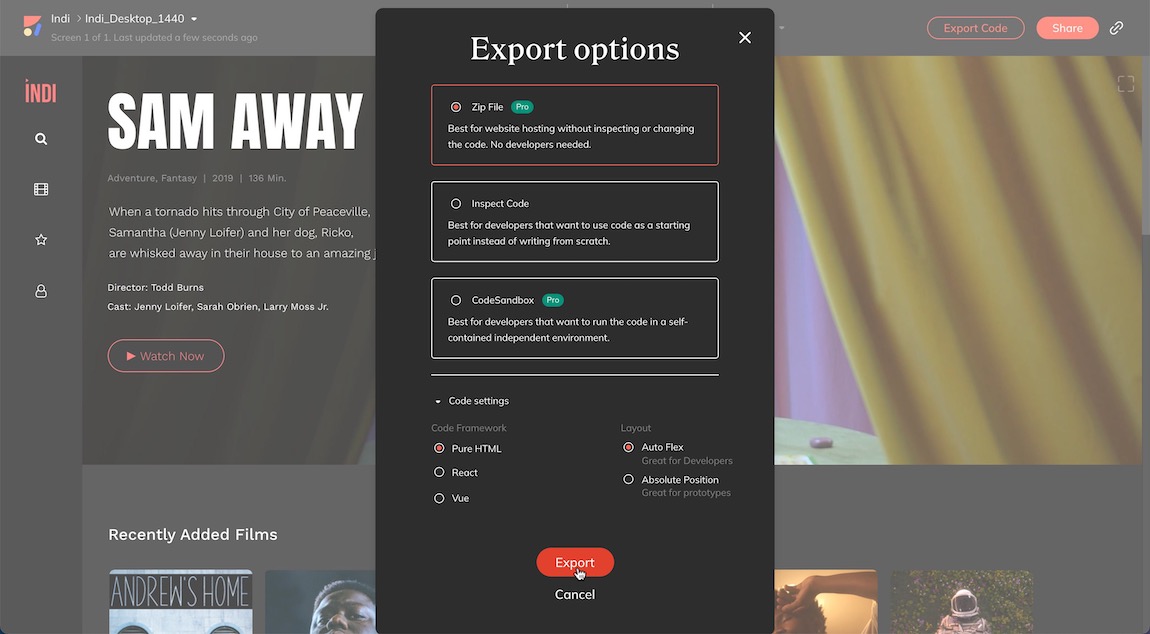
- Step 5. When you view the Export options pop up, you can tick the “Zip File” option, “Pure HTML” below, and “Auto Flex” option. Finally, click on the “Export” button to download the zip file. Then you can view all the HTML contents.
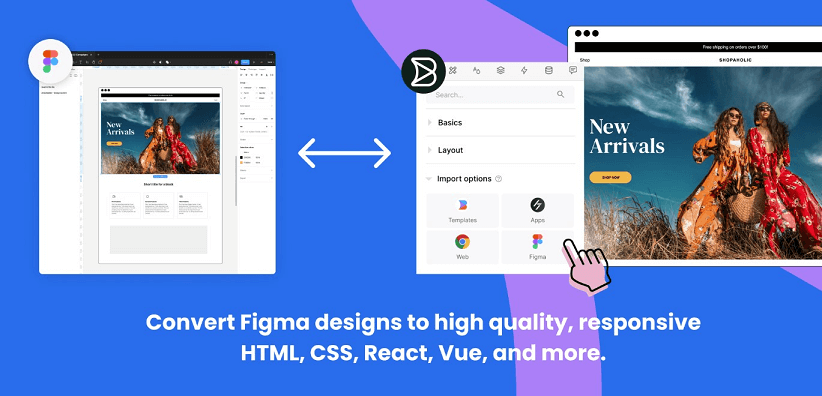
2. Using Builder.io
Builder.io — Figma to HTML plugin helps convert Figma designs to responsive HTML, CSS, React, Vue, etc. Moreover, it also helps in converting existing HTML codes you find online to Figma design files. Here are the following steps to export the Figma file to HTML:
- Step 1. Install the Builder.io — HTML to Figma plugin.
- Step 2. In your Figma file, you can search in your plugins for “html to figma” and you will get that plugin panel pop up over your Figma canvas.
- Step 3. You can select the frames you want to export and then get the code instantly.
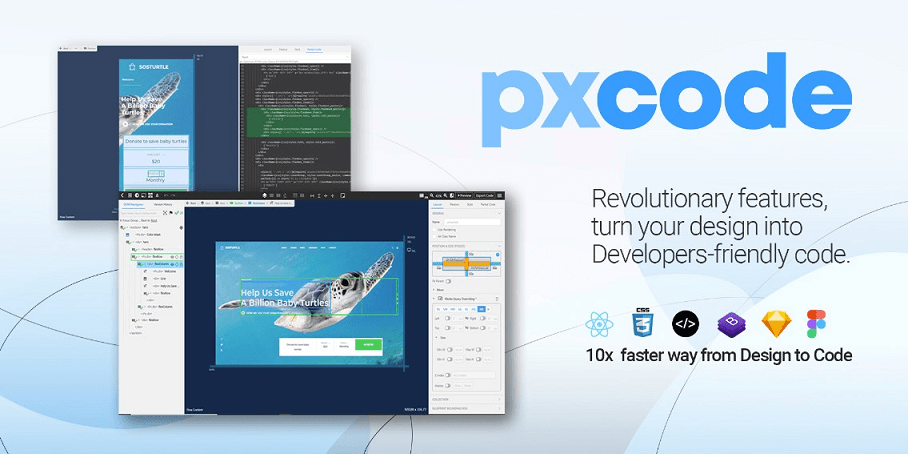
3. Using pxCode
pxCode is another commonly used plugin where it can integrate both Figma and Sketch designs and convert it to HTML and CSS code.
Here are the following steps to export the Figma file to HTML:
- Step 1. Firstly, install the pxCode plugin in your Figma app.
- Step 2. Open the pxCode plugin in your Figma file and a pop-up appears. Click on the “Download All” button to export your Figma file.
- Step 3. The next step is to open your pxCode on your browser. You can import the Figma design file you just exported on “Create Project”.
- Step 4. You can edit your responsive code on the editing screen. After you have completed designing, you can click on “Export Code” and convert it to respective HTML, CSS, React, etc. for your use.
Part 3. Why Handoff Phase is Important?
It is crucial for UI/UX designers to run their design to HTML code so that they can test whether all the design elements are responsive and do not cause any ramifications for the entire architecture. Hence, exporting the design files to HTML code helps in saving time and knowing if any more designs should be incorporated to optimize its responsiveness.
It is best for both developers and designers to work together on this early on in the design process so all goals and understanding are met. Moreover, it helps to save time when it comes to the turnaround of a particular project.
Convert Your Creative Designs into a Real Website…
That wraps up different ways in which you can convert files from Figma to html. As the last section suggests, communication between the designer and developer is crucial during the design phase.
Having clear and crisp communication helps to effective design projects. Hence, using a collaborative design tool like Pixso helps small to medium sized teams achieve success and also export the design file to html and css code within minutes.
How to export Figma to HTML 3 min read
If you’re wondering how to convert Figma to HTML without writing the code yourself, you’ve come to the right place. In this article, we’ll show you how to export your Figma designs as production-ready HTML in a few simple steps using Anima.
Anima lets you create high-fidelity code-based prototypes in Figma, Adobe XD, and Sketch, then export those prototypes as developer-friendly code in just a few clicks.
Going directly from Figma to HTML will allow you to create live web-based prototypes, deploy your own simple websites or landing pages, and hand developers clean code packages for the entire UI to speed up development.
***Are you a visual learner? Check out our Figma to HTML YouTube tutorial.***
How to convert Figma designs to HTML
You can export a complete HTML code package or get individual component code from your Figma design. Here are two easy ways to get pixel-perfect HTML from Figma using Anima:
👉 Option (1): Export an HTML code package directly from Figma
- Download and open the Anima for Figma plugin.
- Select the frames you want to export as HTML, and click “Preview in Browser” at the bottom of the plugin panel.
 Entering Anima’s Browser Preview from Figma
 - Once you’ve confirmed that your browser preview matches your Figma design, click the “Get Code” button in the top right.
 Getting code for a Figma frame in Anima’s Browser Preview
 - When the pop-up appears, click “Sync & Get Code,”which will send you to your synced project in the Anima web app.
 Sync your Figma file to your Anima project and get code
 - In the ‘Export Options’ window that appears, select the “Zip File”option at the top (make sure you also select “Pure HTML”under ‘Code Framework‘ and “Auto Flex”under ‘Layout‘), then click the “Export”button at the bottom.
 Exporting an HTML code package as a zip file from the Anima web app
 - When your download is complete, unzip the file from your browser’s download bar to view the contents.


What’s in the Code Package?
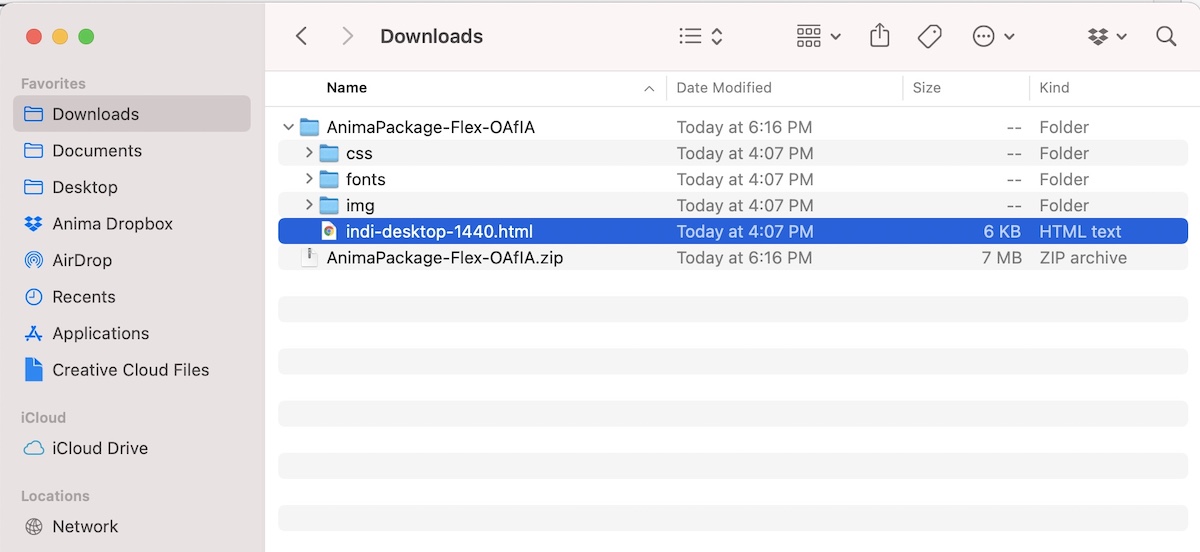
The downloaded Code Package saves on your computer as a zip file in your selected location. In this zip file, you can find all the files for your design (this includes the HTML, CSS, images, and fonts files). An HTML code package automatically generated by Anima
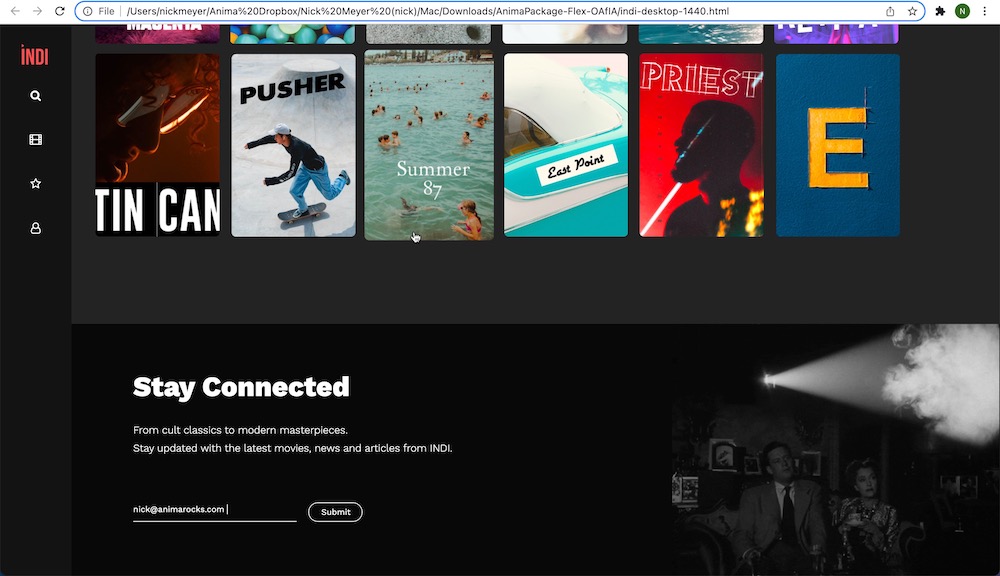
Once the files are unzipped, you can preview them locally in the browser by double-clicking the HTML file. You’ll be able to see all of your Smart Layers and interactions, just like the final product! Anima’s auto-generated HTML rendered in a live browser
Opening the files in a text editor will present to you a well-structured HTML and CSS code.
- For every designed screen you are provided with its HTML and CSS file.
- The screens with Breakpoints share the same HTML and CSS file.
Want to check out a sample Code Package? We thought you might be, click here to download!
👉 Option (2): Get HTML for individual components
- Sync your design draft to your Anima project (Learn how to sync your design draft).
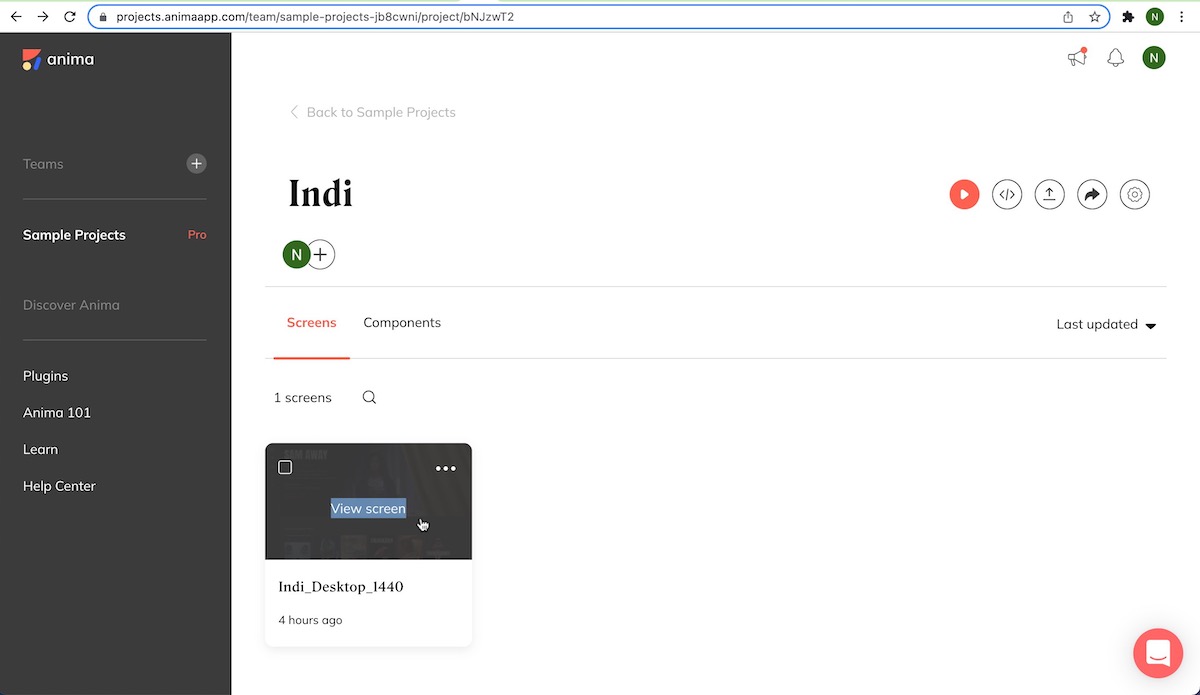
- Go to your synced project in the Anima web app and select the screen you want to get the code from.
 Selecting a screen from a project in the Anima web app
 - Click the “Code” icon at the top to switch to code mode.
 Opening Code Mode in the Anima web app
 - Select any component to instantly inspect and copy its associated HTML and CSS code.
 View and copy the HTML code for individual components with Anima’s Code Mode


Ready to hand developers production-ready code for your Figma designs?
Welcome aboard, let’s get you going!

- Download Anima plugin for Sketch,Anima plugin for Adobe XD or Anima plugin for Figma
- Want to learn how to make responsive websites, and add videos, links, interactions, and plus more? Get started here.