- Create an image with PIL
- A practical example: make an image
- Image.new
- Image.save
- Write some text in it
- ImageDraw.Draw
- text
- The complete code
- A function to make changes easy
- Let’s adapt the width of the img to the lenght of the text
- Let’s make background and color avaiable
- Используем Python Pillow для вставки текста и изображения в картинку
- Создание и открытие изображения
- Добавление текста к изображению
- Вставка изображения
- Определение высоты и ширины
Create an image with PIL
Python is great at many things, expecially for repetitive things. We can use it to gain a lot of time, and we all are aware that today time is the most evaluable thing, because things go faster faster in today’s life.
A practical example: make an image
In this code we will create images. From scratch. I thought to make this code to use it on the web pages to enphatize something with a nice image of a text. This code will show you a nice red rectangle.
Image.new
This will create a new image with color size and color as attributes.
Image.save
This save the image create with new.
from PIL import Image, ImageDraw import os # name of the file to save filename = "img01.png" # create new image image = Image.new(mode = "RGB", size = (200,70), color = "red") # save the file image.save(filename) # open the file os.system(filename)
Write some text in it
Now we must use the ImageDraw.Draw class of PIL. The istance will be called draw (with a lot of fantasy).
ImageDraw.Draw
We will put as argument of this class the image object created with Image.new.
text
Finally we will use the method text of the ImageDraw.Draw object created to add the text to the image. This takes as arguments the position (a tuple), the text (string) and another tuple for the color.
The complete code
from PIL import Image, ImageDraw, ImageFont import os # name of the file to save filename = "img01.png" fnt = ImageFont.truetype('arial.ttf', 15) # create new image image = Image.new(mode = "RGB", size = (200,70), color = "red") draw = ImageDraw.Draw(image) draw.text((10,10), "My Text", font=fnt, fill=(255,255,0)) image.save(filename) os.system(filename) 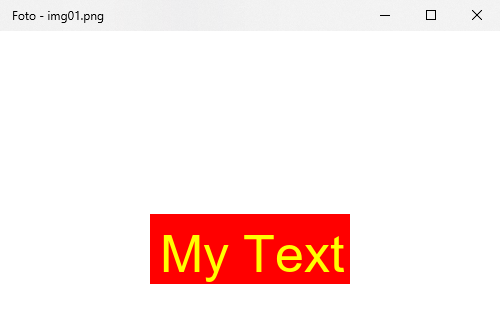
A function to make changes easy
from PIL import Image, ImageDraw, ImageFont import os def text_on_img(filename='01.png', text="Hello", size=12): "Draw a text on an Image, saves it, show it" fnt = ImageFont.truetype('arial.ttf', 52) # create image image = Image.new(mode = "RGB", size = (200,70), color = "red") draw = ImageDraw.Draw(image) # draw text draw.text((10,10), text, font=fnt, fill=(255,255,0)) # save file image.save(filename) # show file os.system(filename) text_on_img(text="Text", size=52) Let’s adapt the width of the img to the lenght of the text
from PIL import Image, ImageDraw, ImageFont import os def text_on_img(filename='01.png', text="Hello", size=12): "Draw a text on an Image, saves it, show it" fnt = ImageFont.truetype('arial.ttf', size) # create image image = Image.new(mode = "RGB", size = (int(size/2)*len(text),size+50), color = "red") draw = ImageDraw.Draw(image) # draw text draw.text((10,10), text, font=fnt, fill=(255,255,0)) # save file image.save(filename) # show file os.system(filename) text_on_img(text="Text to write on img", size=300) 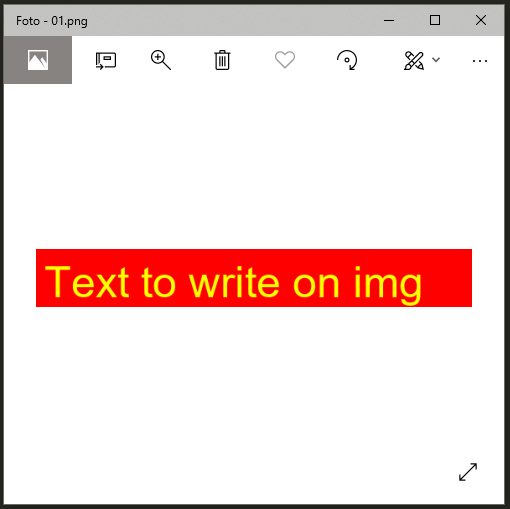
Let’s make background and color avaiable
from PIL import Image, ImageDraw, ImageFont import os def text_on_img(filename='01.png', text="Hello", size=12, color=(255,255,0), bg='red'): "Draw a text on an Image, saves it, show it" fnt = ImageFont.truetype('arial.ttf', size) # create image image = Image.new(mode = "RGB", size = (int(size/2)*len(text),size+50), color = bg) draw = ImageDraw.Draw(image) # draw text draw.text((10,10), text, font=fnt, fill=(255,255,0)) # save file image.save(filename) # show file os.system(filename) text_on_img(text="Text to write on img", size=300, bg='red') Используем Python Pillow для вставки текста и изображения в картинку

Pillow это одна из самых популярных библиотек Python для работы с изображениями. Ранее эта библиотека называлась PIL и последний ее релиз был в 2009, после чего разработчики продолжили ее развитие под названием Pillow. В этой статье будет рассмотрен пример вставки текста и изображения в новую или существующую картинку.
Pillow устанавливается отдельно:
Создание и открытие изображения
Для открытия и создания изображения используется модуль Image. На следующем примере мы откроем существующее изображение:
from PIL import Image im = Image.open('d:/beach.jpeg') # Откроет изображение в новом окне im.show()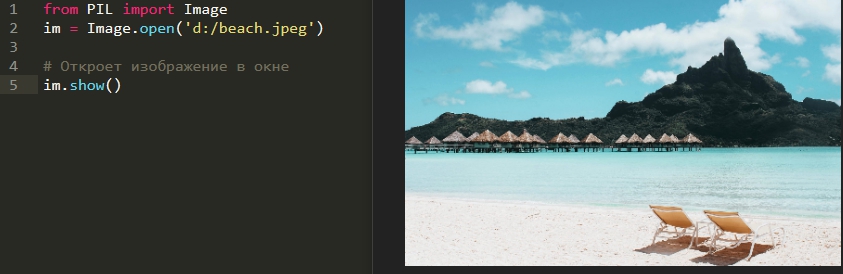
В следующем примере мы создадим изображение, где мы должны указать:
- Цветовую модель. Например RGB,RGBA,CMYK,HCL и т.д.;
- Размер изображения в кортеже;
- По умолчанию изображение создается с черным фоном. Для его изменения нужно заполнить атрибут color.
from PIL import Image im = Image.new('RGB', (200,200), color=('#FAACAC')) # Откроет изображение в новом окне im.show()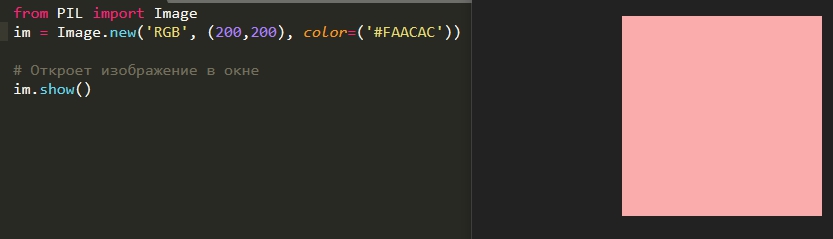
Сохранить изображение можно через save:
from PIL import Image im = Image.new('RGB', (200,200), color=('#FAACAC')) im.save('D:/new_pic.jpg')Модуль Python os — примеры создания и работы с папками и путями
Добавление текста к изображению
Для изменения изображение используется класс ImageDraw. В следующем примере мы создадим объект этого класса с текстом, где нужно указать:
from PIL import Image, ImageDraw im = Image.new('RGB', (200,200), color=('#FAACAC')) draw_text = ImageDraw.Draw(im) draw_text.text( (100,100), 'Test Text', fill=('#1C0606') ) im.show()
Если использовать кириллические символы, может появится ошибка:
- AttributeError: ‘ImageFont’ object has no attribute ‘getmask2’
- UnicodeEncodeError: ‘latin-1’ codec can’t encode characters
Для исправления ошибки вы можете использовать свой шрифт через класс ImageFont. Вы так же сможете указать размер шрифта:
from PIL import Image, ImageDraw, ImageFont im = Image.new('RGB', (200,200), color=('#FAACAC')) # Создаем объект со шрифтом font = ImageFont.truetype('D:/Roboto/Roboto-Black.ttf', size=18) draw_text = ImageDraw.Draw(im) draw_text.text( (100, 100), 'Текст 18px', # Добавляем шрифт к изображению font=font, fill='#1C0606') im.show()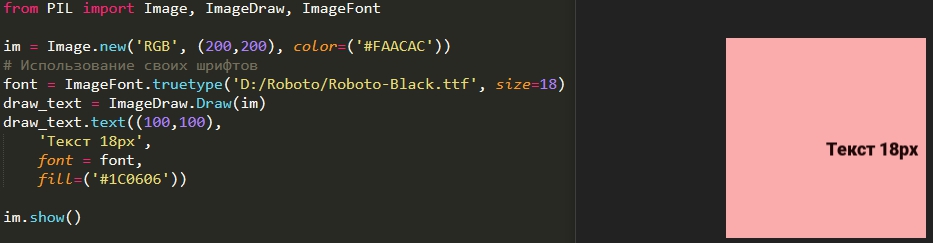
Вставка изображения
Для создания водяного знака, например, откройте второе изображение и используйте функцию paste. При этом первый параметр с watermark будет использовать всю область изображения, а второй установит прозрачность (альфа-канал):
from PIL import Image im = Image.open('d:/beach.jpeg') # Изображение для водяного знака watermark = Image.open('d:/logo.png') im.paste(watermark, (25,25), watermark) im.show()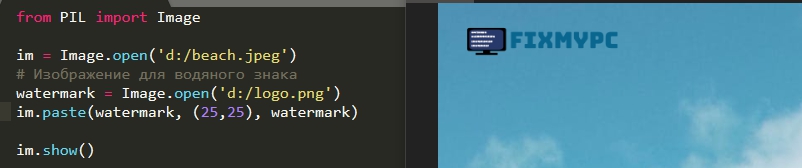
Определение высоты и ширины
Если вы планируете открывать множество изображений, разных размеров и добавлять текст, например в правый нижний угол вы можете вычислить это местоположение. Объекты Image содержат размеры:
# Ширина и высота im.size # Ширина im.width # Высота im.height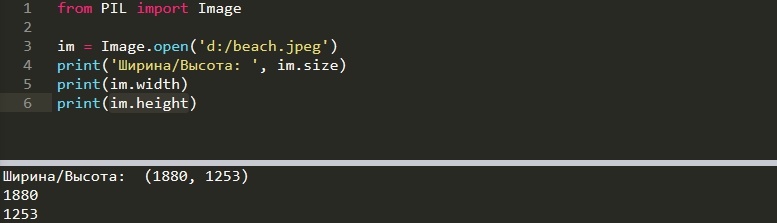
Если вы используете водяные знаки, то можно просто вычесть из основного изображения размеры водяного знака и получить корректное расположение в правом угле:
from PIL import Image im = Image.open('d:/beach.jpeg') watermark = Image.open('d:/logo.png') # Вычисляем расположение watermark position = (im.width - watermark.width, im.height - watermark.height) im.paste(watermark, position, watermark) im.show()