- 6 Ways to Plot a Circle in Matplotlib
- Method 1: matplotlib.patches.Circle():
- Output & Explanation:
- Method 2: Using the equation of circle:
- Output & Explanation:
- Method 3: Scatter Plot to plot a circle:
- Output & Explanation:
- Method 4: Matplotlib hollow circle:
- Output & Explanation:
- Method 5: Matplotlib draw circle on image:
- Output & Explanation:
- Method 6: Matplotlib transparent circle:
- Output & Explanation:
- Conclusion:
- How to plot a circle in python using matplotlib ?
- Plot a circle using plot()
- Using Matplotlib patches circle
- Plot a circle using the circle equation
- References
- Benjamin
- Как построить круги в Matplotlib (с примерами)
- Пример 1: создание одного круга
- Пример 2. Создание нескольких кругов
- Пример 3: изменение внешнего вида круга
- How to Draw a Circle Using Matplotlib in Python
6 Ways to Plot a Circle in Matplotlib

Hello coders!! In this article, we will learn how to make a circle using matplotlib in Python. A circle is a figure of round shape with no corners. There are various ways in which one can plot a circle in matplotlib. Let us discuss them in detail.
Method 1: matplotlib.patches.Circle():
- SYNTAX:
- class matplotlib.patches.Circle (xy, radius=r, **kwargs)
- xy: (x,y) center of the circle
- r: radius of the circle
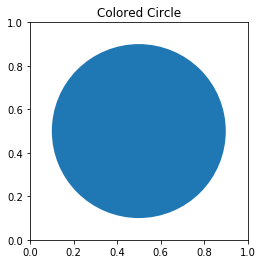
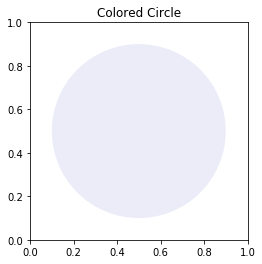
import matplotlib.pyplot as plt figure, axes = plt.subplots() cc = plt.Circle(( 0.5 , 0.5 ), 0.4 ) axes.set_aspect( 1 ) axes.add_artist( cc ) plt.title( 'Colored Circle' ) plt.show()
Output & Explanation:

Here, we have used the circle() method of the matplotlib module to draw the circle. We adjusted the ratio of y unit to x unit using the set_aspect() method. We set the radius of the circle as 0.4 and made the coordinate (0.5,0.5) as the center of the circle.
Method 2: Using the equation of circle:
The equation of circle is:
This equation can be used to draw the circle using matplotlib.
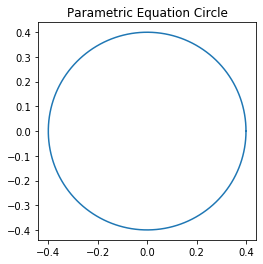
import numpy as np import matplotlib.pyplot as plt angle = np.linspace( 0 , 2 * np.pi , 150 ) radius = 0.4 x = radius * np.cos( angle ) y = radius * np.sin( angle ) figure, axes = plt.subplots( 1 ) axes.plot( x, y ) axes.set_aspect( 1 ) plt.title( 'Parametric Equation Circle' ) plt.show()
Output & Explanation:

In this example, we used the parametric equation of the circle to plot the figure using matplotlib. For this example, we took the radius of the circle as 0.4 and set the aspect ratio as 1.
Method 3: Scatter Plot to plot a circle:
A scatter plot is a graphical representation that makes use of dots to represent values of the two numeric values. Each dot on the xy axis indicates value for an individual data point.
- SYNTAX:
- matplotlib.pyplot.scatter(x_axis_data, y_axis_data, s=None, c=None, marker=None, cmap=None, vmin=None, vmax=None, alpha=None, linewidths=None, edgecolors=None)
- x_axis_data- x-axis data
- y_axis_data- y-axis data
- s- marker size
- c- color of sequence of colors for markers
- marker- marker style
- cmap- cmap name
- linewidths- width of marker border
- edgecolor- marker border-color
- alpha- blending value
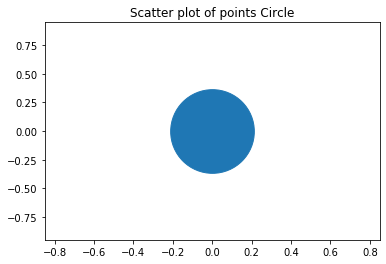
import matplotlib.pyplot as plt plt.scatter( 0 , 0 , s = 7000 ) plt.xlim( -0.85 , 0.85 ) plt.ylim( -0.95 , 0.95 ) plt.title( "Scatter plot of points Circle" ) plt.show()
Output & Explanation:

Here, we have used the scatter plot to draw the circle. The xlim() and the ylim() methods are used to set the x limits and the y limits of the axes respectively. We’ve set the marker size as 7000 and got the circle as the output.
Method 4: Matplotlib hollow circle:
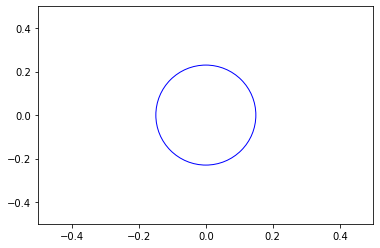
import matplotlib.pyplot as plt plt.scatter( 0 , 0 , s=10000 , facecolors='none', edgecolors='blue' ) plt.xlim( -0.5 , 0.5 ) plt.ylim( -0.5 , 0.5 ) plt.show()
Output & Explanation:

To make the circle hollow, we have set the facecolor parameter as none, so that the circle is hollow. To differentiate the circle from the plane we have set the edgecolor as blue for better visualization.
Method 5: Matplotlib draw circle on image:
import matplotlib.pyplot as plt import matplotlib.patches as patches import matplotlib.cbook as cb with cb.get_sample_data('C:\\Users\\Prachee\\Desktop\\cds\\img1.jpg') as image_file: image = plt.imread(image_file) fig, ax = plt.subplots() im = ax.imshow(image) patch = patches.Circle((100, 100), radius=80, transform=ax.transData) im.set_clip_path(patch) ax.axis('off') plt.show()Output & Explanation:

In this example, we first loaded our data and then used the axes.imshow() method. This method is used to display data as an image. We then set the radius and the center of the circle. Then using the set_clip_path() method we set the artist’s clip-path.
Method 6: Matplotlib transparent circle:
import matplotlib.pyplot as plt figure, axes = plt.subplots() cc = plt.Circle(( 0.5 , 0.5 ), 0.4 , alpha=0.1) axes.set_aspect( 1 ) axes.add_artist( cc ) plt.title( 'Colored Circle' ) plt.show()
Output & Explanation:
To make the circle transparent we changed the value of the alpha parameter which is used to control the transparency of our figure.
Conclusion:
With this, we come to an end with this article. These are the various ways in which one can plot a circle using matplotlib in Python.
However, if you have any doubts or questions, do let me know in the comment section below. I will try to help you as soon as possible.
Happy Pythoning!
I using the example in the book Python Machine Learning by Sebastian Raschkla. In Chapter 3 page 89 there are examples creating circles around the plots to identify as test sets. I am not sure I think I have a new version of matplotlib v3.4.2, other students are using versions 3.3.2 & 3.3.4. the error I am getting is
ValueError: 'c' argument must be a color, a sequence of colors, or a sequence of numbers, not
from matplotlib.colors import ListedColormap
import matplotlib.pyplot as pltdef plot_decision_regions(X, y, classifier, test_idx=None, resolution=0.02):
# setup marker generator and color map
markers = (‘s’, ‘x’, ‘o’, ‘^’, ‘v’)
colors = (‘red’, ‘blue’, ‘lightgreen’, ‘gray’, ‘cyan’)
cmap = ListedColormap(colors[:len(np.unique(y))])# plot the decision surface
x1_min, x1_max = X[:, 0].min() – 1, X[:, 0].max() + 1
x2_min, x2_max = X[:, 1].min() – 1, X[:, 1].max() + 1
xx1, xx2 = np.meshgrid(np.arange(x1_min, x1_max, resolution),
np.arange(x2_min, x2_max, resolution))
Z = classifier.predict(np.array([xx1.ravel(), xx2.ravel()]).T)
Z = Z.reshape(xx1.shape)
plt.contourf(xx1, xx2, Z, alpha=0.3, cmap=cmap)
plt.xlim(xx1.min(), xx1.max())
plt.ylim(xx2.min(), xx2.max())for idx, cl in enumerate(np.unique(y)):
plt.scatter(x=X[y == cl, 0],
y=X[y == cl, 1],
alpha=0.8,
c=colors[idx],
marker=markers[idx],
label=cl,
edgecolor=’black’)# highlight test examples
if test_idx:
# plot all examples
X_test, y_test = X[test_idx, :], y[test_idx]plt.scatter(X_test[:, 0],
X_test[:, 1],
c=”,
edgecolor=’black’,
alpha=1.0,
linewidth=1,
marker=’o’,
s=100,
label=’test set’)X_combined_std = np.vstack((X_train_std, X_test_std))
y_combined = np.hstack((y_train, y_test))plot_decision_regions(X=X_combined_std, y=y_combined,
classifier=ppn, test_idx=range(105, 150))
plt.xlabel(‘petal length [standardized]’)
plt.ylabel(‘petal width [standardized]’)
plt.legend(loc=’upper left’)How to plot a circle in python using matplotlib ?
Examples of how to plot a circle in python using matplotlib:
Plot a circle using plot()
To plot a circle a first solution is to use the function plot():

import numpy as npimport matplotlib.pyplot as plttheta = np.linspace(0, 2*np.pi, 100)r = np.sqrt(1.0)x1 = r*np.cos(theta)x2 = r*np.sin(theta)fig, ax = plt.subplots(1)ax.plot(x1, x2)ax.set_aspect(1)plt.xlim(-1.25,1.25)plt.ylim(-1.25,1.25)plt.grid(linestyle='--')plt.title('How to plot a circle with matplotlib ?', fontsize=8)plt.savefig("plot_circle_matplotlib_01.png", bbox_inches='tight')plt.show()Using Matplotlib patches circle
import matplotlib.pyplot as pltcircle1 = plt.Circle((0, 0), 0.5, color='r')fig, ax = plt.subplots()plt.xlim(-1.25,1.25)plt.ylim(-1.25,1.25)plt.grid(linestyle='--')ax.set_aspect(1)ax.add_artist(circle1)plt.title('How to plot a circle with matplotlib ?', fontsize=8)plt.savefig("plot_circle_matplotlib_02.png", bbox_inches='tight')plt.show()Plot a circle using the circle equation
Another solution from the circle equation
import numpy as npimport matplotlib.pyplot as pltx = np.linspace(-1.0, 1.0, 100)y = np.linspace(-1.0, 1.0, 100)X, Y = np.meshgrid(x,y)F = X**2 + Y**2 - 1.0fig, ax = plt.subplots()ax.contour(X,Y,F,[0])ax.set_aspect(1)plt.title('How to plot a circle with matplotlib ?', fontsize=8)plt.xlim(-1.25,1.25)plt.ylim(-1.25,1.25)plt.grid(linestyle='--')plt.savefig("plot_circle_matplotlib_03.png", bbox_inches='tight')plt.show()References
Benjamin
Greetings, I am Ben! I completed my PhD in Atmospheric Science from the University of Lille, France. Subsequently, for 12 years I was employed at NASA as a Research Scientist focusing on Earth remote sensing. Presently, I work with NOAA concentrating on satellite-based Active Fire detection. Python, Machine Learning and Open Science are special areas of interest to me.
Skills
Как построить круги в Matplotlib (с примерами)
Вы можете быстро добавить круги на график в Matplotlib с помощью функции Circle() , которая использует следующий синтаксис:
matplotlib.patches.Circle (ху, радиус = 5)
- xy: координаты (x, y) окружности.
- радиус: Радиус круга. По умолчанию 5.
В этом руководстве показано несколько примеров использования этой функции на практике:
Пример 1: создание одного круга
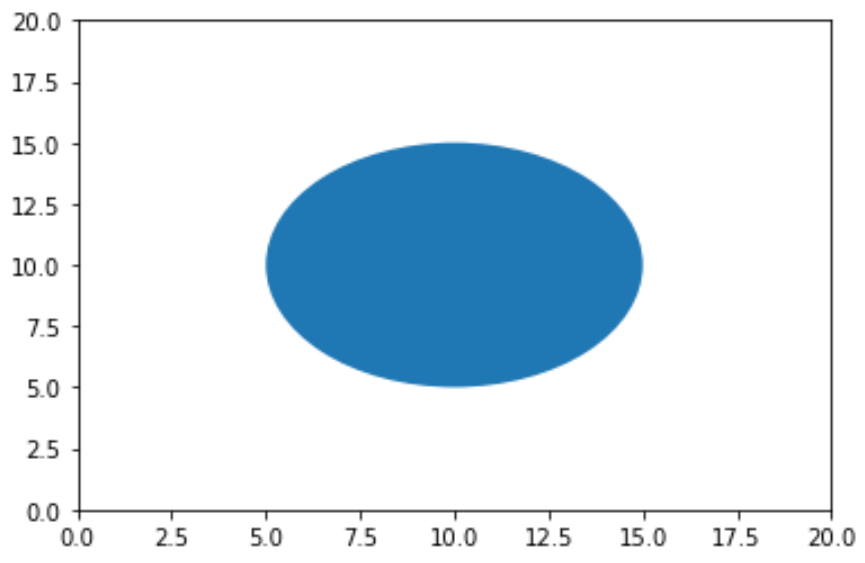
В следующем коде показано, как создать один круг на графике Matplotlib, расположенном в координатах (x, y) (10,10):
import matplotlib.pyplot as plt #set axis limits of plot (x=0 to 20, y=0 to 20) plt.axis([0, 20, 0, 20]) #create circle with (x, y) coordinates at (10, 10) c=plt.Circle ((10, 10)) #add circle to plot (gca means "get current axis") plt.gca ().add_artist (c)По умолчанию одна ось графика Matplotlib обычно отображает больше пикселей на единицу данных. Чтобы круг выглядел как круг, а не как эллипс, вам нужно использовать аргумент plt.axis(«equal») следующим образом:
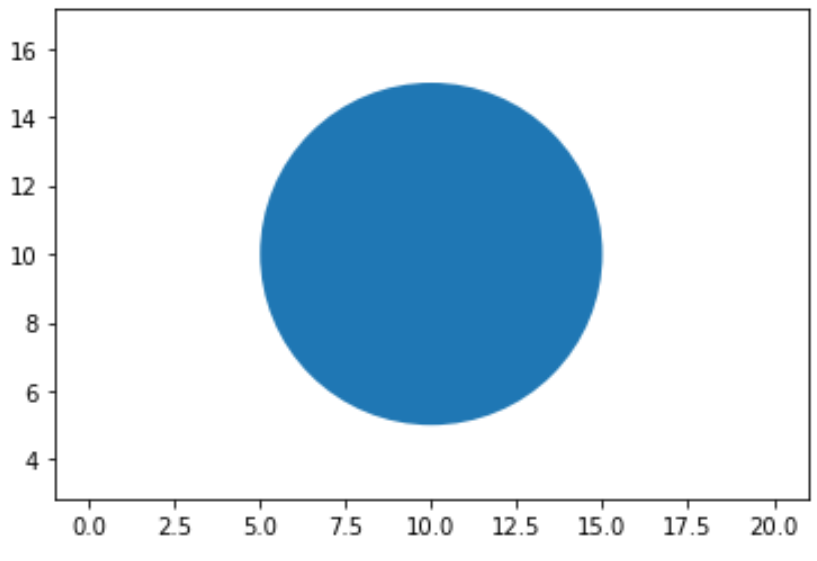
import matplotlib.pyplot as plt #set axis limits of plot (x=0 to 20, y=0 to 20) plt.axis([0, 20, 0, 20]) plt.axis (" equal ") #create circle with (x, y) coordinates at (10, 10) c=plt.Circle ((10, 10)) #add circle to plot (gca means "get current axis") plt.gca ().add_artist (c)Пример 2. Создание нескольких кругов
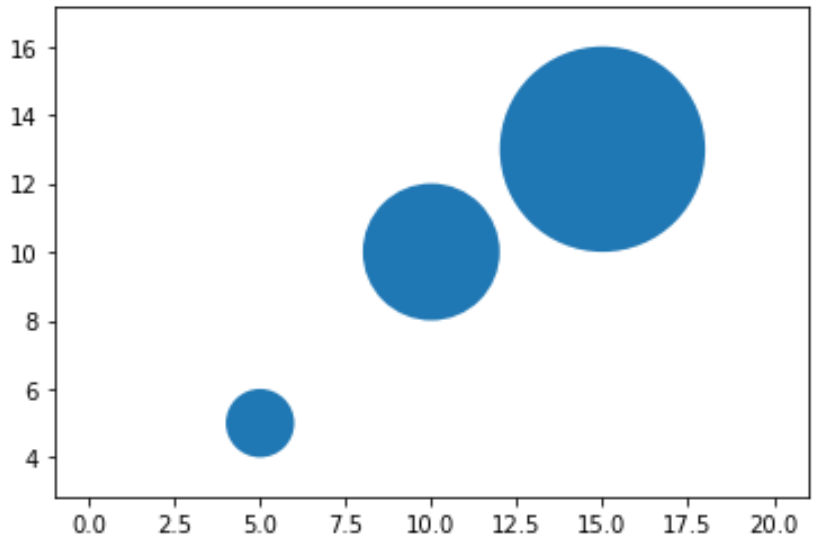
Следующий код показывает, как создать несколько кругов на графике Matplotlib:
import matplotlib.pyplot as plt #set axis limits of plot (x=0 to 20, y=0 to 20) plt.axis([0, 20, 0, 20]) plt.axis (" equal ") #define circles c1=plt.Circle ((5, 5), radius= 1 ) c2=plt.Circle ((10, 10), radius= 2 ) c3=plt.Circle ((15, 13), radius= 3 ) #add circles to plot plt.gca ().add_artist (c1) plt.gca ().add_artist (c2) plt.gca ().add_artist (c3)Пример 3: изменение внешнего вида круга
Вы можете использовать следующие аргументы, чтобы изменить внешний вид круга в Matplotlib:
- радиус: укажите радиус круга
- цвет: укажите цвет круга
- альфа: указать прозрачность круга
В следующем коде показан пример одновременного использования нескольких таких аргументов:
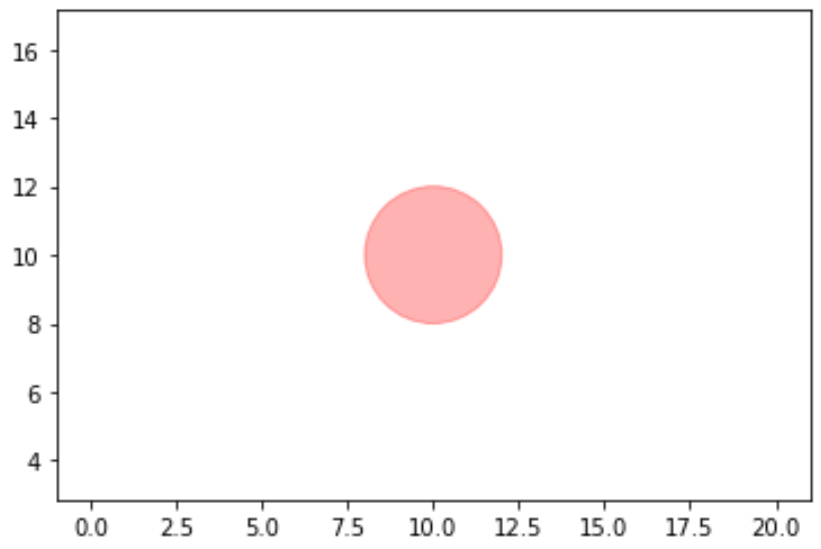
import matplotlib.pyplot as plt #set axis limits of plot (x=0 to 20, y=0 to 20) plt.axis([0, 20, 0, 20]) plt.axis (" equal ") #create circle with (x, y) coordinates at (10, 10) c=plt.Circle ((10, 10), radius= 2 , color='red', alpha= .3 ) #add circle to plot (gca means "get current axis") plt.gca ().add_artist (c)Обратите внимание, что вы также можете использовать пользовательские шестнадцатеричные коды цветов, чтобы указать цвет кругов.
How to Draw a Circle Using Matplotlib in Python
aPatches in matplotlib allow a programmer to draw geometric shapes, such as circles and triangles. Each shape is referred to as a patch.
To draw a circle using Matplotlib, the line of code below will do so.
So, the first thing we must do is import the matplotlib package.
We then create a function called create_circle().
In this function, we create a variable called circle and set it equal to plt.Circle((0,0), radius=5), gives the circle a center of (0,0) on an X-Y axis, along with a radius of 5 units (for a total diamter of 10 units).
We then return the circle. This returns the Object reference to the circle, not the image of the circle itself.
We then create a function called show_shape(). Inside of this function has a parameter called patch. This patch refers to the shape created.
The line, ax=plt.gca(), gives a reference to the current Axes.
The line, ax.add_patch(patch), adds the shape to the graph.
The line, plt.axis(‘scaled’), gives appropriate scaling that you specify for the shape. Without this line, a default value of 1.0 vertically and 1.0 horizontally will be assigned to the graph. Being that our circle has a radius of 5, it wouldn’t show on the graph. Thus, this line is essential to give any type of scaling for the graph.
The line, plt.show(), will show the circle graph.
Remember, that this block simply creates the function, show_shape(), and doesn’t actually show the shape yet in the code, because it hasn’t been called yet.
The next block of code creates a circle object and then shows the circle.
Running the code above produces the circle shown below.
You can see the circle has a center at point (0,0) and a radius of 5.
And this is how a circle can be drawn with matplotlib in Python.