- Как сделать кнопку в HTML
- А как же input?
- Как сделать кнопку с иконкой
- С помощью тега
- Добавить инлайн SVG в разметку
- Вставить фоном в CSS
- Материалы по теме
- CSS Buttons
- Example
- Button Sizes
- Example
- Example
- Rounded Buttons
- Example
- Colored Button Borders
- Example
- Hoverable Buttons
- Example
- Shadow Buttons
- Example
- Disabled Buttons
- Example
- Button Width
- Example
- Button Groups
- Example
- Bordered Button Group
- Example
- Vertical Button Group
- Example
- Button on Image
- Animated Buttons
- Example
- Example
- Example
- Example
- HTML Button Type – How to Add Buttons to your Website
- How to Add Buttons to your Website with the Button Tag
- How to Add Buttons to your Websites with an Anchor Tag
- How to Add Buttons to your Websites with the Input Type Button
- How to Add Buttons to your Websites with the Input Type Submit
- Mini Project: How to Make a Neon Light Button with HTML and CSS
- Conclusion
Как сделать кнопку в HTML
Для создания кнопок используется тег . Внутри него размещается текст или изображение, которые будут отображаться на кнопке. Например:
Чтобы задать кнопке имя, тип или состояние, нужно добавить атрибуты: name , disabled и type .
Атрибут name задаёт имя кнопки. Может использоваться для идентификации элемента в скриптах.
Атрибут disabled блокирует доступ к кнопке.
Атрибут type определяет тип кнопки. Ему задают одно из трёх значений:
button — значение по умолчанию. Означает, что элемент — обычная кнопка. Она может добавлять товары в корзину или избранное, переключать слайдеры или закрывать всплывающие окна.
submit задаётся кнопкам для отправки формы. Когда пользователь нажимает на кнопку с таким типом, браузер отправляет данные формы на сервер.
reset добавляется кнопкам сброса формы. Когда пользователь нажимает на такую кнопку, браузер возвращает значения всех полей формы к изначальным.
А как же input?
Создать кнопку можно и с помощью тега , если указать ему тип button :
Это рабочий способ. О нём надо знать, ведь вы можете встретить его в проектах. Но самим так делать не стоит. У кнопок, созданных на инпуте, есть ограничения: сложно управлять размерами и положением изображений, а также нет псевдоэлементов. Поэтому оставьте для создания элементов формы, таких как текстовые поля, радиокнопки или чекбоксы. А кнопки верстайте с помощью .
Как сделать кнопку с иконкой
Посмотрим три способа создания кнопки с иконкой.
С помощью тега
Способ подойдёт для контентных изображений.

Так вы можете добавлять кнопки с эмодзи, лайками, дизлайками или чем-то ещё. Иконке нужно обязательно задавать размеры, чтобы кнопка зарезервировала место и не прыгала, когда загрузится иконка.
Добавить инлайн SVG в разметку
Способ подойдёт, если изображение меняет состояния, как здесь:

Код простой: пишем тег и добавляем в него код SVG-изображения.
Вставить фоном в CSS
Способ подойдёт, если иконка играет декоративную роль и не меняется при наведении или клике на кнопку. Например, в таких случаях:

Как добавить иконку в кнопку:
Какой способ выбрать — зависит от ваших задач и особенностей проекта. Вы также можете использовать разные методы в рамках одного проекта. Например, часть кнопок сделать со встроенным в разметку SVG, а часть — с фоновым изображением.
Материалы по теме
«Доктайп» — журнал о фронтенде. Читайте, слушайте и учитесь с нами.
CSS Buttons
Use the background-color property to change the background color of a button:
Example
Button Sizes
Use the font-size property to change the font size of a button:
Example
Use the padding property to change the padding of a button:
10px 24px 12px 28px 14px 40px 32px 16px 16px
Example
.button1
.button2
.button3
.button4
.button5
Rounded Buttons
Use the border-radius property to add rounded corners to a button:
Example
Colored Button Borders
Use the border property to add a colored border to a button:
Example
Hoverable Buttons
Use the :hover selector to change the style of a button when you move the mouse over it.
Tip: Use the transition-duration property to determine the speed of the «hover» effect:
Example
.button <
transition-duration: 0.4s;
>
.button:hover background-color: #4CAF50; /* Green */
color: white;
>
.
Shadow Buttons
Use the box-shadow property to add shadows to a button:
Example
.button1 <
box-shadow: 0 8px 16px 0 rgba(0,0,0,0.2), 0 6px 20px 0 rgba(0,0,0,0.19);
>
.button2:hover box-shadow: 0 12px 16px 0 rgba(0,0,0,0.24), 0 17px 50px 0 rgba(0,0,0,0.19);
>
Disabled Buttons
Use the opacity property to add transparency to a button (creates a «disabled» look).
Tip: You can also add the cursor property with a value of «not-allowed», which will display a «no parking sign» when you mouse over the button:
Example
Button Width
By default, the size of the button is determined by its text content (as wide as its content). Use the width property to change the width of a button:
Example
Button Groups
Remove margins and add float:left to each button to create a button group:
Example
Bordered Button Group
Use the border property to create a bordered button group:
Example
Vertical Button Group
Use display:block instead of float:left to group the buttons below each other, instead of side by side:
Example
Button on Image

Button
Animated Buttons
Example
Example
Add a «pressed» effect on click:
Example
Example
Add a «ripple» effect on click:
HTML Button Type – How to Add Buttons to your Website

Kolade Chris
Buttons are an essential part of websites. You need them for various functionalities, from submitting information and getting access to more content to linking to different parts of the web page and other websites.
HTML gives you several ways to add buttons to your website – with the button tag, the anchor link, and the input types of button and submit .
In this article, I will walk you through 4 of those methods, so you can start adding buttons to your websites comfortably.
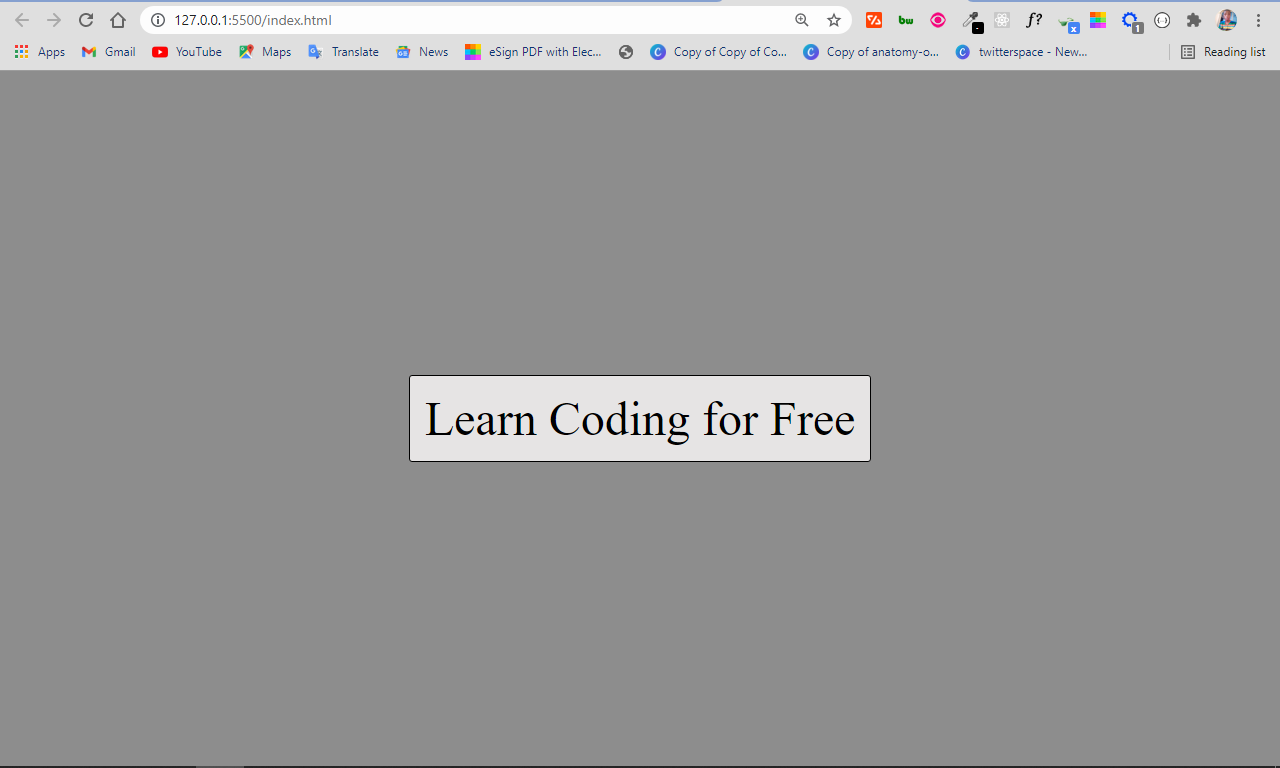
How to Add Buttons to your Website with the Button Tag
The button tag is one of the simplest ways to add buttons to your websites. To use it, all you have to do is put the text you want the button to have right between the opening and closing tag, like this:

I have put the button at the center horizontally and vertically using flexbox, margin, and height properties:
Everything on the page will be centered with this CSS as we move forward.
To make this kind of button active, you have to add some JavaScript. In the code snippet below, with some inline JavaScript, I make the button display an alert box in the browser any time it is clicked:

How to Add Buttons to your Websites with an Anchor Tag
You can also add buttons to your websites with the anchor tag. The anchor tag is primarily used to add links to your websites, but you can style it with CSS to look like an actual button.
The advantage of this is approach is that you can link to a page without any JavaScript.
In the example below, I make a button with the anchor tag and link it to the freeCodeCamp official website:

It looks like a link in the browser:
You can make it look like a button with some CSS by removing the default underline and text color, setting a backgound color and foreground color with the color properties, and adding padding and a border radius:
All I did in the CSS was try to mimic the default appearance given to buttons in HTML.
The anchor tag now looks like this:
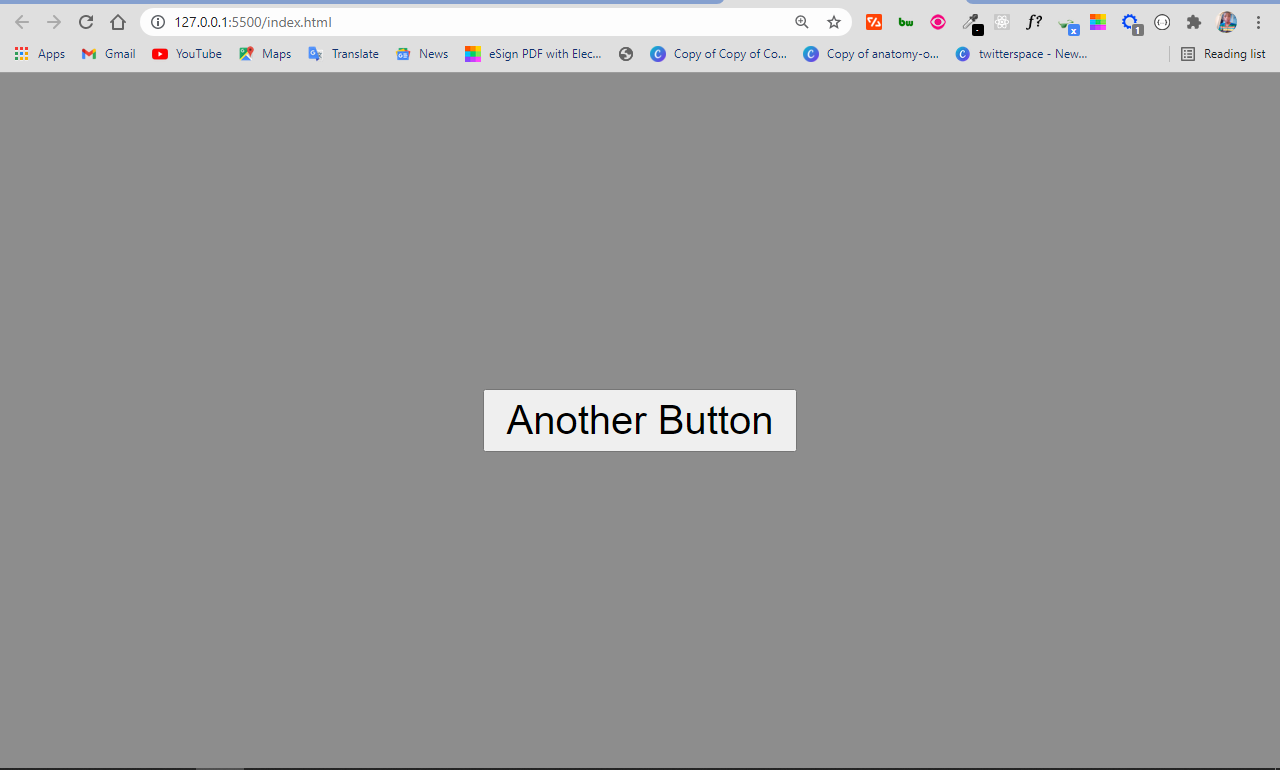
How to Add Buttons to your Websites with the Input Type Button
You can also add buttons to your website with the input type of button. It behaves exactly like the button tag.
The input tag is an empty element, meaning it doesn’t have a closing tag. So how do you display text in the button? You do it with the value attribute!

How to Add Buttons to your Websites with the Input Type Submit
You usually use the input type of submit inside a form element so that the data filled in by the user gets submitted when the button is clicked.
Just like the input type of button, it’s an empty element, so you need a value attribute to communicate to the user what the button is about.
The difference between the input type button and input type submit is that when you use the submit button type in a form, the data get submitted without any manipulation with JavaScript.
But the input type button, on the other hand, needs some manipulation with JavaScript to work. So when you use an input type of button inside a form element, the data doesn’t get submitted automatically when it is clicked.
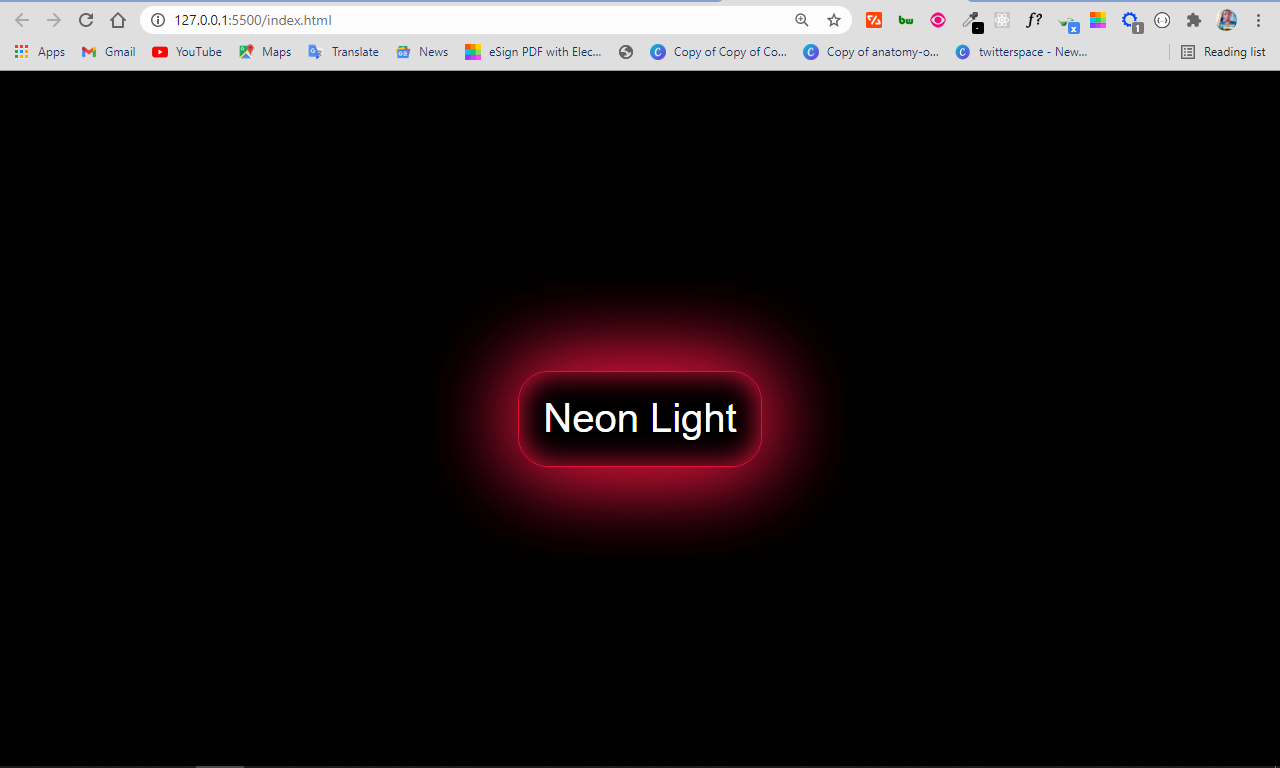
Mini Project: How to Make a Neon Light Button with HTML and CSS
The neon light button is a design trend that’s making waves because it’s beautiful. With what you’ve learned in this article, you can make one with a button tag and some CSS.
Firstly, you have to change the default styles of the button:
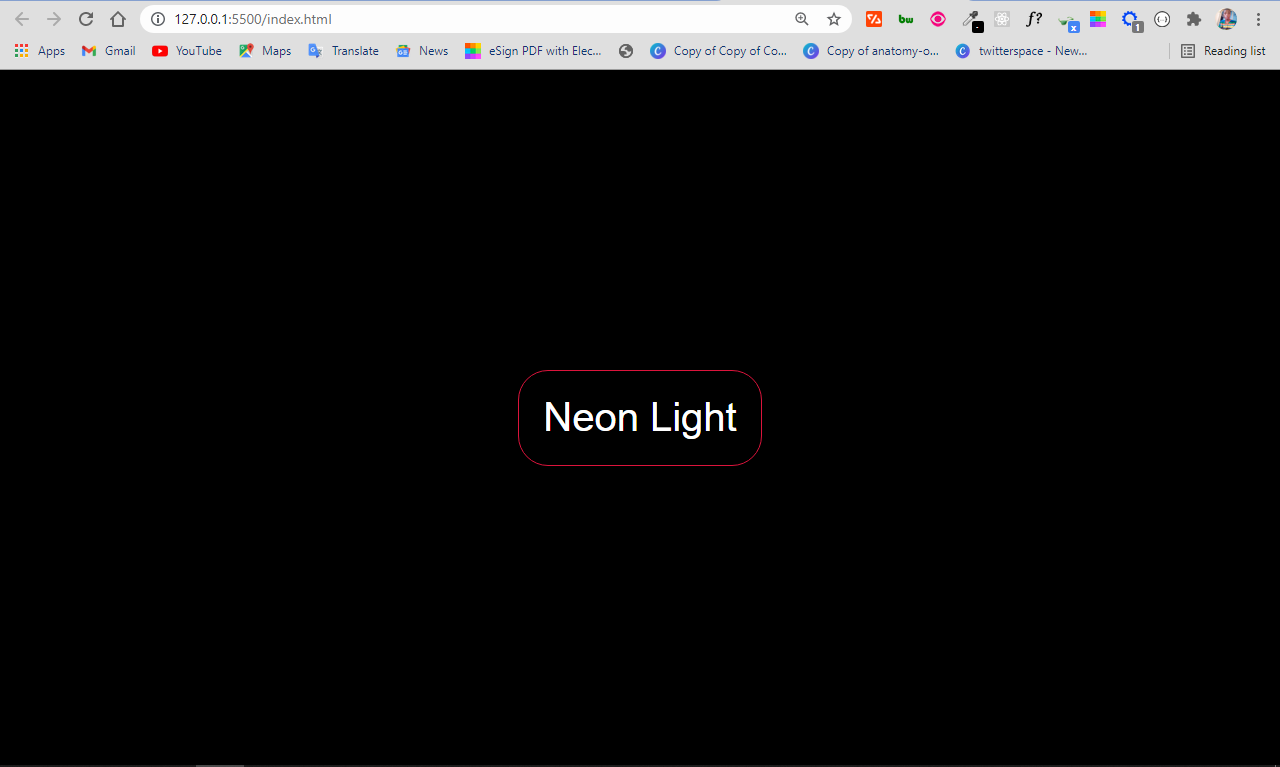
So far, the button looks like this:
To implement the neon light effect, you can use the box-shadow property. It allows multiple values, which will be instrumental in making the neon light effect.
In the box-shadow property:
- the first value represents the offset on the x-axis
- the second value represents the offset on the y-axis
- the third value represents the blur radius
- the fourth value represents the spread radius
- the fifth value is the color to be applied to the shadow
I only wanted the spread radius and color, so I set other values to zero. Then I made the last of the box-shadow values apply to the inside of the button by attaching inset to it.
There is now a neon light effect on the button:
Conclusion
This article showed you several ways you can add buttons to a website.
In HTML and CSS, there are always multiple ways of doing the same thing – that’s one of the reasons you can add buttons to a website even with an anchor tag.
You can even make a button behave like a link by wrapping an anchor tag around a button.
You can also add buttons with almost any other tag, such as div, span, and even the p tag. But you should avoid doing this for accessibility and so you don’t hurt the SEO of your website. After all, you have to make life easy for web crawlers, too.
Thank you for reading, and keep coding.