- How to float one image over another
- HTML-CSS Source Code
- HTML-CSS Source Code
- z-index
- How to Position One Image on Top of Another in HTML/CSS
- Create HTML
- Add CSS
- Example of positioning an image on top of another using the position property:
- Result
- Example of positioning an image on top of another using the position and z-index properties:
- CSS Styling Images
- Example
- Example
- Thumbnail Images
- Example
- Example
- Responsive Images
- Example
- Center an Image
- Example
- Polaroid Images / Cards
- Example
- Transparent Image
- Example
- Image Text
- Example
- Image Filters
- Example
- Image Hover Overlay
- Example
- Example
- Example
- Example
- Example
- Example
- Flip an Image
- Example
- Responsive Image Gallery
- Example
- Image Modal (Advanced)
- Example
- How to position an image anywhere with CSS
- How position:absolute works to position an image
- Position 1: Align image near top-right
- Position 2: Align image near bottom-right
- Position 3: Align image near bottom-left
- Position 4: Align image near top-left
- Position 5: Align image on center horizontally and vertically
How to float one image over another
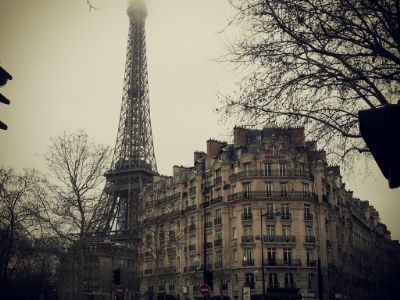
In many situations you may want to position one image on top of another image. There are many ways to achieve this using HTML and CSS. You can find here some easiest methods from this lesson.
The following HTML-CSS code placing one image on top of another by create a relative div that is placed in the flow of the page. Then place the background image first as relative so that the div knows how big it should be. Next is to place the overlay image as absolutes relative to the upper left of the first image.
HTML-CSS Source Code
position: relative — In relative position method , you can position the element relative to its normal position. In this case you should use left or right and top or bottom to move the element relative to its container.
position: absolute — When we position an element as Absolute , that element is is completely removed from the document`s normal flow. In Absolute position, the position is set through some combination of left, right, top and bottom properties.
Next approach is using z-index to put an image on top of another image.
HTML-CSS Source Code
z-index
While overlapping CSS elements, when using absolute and relative position, the default behavior is to have the first elements underneath later ones. In these cases we can control layering of positioned elements by using the z-index property . When using the z-index property you can specify which of the boxes appears on top the other one.
Related Contents
- Box model
- Div (division)
- CSS Span
- Rounded corners
- Box Shadow
- CSS position
- float, clear and z-index
- Image with Shadow
- Curved Shadows
- CSS hover effects
- Center Floated Divs
- CSS Overlay Techniques
- Full screen Overlay
- Image caption
- Div inside another Div
- CSS Transparency
- Center an Image in a Div
- Resizing images on hover
Related Topics
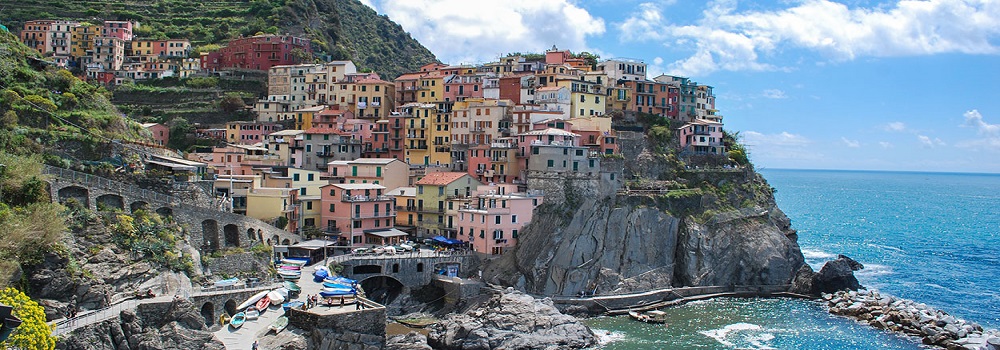
How to Position One Image on Top of Another in HTML/CSS
Sometimes, you may need to position one image on top of another. This can be easily done with HTML and CSS. For that, you can use the CSS position and z-index properties.
First, we are going to show an example where we use the position property.
Create HTML
The first image will be the background image and the second will overlay it.
div class="parent"> img class="image1" src="/uploads/media/default/0001/01/25acddb3da54207bc6beb5838f65f022feaa81d7.jpeg" /> img class="image2" src="/uploads/media/default/0001/01/25acddb3da54207bc6beb5838f65f022feaa81d7.jpeg" /> div>Add CSS
- Add a relative div placed in the flow of the page.
- Set the background image as relative so as the div knows how big it must be.
- Set the overlay as absolute, which will be relative to the upper-left edge of the container div.
We place the background image at the beginning of the container, and then we will set the overlay image to start from 30 pixels after the background.
.parent < position: relative; top: 0; left: 0; > .image1 < position: relative; top: 0; left: 0; border: 1px solid #000000; > .image2 < position: absolute; top: 30px; left: 30px; border: 1px solid #000000; >Let’s see the full example.
Example of positioning an image on top of another using the position property:
html> html> head> title>Title of the document title> style> .parent < position: relative; top: 0; left: 0; > .image1 < position: relative; top: 0; left: 0; border: 1px solid #000000; > .image2 < position: absolute; top: 30px; left: 30px; border: 1px solid #000000; > style> head> body> div class="parent"> img class="image1" src="/uploads/media/default/0001/01/25acddb3da54207bc6beb5838f65f022feaa81d7.jpeg" /> img class="image2" src="/uploads/media/default/0001/01/25acddb3da54207bc6beb5838f65f022feaa81d7.jpeg" /> div> body> html>Result
In this example, we used both the relative and absolute values of the position property. The relative value places an element relative to its normal position. The absolute value removes elements from the document flow, and elements are positioned relative to its parent element’s position.
Now, let’s see an example where we use both the position and z-index properties.
Example of positioning an image on top of another using the position and z-index properties:
The z-index is a CSS property to determine which element to overlay and which element to be in the background. The idea is to imagine a z-axis perpendicular to the screen. The higher the z-index of an element, the element will be shown nearer to the one viewing the page, thus overlaying the other elements with a lower z-index.
html> html> head> title>Title of the document title> style> .image1 < position: absolute; top: 10px; left: 10px; border: 1px solid #000000; z-index: 1; > .image2 < position: absolute; top: 25px; left: 25px; border: 1px solid #000000; z-index: 2; > style> head> body> img class="image1" src="/uploads/media/default/0001/01/25acddb3da54207bc6beb5838f65f022feaa81d7.jpeg" /> img class="image2" src="/uploads/media/default/0001/01/25acddb3da54207bc6beb5838f65f022feaa81d7.jpeg" /> body> html>In the example mentioned above, we set the position to absolute for both elements. You can try the snippet yourself, and see that you can swap the overlaying and the background image easily by changing the z-index. By z-index you can set any element on top of another one, and not just images.
CSS Styling Images
Use the border-radius property to create rounded images:
Example
Example
Thumbnail Images
Use the border property to create thumbnail images.
Example
img <
border: 1px solid #ddd;
border-radius: 4px;
padding: 5px;
width: 150px;
>
Example
img <
border: 1px solid #ddd;
border-radius: 4px;
padding: 5px;
width: 150px;
>
img:hover box-shadow: 0 0 2px 1px rgba(0, 140, 186, 0.5);
>
Responsive Images
Responsive images will automatically adjust to fit the size of the screen.
Resize the browser window to see the effect:
If you want an image to scale down if it has to, but never scale up to be larger than its original size, add the following:
Example
Tip: Read more about Responsive Web Design in our CSS RWD Tutorial.
Center an Image
To center an image, set left and right margin to auto and make it into a block element:
Example
Polaroid Images / Cards

Example
div.polaroid <
width: 80%;
background-color: white;
box-shadow: 0 4px 8px 0 rgba(0, 0, 0, 0.2), 0 6px 20px 0 rgba(0, 0, 0, 0.19);
>
div.container text-align: center;
padding: 10px 20px;
>
Transparent Image
The opacity property can take a value from 0.0 — 1.0. The lower value, the more transparent:
Example
Image Text
How to position text in an image:
Example
Image Filters
The CSS filter property adds visual effects (like blur and saturation) to an element.
Note: The filter property is not supported in Internet Explorer or Edge 12.
Example
Change the color of all images to black and white (100% gray):
Tip: Go to our CSS filter Reference to learn more about CSS filters.
Image Hover Overlay
Create an overlay effect on hover:
Example
Example
Example
Example
Example
Example
Flip an Image
Move your mouse over the image:
Example
Responsive Image Gallery
CSS can be used to create image galleries. This example use media queries to re-arrange the images on different screen sizes. Resize the browser window to see the effect:


Example
.responsive <
padding: 0 6px;
float: left;
width: 24.99999%;
>
@media only screen and (max-width: 700px) .responsive width: 49.99999%;
margin: 6px 0;
>
>
@media only screen and (max-width: 500px) .responsive width: 100%;
>
>
Tip: Read more about Responsive Web Design in our CSS RWD Tutorial.
Image Modal (Advanced)
This is an example to demonstrate how CSS and JavaScript can work together.
First, use CSS to create a modal window (dialog box), and hide it by default.
Then, use a JavaScript to show the modal window and to display the image inside the modal, when a user clicks on the image:
Example
// Get the modal
var modal = document.getElementById(‘myModal’);
// Get the image and insert it inside the modal — use its «alt» text as a caption
var img = document.getElementById(‘myImg’);
var modalImg = document.getElementById(«img01»);
var captionText = document.getElementById(«caption»);
img.onclick = function() modal.style.display = «block»;
modalImg.src = this.src;
captionText.innerHTML = this.alt;
>
// Get the element that closes the modal
var span = document.getElementsByClassName(«close»)[0];
// When the user clicks on (x), close the modal
span.onclick = function() <
modal.style.display = «none»;
>
How to position an image anywhere with CSS

We can position an image anywhere inside a parent container. We usually align an image horizontally to left, center and right by using different CSS tricks. But by using position:absolute , we can align an image both horizontally and vertically; not only to center or right but in any position- near top, bottom, left or right edge of a container.
Noted, in this way, not only image, we can also set position of other html elements like p , h , div and so on.
So no more ado. Let’s start to move on practical ground.
How position:absolute works to position an image
To make position:absolute work to position an image anywhere, do the followings:
- Take a container div .
- Style the div with position:relative .
- Style the div with width and height value. You can also set other property if you wish.
- Take img element inside the div .
- Style the img with position:absolute .
- To fix definite position of img ; style the image with top, bottom, left and right property. Noted, set value in any one of Top and Bottom property. Also set value in any one of Left and Right property.
- Image width and height value must be lower than that of div .
- Set other property:value with img if you wish.
Position 1: Align image near top-right
To keep things simple, we’re using inline CSS. First, let’s style the container div:
Now set the image attributes with style:

Position 2: Align image near bottom-right
Position 3: Align image near bottom-left
Position 4: Align image near top-left
Position 5: Align image on center horizontally and vertically
Hope you can position the image in any other places beyond the shown examples by using the defined rules.
Comment, please!!