- Интересный и одновременно простой слайдер на чистом CSS3
- 1. Верстаем основу
- 2. Оформляем слайдер
- 3. Оформляем слайды
- 4. Делаем навигацию по слайдам
- 5. Учим кнопки нажиматься
- 6. Оживляем слайдер
- Итог
- 101 CSS Sliders
- Table of Contents
- Related Articles
- Card Sliders
- Author
- Links
- Made with
- About the code
- Onboarding Screens
- Information Card Slider
- Elastic Slider
- Comparison (Before/After) Sliders
- Author
- Links
- Made with
- About the code
- Image Comparison Slider
- Author
- Links
- Made with
- About the code
- Javascriptless Before/After Slider
- Author
- Links
- Made with
- About the code
- Before After 3 Layer Image Slider
- Before After Image Slider (Vanilla JS)
- Author
- Links
- Made with
- About the code
- Split Screen UI
- Before & After Slider Gallery With SVG Masks
- HTML5 Before & After Comparison Slider
- Responsive Image Comparison Slider
- HTML5 Video Before-and-After Comparison Slider
- Image Comparison Slider
- Fullscreen Sliders
- Author
- Links
- Made with
- About a code
- Pure CSS ECommerce Slider
- Author
- Links
- Made with
- About the code
- Pure CSS Slider
- Author
- Links
- Made with
- About the code
- Slider Transition
- Author
- Links
- Made with
- About the code
- Horizontal Parallax Sliding Slider
- Author
- Links
- Made with
- About the code
- Smooth 3D Perspective Slider
- Fullscreen Hero Image Slider
- Velo.js Slider With Borders
- Popout Slider
- Responsive Parallax Drag-slider With Transparent Letters
- Fancy Slider
- Author
- Pure CSS Slider With Buttons | Responsive | Control Button
- How to build Pure CSS3 Image Slider with Prev/Next Buttons.
Интересный и одновременно простой слайдер на чистом CSS3
Я никому не открою Америку, не удивлю публику новым фокусом и не взорву мозг тем, кто в CSS3 плавает, как аквалангист. Расскажу простой способ, как создать слайдер с помощью простых функций CSS3 без необходимости использовния javascript.
1. Верстаем основу
Для реализации слайдера нам понадобится довольно простой набор тэгов, которые будут в свою очередь отвечать за элементы слайдера.
Здесь мы видим, что общий блок «wrapper» содержит в себе блок «slider» с 5-ю слайдами, внутри которых можно поместить любой html-код, который будет располагаться на слайде. Перед общим блоком находятся радио-кнопки, которые впоследствии будут скрыты, чтобы создать для них собственную панель навигации по слайдам, с которой нам помогут лейблы в блоке «controls».
2. Оформляем слайдер
Здесь мы остановимся и немного рассмотрим css. Обратите внимание, что для некоторых свойств проставлены кроссбраузерные префиксы, чтобы все современные браузеры могли их понимать.
С оформлением фона и общими стилями всё понятно.
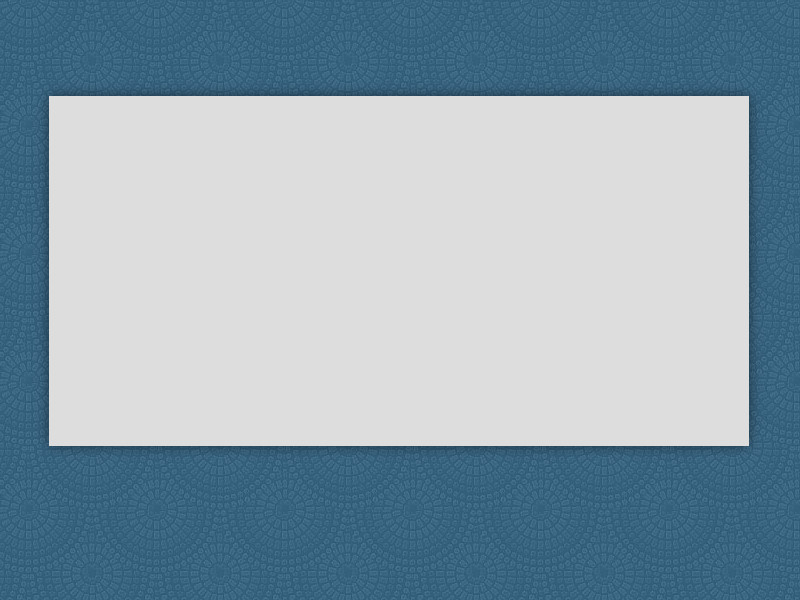
Общий блок и блок с слайдером имеют одинаковые размеры, чтобы идеально контролировать положение слайдера на странице. Пока отсутствуют слайды, слайдер мы временно покрасили в светло-серый цвет.
Радио-кнопки скрываем. Они нам понадобятся позже.
Результат на данный момент такой:
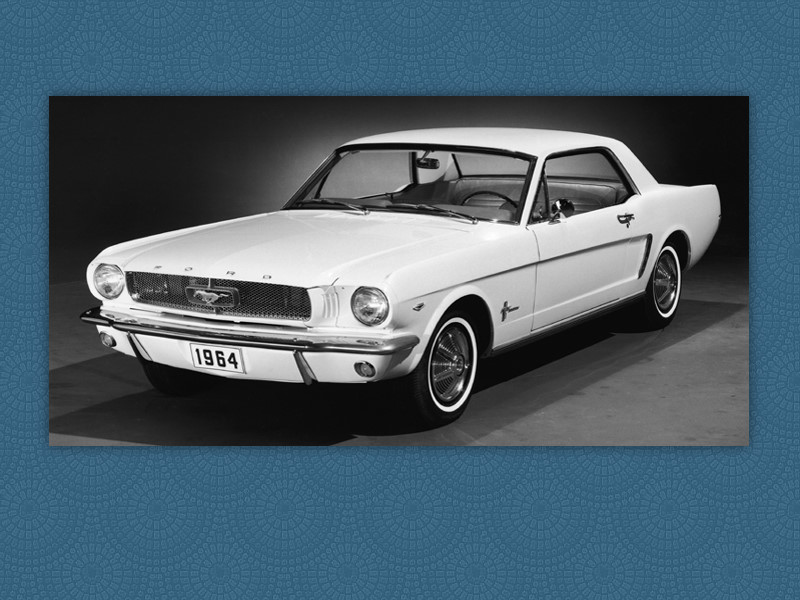
3. Оформляем слайды
Здесь мы пропишем общие стили для слайдов и каждый слайд отдельно:
.slides < height: inherit; position: absolute; width: inherit; >.slide1 < background-image: url(http://habrastorage.org/files/3f2/628/bd5/3f2628bd58c8452db516195cb0c9bfc9.jpg); >.slide2 < background-image: url(http://habrastorage.org/files/3e1/95d/c7f/3e195dc7f5a64469807f49a14f97ba0e.jpg); >.slide3 < background-image: url(http://habrastorage.org/files/663/6b1/d4f/6636b1d4f8e643d29eab8c192fc1cea3.jpg); >.slide4 < background-image: url(http://habrastorage.org/files/e59/424/c04/e59424c046be4dab897d84ab015c87ea.jpg); >.slide5 < background-image: url(http://habrastorage.org/files/53c/ff6/c1c/53cff6c1caf842368c70b8ef892d8402.jpg); >Для всех слайдов мы указали абсолютное позиционирование, чтобы можно было играть с эффектами появления. Размеры слайдов берутся из размера самого слайдера, чтобы не приходилось их прописывать в нескольки местах.
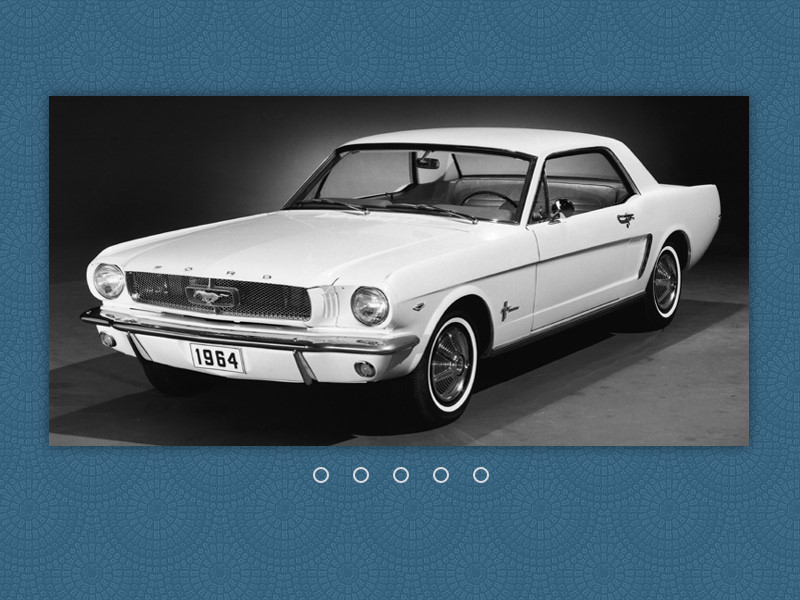
4. Делаем навигацию по слайдам
Так как радио-кнопки скрыты и нужны нам как переключатели, оформляем подготовленные лейблы:
.wrapper .controls < left: 50%; margin-left: -98px; position: absolute; >.wrapper label < cursor: pointer; display: inline-block; height: 8px; margin: 25px 12px 0 16px; position: relative; width: 8px; -webkit-border-radius: 50%; -moz-border-radius: 50%; -o-border-radius: 50%; border-radius: 50%; >.wrapper label:after
Навигацию мы делаем классической. Каждая кнопка представляет собой область в виде круга, внутри которого при активном слайде пустая область частично окрасится. Пока же у нас следующий результат:
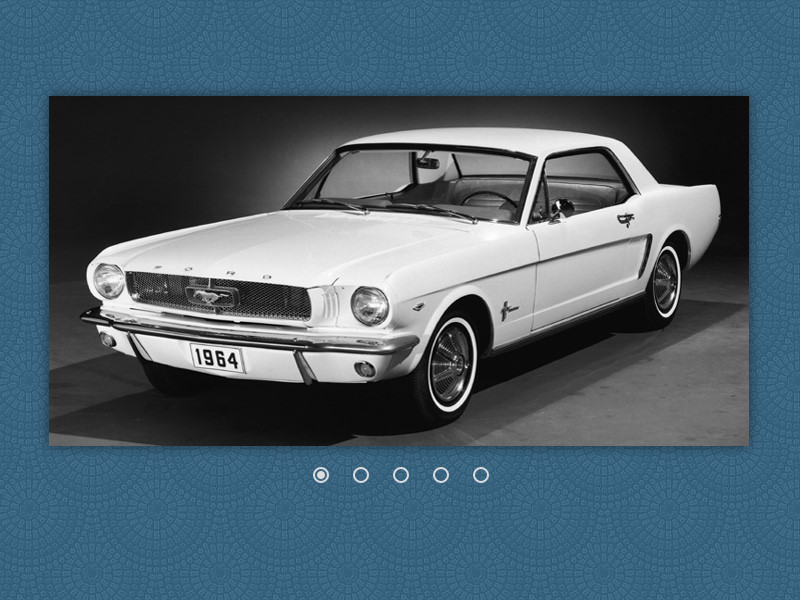
5. Учим кнопки нажиматься
Пришло время научить слайдер переключать слайды по нажатию на определённую кнопку:
.wrapper label < cursor: pointer; display: inline-block; height: 8px; margin: 25px 12px 0 16px; position: relative; width: 8px; -webkit-border-radius: 50%; -moz-border-radius: 50%; -o-border-radius: 50%; border-radius: 50%; -webkit-transition: background ease-in-out .5s; -moz-transition: background ease-in-out .5s; -o-transition: background ease-in-out .5s; transition: background ease-in-out .5s; >.wrapper label:hover, #slide1:checked ~ .controls label:nth-of-type(1), #slide2:checked ~ .controls label:nth-of-type(2), #slide3:checked ~ .controls label:nth-of-type(3), #slide4:checked ~ .controls label:nth-of-type(4), #slide5:checked ~ .controls label:nth-of-type(5)
В оформленные кнопки навигации добавляем плавное окрашивание внутри них. Также добавляем условия, при которых активная кнопка и кнопка, на которую навели курсор, будет плавно окрашиваться. Наши собственные радио-кнопки готовы:
6. Оживляем слайдер
Ну, а теперь делаем так, чтобы слайды наконец-то переключались:
.slides < height: inherit; opacity: 0; position: absolute; width: inherit; z-index: 0; -webkit-transform: scale(1.5); -moz-transform: scale(1.5); -o-transform: scale(1.5); transform: scale(1.5); -webkit-transition: transform ease-in-out .5s, opacity ease-in-out .5s; -moz-transition: transform ease-in-out .5s, opacity ease-in-out .5s; -o-transition: transform ease-in-out .5s, opacity ease-in-out .5s; transition: transform ease-in-out .5s, opacity ease-in-out .5s; >#slide1:checked ~ .slider > .slide1, #slide2:checked ~ .slider > .slide2, #slide3:checked ~ .slider > .slide3, #slide4:checked ~ .slider > .slide4, #slide5:checked ~ .slider > .slide5
В общие стили слайдов мы добавляем свойства, при которых все слайды становятся невидимыми и уходят на задний план. Также мы добавили небольшое увеличение слайдов, пока они невидимы для придания интересного появления в слайдере.
Далее мы приписываем условие, при котором, в зависимости от активной кнопки навигации, в окне слайдера появлялся необходимый слайд.
Результат можно посмотреть здесь: демка слайдера.
Итог
Слайдер не требует js. Пускай он не умеет сам переключаться, но любому, кто знает основы CSS, transition и transform, будет легко придумать свои эффекты для переключения слайдов.
P.S. За основу взят слайдер от «Sorax», который я переделал на свой лад.
101 CSS Sliders
Collection of free HTML and CSS slider code examples: card, comparison, fullscreen, responsive, simple, etc. Update of May 2020 collection. 5 new items.
Table of Contents
Related Articles
Card Sliders
Author
Links
Made with
About the code
Onboarding Screens
A set of onboarding screens in HTML/CSS/JS. A personal experiment with layering PNG icons, CSS3 transitions, & flexbox.

Information Card Slider
HTML, CSS and JavaScript information card slider.
Made by Andy Tran
November 23, 2015

Elastic Slider
Photo slider working on desktop and mobile browsers.
Made by Taron
September 29, 2014
Comparison (Before/After) Sliders

Author
Links
Made with
About the code
Image Comparison Slider
A simple and clean image comparison slider, fully responsive and touch ready made with CSS and jQuery.

Author
Links
Made with
About the code
Javascriptless Before/After Slider
A before and after slider with only html and css.

Author
Links
Made with
About the code
Before After 3 Layer Image Slider
Playing around with a new idea using my two layer before/after image slider. Keeping it minimal. Keeping it vanilla. Like it if it’s useful 🙂

Before After Image Slider (Vanilla JS)
Vanilla JS, minimal, nice to look.
Made by Huw
July 3, 2017

Author
Links
Made with
About the code
Split Screen UI
A «split-screen» slider element with JavaScript.

Before & After Slider Gallery With SVG Masks
A little experiment for a before & after slider all inside a SVG. Masking makes it pretty simple. Since it’s all SVG, the images and captions scale nicely together. GreenSock’s Draggable and ThrowProps plugins were used for the slider control.
Made by Craig Roblewsky
April 17, 2017

HTML5 Before & After Comparison Slider
Uses customised range input for slider.
Made by Dudley Storey
October 14, 2016

Responsive Image Comparison Slider
Responsive image comparison slider with HTML, CSS and JavaScript.
Made by Ege Görgülü
August 3, 2016

HTML5 Video Before-and-After Comparison Slider
HTML5, CSS3 and JavaScript video before-and-after comparison slider.
Made by Dudley Storey
April 24, 2016

Image Comparison Slider
A handy draggable slider to quickly compare 2 images, powered by CSS3 and jQuery.
Made by CodyHouse
September 15, 2014
Fullscreen Sliders
Author
Links
Made with
About a code
Pure CSS ECommerce Slider
Compatible browsers: Chrome, Edge, Firefox, Opera, Safari
Author
Links
Made with
About the code
Pure CSS Slider
Simple slider based on radio inputs. 100% pure HTML + CSS. Works also with arrow keys.
Compatible browsers: Chrome, Edge, Firefox, Opera, Safari

Author
Links
Made with
About the code
Slider Transition
Nice transition effect for fullscreen slider.

Author
Links
Made with
About the code
Horizontal Parallax Sliding Slider
Horizontal parallax sliding slider with Swiper.js.

Author
Links
Made with
About the code
Smooth 3D Perspective Slider
Responsive smooth 3D perspective slider on mouse move.

Fullscreen Hero Image Slider
Fullscreen hero image slider (swipe panels theme) with HTML, CSS and JavaScript.
Made by Tobias Bogliolo
June 25, 2017

Velo.js Slider With Borders
A slider interaction thing using Velocity and Velocity effects (UI Pack) to enhance the animation. Animation is triggered via arrow keys, nav click, or scrolling jack. This version includes borders as part of the interaction.
Made by Stephen Scaff
May 11, 2017

Popout Slider
Simple slider in a minimal style to show off images. Part of the image pops out on each slide.
Made by Nathan Taylor
Jannuary 22, 2017

Responsive Parallax Drag-slider With Transparent Letters
The thing is pretty easy customizable. You can safely change font, font size, font color, animation speed. The first letter of a new string in array in JS will appear on a new slide. Easy to create (or delete) a new slide: 1. Add new city in the array in JS. 2. Change number of slides variable and put a new image in scss list in CSS.
Made by Ruslan Pivovarov
October 8, 2016

Fancy Slider
- Clip-path for image masking rectangle border (webkit only).
- Blend-mode for this mask.
- Smart color system, just put your color name and value into sass map and then add proper class with this color name to elements and everything will work!
- Cool credits side-menu (click small button in the center of demo).
- Vanilla js with just
Author
Pure CSS Slider With Buttons | Responsive | Control Button

Looking for a simple solution for creating a pure CSS slider with buttons? In this tutorial, I will create a responsive slideshow which you can use for images or content.
The slider comes with a control button to slide next or previous image or content. It is built with CSS3 animation. It’s lightweight and easy to customize.
This basic slideshow also comes with radio buttons for dot navigation which makes it easier to navigate. It is a clean and basic slider with the fastest loading experience.
Furthermore, You can easily make it fullscreen slider by adding the code without a fixed container. By placing the HTML code inside the fixed container you can turn it into a small slider according to chosen container width size.
How to build Pure CSS3 Image Slider with Prev/Next Buttons.
To get start building this slider, You need to add a CSS file of image slider called slider.css in the document.
Next, We will create the markup for CSS3 slider as follows.
You can easily customize the next/prev navigation by editing following CSS.
.nav < padding: 20px; position: fixed; top: 50%; -webkit-transform: translate3d(0, -50%, 0); transform: translate3d(0, -50%, 0); width: 100%; z-index: 0; >.prev < cursor: pointer; float: left; >.prev::after < border-top: 2px solid #FFF; border-left: 2px solid #FFF; border-radius: 1px; content: ''; display: block; height: 20px; -webkit-transform: rotate(-45deg); transform: rotate(-45deg); width: 20px; >.next < cursor: pointer; float: right; >.next::before
If you want to customize the design of dots navigation then you need to edit following CSS.
For more customization, You can see the slider.css file.