- CSS Border Shadow
- How to create CSS Border Shadow — examples
- CSS Border Shadow - examples
- CSS Border With Examples Tutorial
- 1. Animated CSS border
- 2. CSS Border images
- 3. Snake style CSS border
- 4. Stairs Style CSS border
- 5. Only shadow CSS border
- 6. CSS border with shadow and outline
- 7. Few shadows and outline
- 8. Double CSS border with box-shadow
- 9. Multi-color CSS border
- Conclusion
- Related readings 📖
- Courses
- Все о свойстве border
- Основы
- Border-Radius
- Несколько границ
- Изменение углов
- CSS фигуры
- Создание Speech Bubble
- Итог
CSS Border Shadow
The box-shadow property adds one or more shadows to an element.
We can add CSS Style as:
Inline — by using the style attribute in HTML elements
Internal — by using a element in the section
External — by using an external CSS file as style.css
How to create CSS Border Shadow — examples
You can try to execute the following code to change CSS Border Shadow on this page.
CSS Border Shadow - examples
I used inline CSS. You text here:
Learn how to create CSS Border Radius.
css border shadow, bottom, effect, transparent, inside, top, inset, gradient, color
CSS Border Shadow — css tutorial


This tool makes it easy to create, adjust, and experiment with custom colors for the web.
Magnews2 is a modern and creative free magazine and news website template that will help you kick off your online project in style.
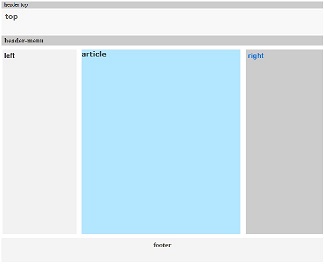
Find here examples of creative and unique website layouts.
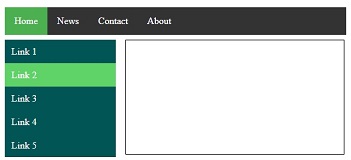
Find here examples of creative and unique website CSS HTML menu.
This tool makes it easy to create, adjust, and experiment with custom colors for the web.
Magnews2 is a modern and creative free magazine and news website template that will help you kick off your online project in style.
Find here examples of creative and unique website layouts.
Find here examples of creative and unique website CSS HTML menu.
CSS Border With Examples Tutorial
The CSS border is something that you will most probably use almost every day, if you’re front-end developer, of course.
I’ve found a few useful (some more, some less, some just funny) tips and tricks that you can use in your project.
If you prefer video here is the youtube version.
1. Animated CSS border
What to do when we would like to make our item more visible?
We can animate our borders, even without changing the size of the element, and it’s very easy.
To do that, we just need to create a custom keyframe for the animation and use it in the animation param inside our element’s CSS code.
Let’s take a look at the example.
2. CSS Border images
Have you ever imagine donuts around your element?
Now you can add them by pure CSS without too much effort.
To do it, you need to use the border-image attribute in your element’s CSS code.
Let’s take a look at the example.
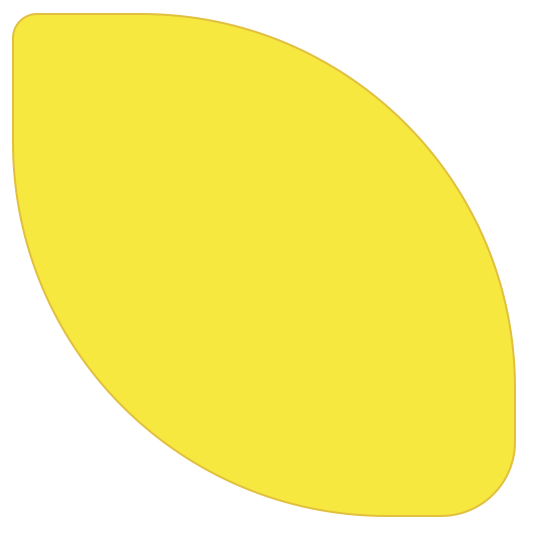
3. Snake style CSS border
What if we need a double-color ultra visible border?
We can wear a snake uniform and color it however we want.
Let’s try the code from the example.
4. Stairs Style CSS border
Have you ever tried to add 3d style border around your div?
Adding some multi-color depth into our element is very easy. We simply need a few box-shadows in the CSS.
5. Only shadow CSS border
Sometimes we need to add a border to the ready design, but adding a few more pixels would be a bit problematic. It could change the position of the elements.
Now we can use box-shadow around our element as a border, take a look in the code.
6. CSS border with shadow and outline
We can achieve a similar effect to the snake-style in a few ways.
Next, one of them is mixing box-shadow and outline param in the CSS of our element.
7. Few shadows and outline
We can even create a few colors and elements in our border.
To do that, we need to mix box-shadows and outline, like in the example below.
Let’s experiments with that a bit.
8. Double CSS border with box-shadow
We can also mix just a border with some box-shadow and outline.
That will create a lovely effect of a line with spikes, like in the example below.
9. Multi-color CSS border
And what if we would like to color our borders a bit more than in the previous examples?
We can even set up every wall of the element in a different color.
To achieve that, we will need some custom background with the gradient inside.
Take a look at the example below.
Conclusion
Ok, it was the last one of the ideas for now.
I hope you like them, and those few will be useful for you.
Feel free to test them, experiment, and show in comments what ideas you found to make borders different.
Congratulations, you are the borders expert now!
Related readings 📖
Radek Fabisiak was with the computers from his early days, remembers an orange screen with Win32, big floppy disks, and the sound of dial-up connecting to the internet. He has got experience in full-stack development by working for top IT companies like Microsoft. In the last years, in the core team of the Duomly, where as an addition to IT has got skills related to Online Marketing, SEO, Content Creation or building Online Business, now passing this knowledge to the Duomly’s audience.
If you liked it share and comment!
Courses
- HTML CSS Course
- Javascript Course
- React JS Course
- React Native Course
- Python Course
- Machine Learning Course
- Blockchain Course
- Solidity Course
- WordPress Course
- Intro to programing Course
- Sass Course
- How to build website with HTML CSS Course
- How to build e-commerce with Bootstrap Course
- How to build Tic Tac Toe Course
Все о свойстве border
Все знакомы с css параметром border, но есть ли вещи, которые мы не знаем о нем?
Основы
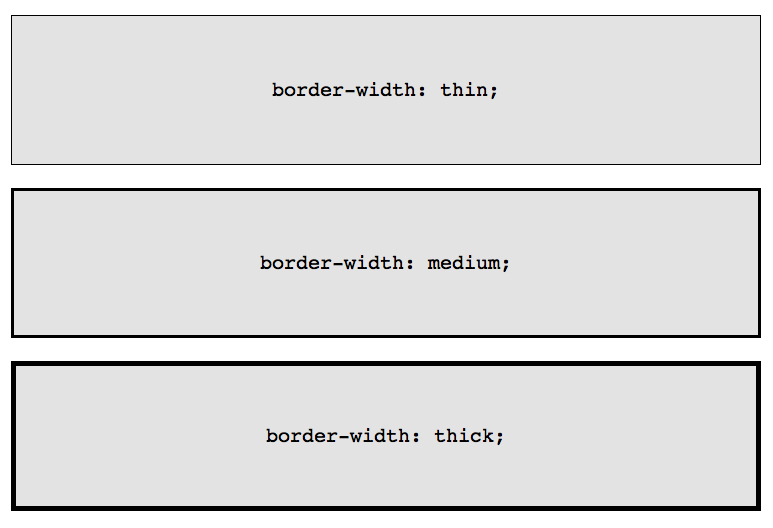
border-width: thick; border-style: solid; border-color: black;
Например у параметра border-width есть три параметра: thin, medium, thick:
Если необходимо менять цвет границы при наведении на объект:
Border-Radius
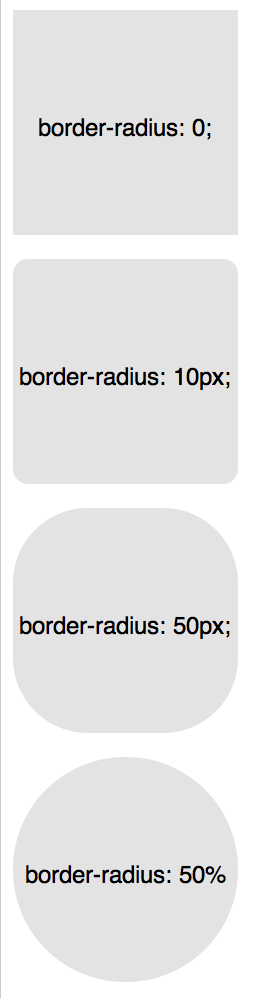
border-radius — это новый параметр CSS3 для отображения закругленных углов, который корректно работает во всех современных браузерах, за исключением Internet Explorer 8 (и более старых версий).
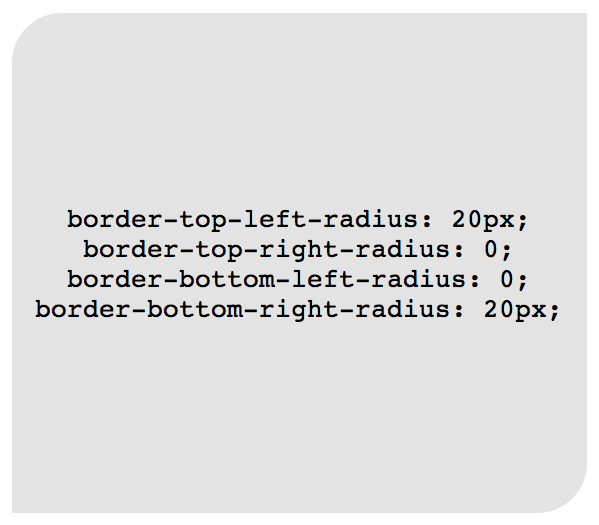
Для каждого угла можно назначить свое закругление:
border-top-left-radius: 20px; border-top-right-radius: 0; border-bottom-right-radius: 30px; border-bottom-left-radius: 0;
В приведенном примере необязательно назначать «0» border-top-right-radius и border-bottom-left-radius, если они не наследуют значения, которые должны быть изменены.
Всю конструкцию можно сжать в одну строку:/* top left, top right, bottom right, bottom left */ border-radius: 20px 0 30px 0;
Здесь описаны самые простые и популярные примеры применения параметра border. Перейдем к более сложным.
Несколько границ
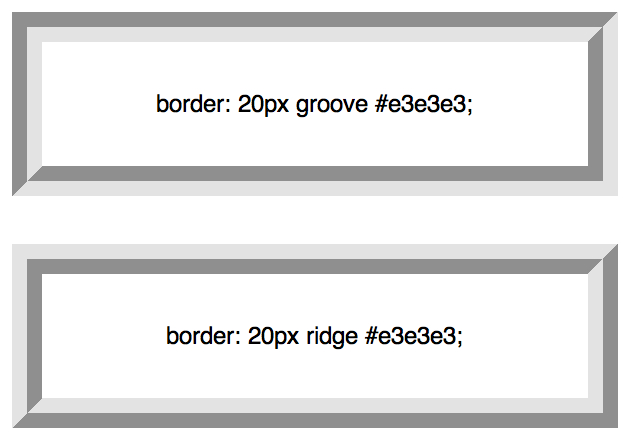
Border-Style
solid, dashed, and dotted — самые популярные значения параметра border-style, но давайте рассмотрим другие, например, groove and ridge.
border: 20px groove #e3e3e3;border-color: #e3e3e3; border-width: 20px; border-style: groove;

Outline
Этот способ отлично работает, но ограничен созданием двойной рамки. Если вам необходимо отобразить несколько границ элемента, то необходимо использовать другую технику.
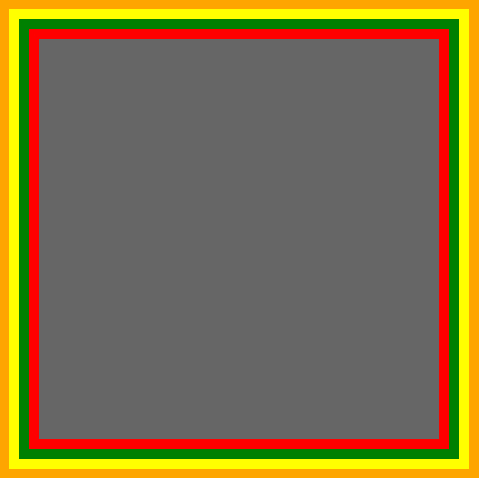
Псевдоэлементы
.box < width: 200px; height: 200px; background: #e3e3e3; position: relative; border: 10px solid green; >/* Create two boxes with the same width of the container */ .box:after, .box:before < content: ''; position: absolute; top: 0; left: 0; bottom: 0; right: 0; >.box:after < border: 5px solid red; outline: 5px solid yellow; >.box:before
Возможно это не самое элегантное решение, однако оно работает
Box-Shadow
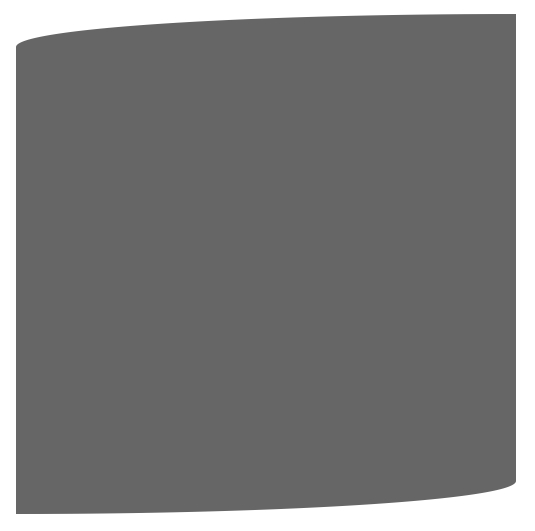
Изменение углов
border-radius: 50px / 100px; /* horizontal radius, vertical radius */border-top-left-radius: 50px 100px; border-top-right-radius: 50px 100px; border-bottom-right-radius: 50px 100px; border-bottom-left-radius: 50px 100px;Эта техничка бывает полезна, если необходимо имитировать искривление, а не закругление. Например, так можно получить эффект скрученной бумаги:
CSS фигуры
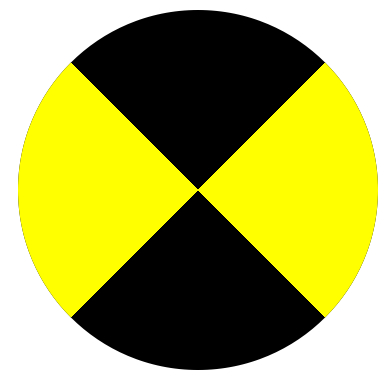
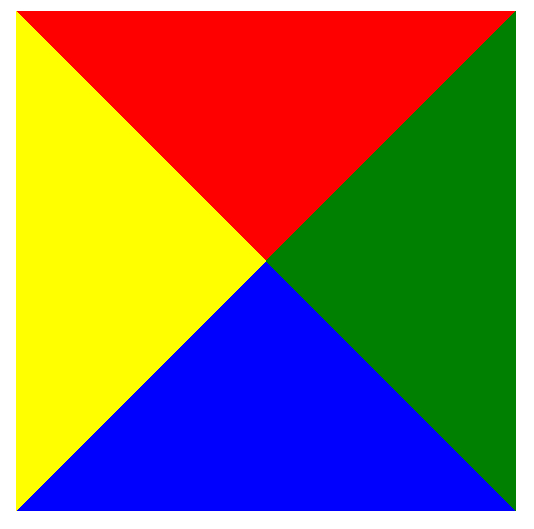
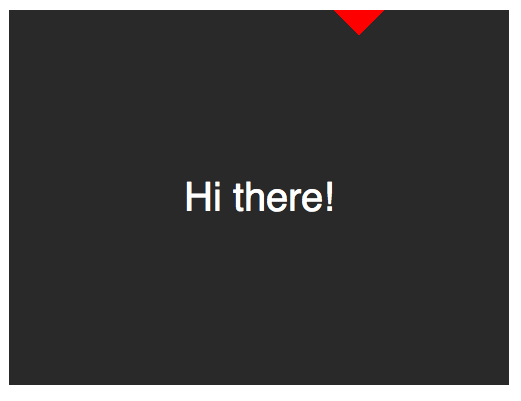
Наиболее частым примером использования CSS фигур является отображение стрелок. Чтобы понять, как это работает, необходимо разобраться с использованием отдельного border-color для каждой стороны и установкой значения «0» для width и height:
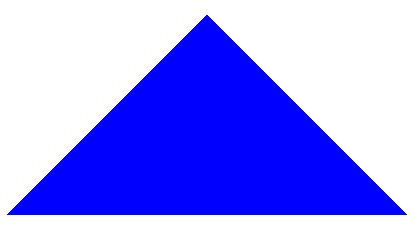
А теперь оставляем только синий треугольник:
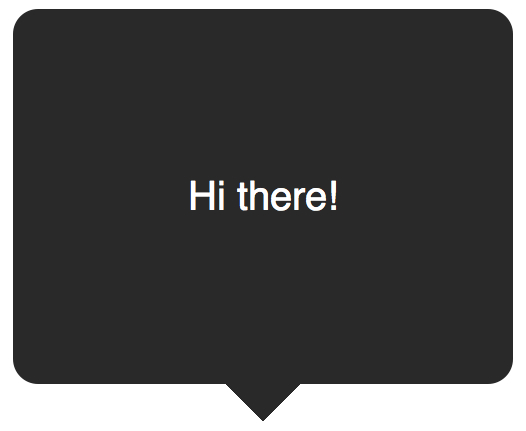
Создание Speech Bubble
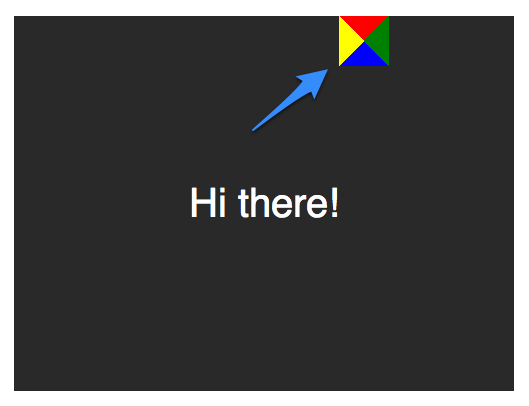
Теперь нужно расположить стрелку-треугольник в нужном месте. Вот наш цветной квадратик:
Оставляем только четверть квадратика:
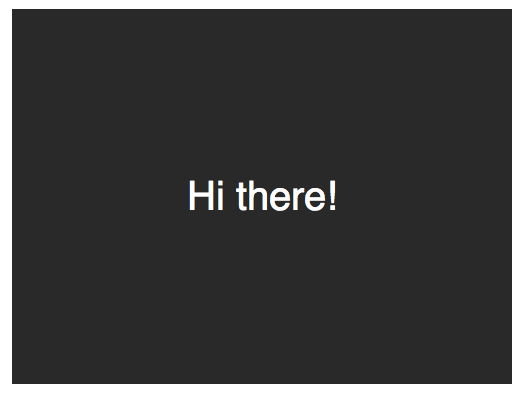
Теперь перемещаем ниже и закрашиваем:
.speech-bubble < /* … other styles */ border-radius: 10px; >.speech-bubble:after < content: ''; position: absolute; width: 0; height: 0; border: 15px solid; border-top-color: #292929; top: 100%; left: 50%; margin-left: -15px; /* adjust for border width */ >
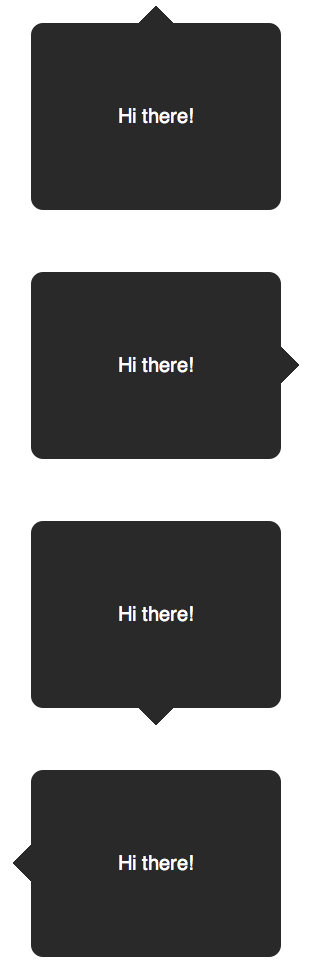
Примеры применения:
/* Speech Bubbles Usage: Apply a class of .speech-bubble and .speech-bubble-DIRECTIONHi there*/ .speech-bubble < position: relative; background-color: #292929; width: 200px; height: 150px; line-height: 150px; /* vertically center */ color: white; text-align: center; border-radius: 10px; font-family: sans-serif; >.speech-bubble:after < content: ''; position: absolute; width: 0; height: 0; border: 15px solid; >/* Position the Arrow */ .speech-bubble-top:after < border-bottom-color: #292929; left: 50%; bottom: 100%; margin-left: -15px; >.speech-bubble-right:after < border-left-color: #292929; left: 100%; top: 50%; margin-top: -15px; >.speech-bubble-bottom:after < border-top-color: #292929; top: 100%; left: 50%; margin-left: -15px; >.speech-bubble-left:after
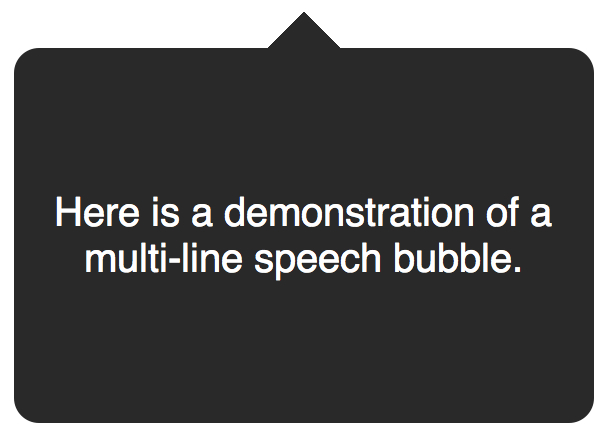
Вертикальное центрирование текста
минус использования line-height при вертикальном центрировании в ограничении текста одной строкой. Для решения этой проблемы, можно применить display: table к нашему Speech Bubble и display: table-cell к тексту:
.speech-bubble < /* other styles */ display: table; >.speech-bubble p
Еще один пример нестандартного использования границ:
Итог
Использование параметра border не ограничивается одним лишь «1px solid black», с помощью границ можно создавать различные фигуры, причем достаточно один раз написать CSS-класс и применять его к множеству элементов на странице.