- Applying CSS Styles to Multiple Elements Simultaneously
- Apply style to more than one element
- Applying a css style to several patterns
- Apply same style to all tr and td of multiple table having same parent CSS class
- Best strategy to style the same HTML when it appears on multiple pages
- CSS Selector Types – How to Select Elements to Style in CSS
- 1. How to Use the Universal Selector (*) in CSS
- 2. How to Style Elements by Tag Name in CSS
- 3. How to Style Classes in CSS
- 4. How to Style Ids in CSS
- 5. How to Style Other Attributes in CSS
- 6. How to Use Pseudo-Classes in CSS
- 7. How to Use the Pseudo Element Selector in CSS
- Wrapping up
Applying CSS Styles to Multiple Elements Simultaneously
For Solution 3, you can either utilize common CSS and specify certain values like width in the code behind, or create various CSS files for distinct requirements and connect the appropriate CSS to the page through code behind. Alternatively, for Solution 1, you can define the same style for several elements by using a comma. As for Solution 2, have you considered using a CSS preprocessor like LESS or SASS?
Apply style to more than one element
Employ the MSDT code (,) by placing a comma in order to apply a uniform style across various elements.
.main_section nav a,.main_section nav li
Have you experimented with CSS preprocessors like LESS or SASS?
With the help of any one of these, you can compose your code in the following manner:
.main_section nav a, .main_section nav li
Css — Apply style to more than one element, Apply style to more than one element. This is an easy one, but i can no find the right way to do this. I have the following style definition: .main_section nav a < color:#999; >So this style applies to the a in the nav in the .main_section. Now I want to extend this so that also li elements are affected.
Applying a css style to several patterns
The website link provided belongs to the World Wide Web Consortium and specifically points to the portion of their documentation that discusses grouping of selectors in CSS version 2.2.
It is also possible to convert applying multiple classes into a singular element.
Html — How to apply different css styles to two different, I would like to use bootstrap crispy forms to style the form and my own custom css to style the search bar. (The search bar is coded as a form with input.) I have tried reordering the links in the head of my html, bootstrap first, search bar second, and the other way around, and it didn’t affect anything rather than …
Apply same style to all tr and td of multiple table having same parent CSS class
.addActivityTable table tr, .addActivityTable table td
.addActivityTable tr, .addActivityTable td
.addActivityTable tr, .addActivityTable td
Give this a try, it may be beneficial for you. Simply eliminate the table.
Css — style 2nd element on the page with same class, Hello is there a way with css to style the 2nd element on page with the same class slightly differently to the first. For example I have two ul’s on a page with a class of topbardropdownmenu. style 2nd element on the page with same class. Ask Question Asked 11 years, 7 months ago. Modified 6 years ago. …
Best strategy to style the same HTML when it appears on multiple pages
Perhaps fieldsets could be a better option than tables for laying out this form, as they offer more flexibility. This will allow you to have labels and input fields arranged in a narrow column, if that is what you prefer.
Your illustration, which does not incorporate tables, also appears more visually pleasing.
Regarding your primary inquiry, my recommended approach would be as follows:
To utilize the form in various layout columns, I will employ the id’s of those respective columns. For example, if I want to use it in my main column(), I will create CSS code appropriately.
#main .pnlSubmitComments form fieldset < /*your CSS*/ >and for the corresponding column on the side
#side .pnlSubmitComments form fieldset < /*your CSS*/ >Assigning classes allows for control over individual elements.
Afterwards, you follow the instructions given earlier in the same manner.
By adding a style class to a container element, accomplishing the task with just one CSS file is a simple feat.
As an illustration, the first page would contain the subsequent HTML code.
By utilizing the class of the body element, you can aim at the input tags within your solitary css file.
body.page1 input < width: 25%; >body.page2 input
To apply diverse CSS rules, modify the class or id of a container element while keeping the HTML unchanged.
Upon reviewing your list again, I noticed that this option is already included as the fourth item. Utilizing this option would be beneficial. Additionally, I apply it to target diverse browsers by including a class that specifies the browser on the body tag.
Utilize shared CSS and define certain properties such as width through the code behind.
Generate various CSS files that cater to distinct requirements, and connect the appropriate CSS file to the page through code behind.
Multiple css styles applied to one element, how to force, you should use !important in css. like .color
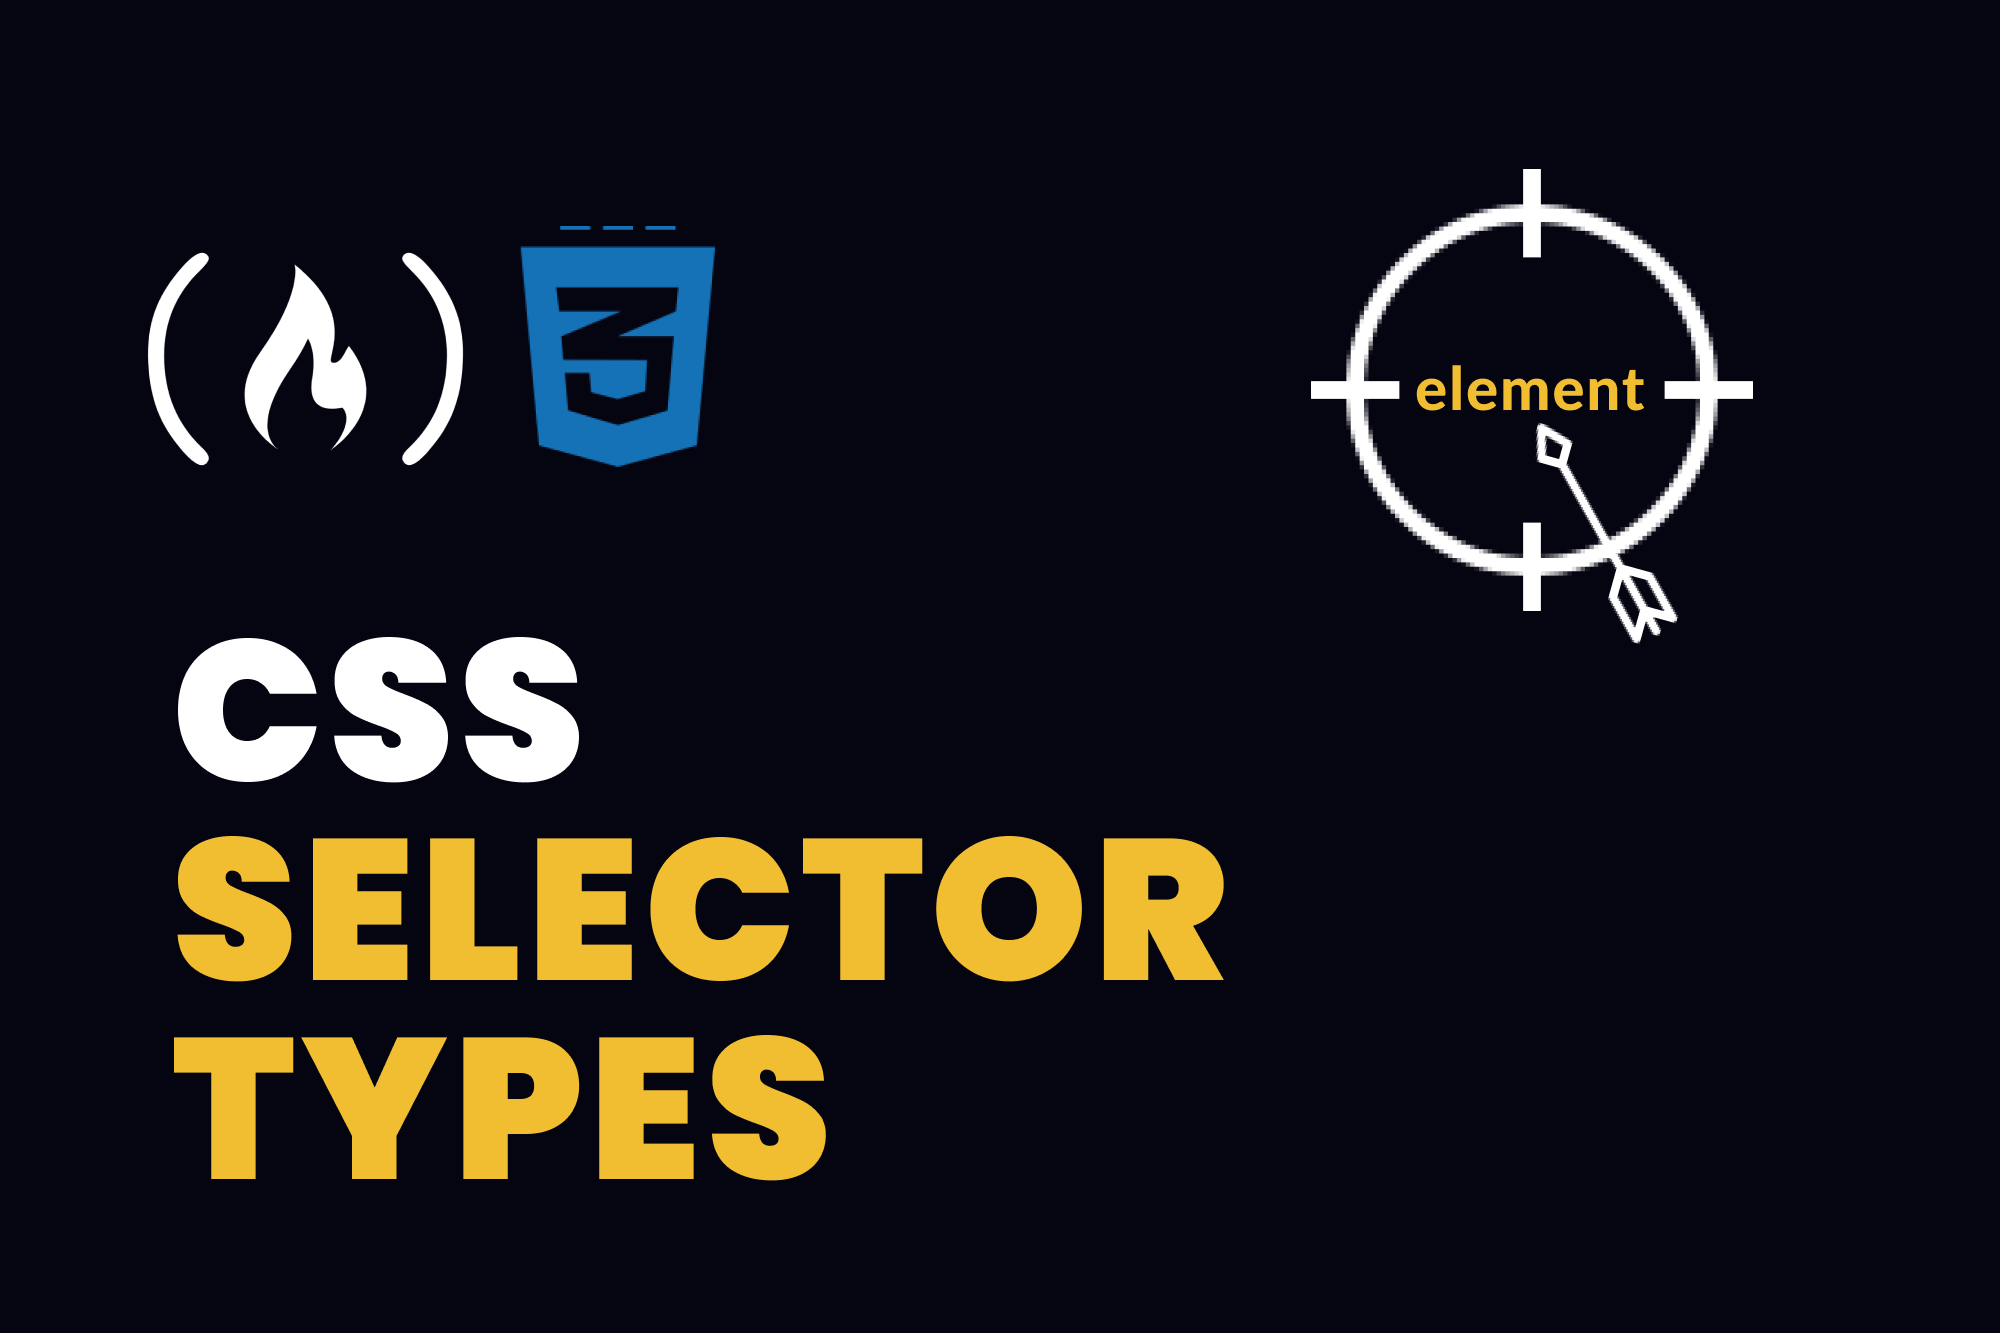
CSS Selector Types – How to Select Elements to Style in CSS

Dillion Megida
When you want to style an element with CSS, you first have to «select» it. In this article, I’ll show you seven (7) ways in which you can do that.
Here’s the syntax for styling elements in CSS:
You have the selector that «targets» the element(s) you want to style, then you have an open curly brace. After the brace, you have your styles using different CSS properties, and you close it with a closing curly brace.
There are numerous ways to target elements. You can call these methods Selector Types.
Here is a video with examples on Ways to Select Elements to Style in CSS if you prefer that.
Here are seven selector types in CSS.
1. How to Use the Universal Selector (*) in CSS
The Universal Selector, asterisk (*), allows you to select ALL elements of any type for styling. Here is an example:
Let’s say we use this style for the following HTML:
CSS styles
How to apply styles


You can see that the body , h1 , p , div , and img elements all have the border of 1px solid black because we used the universal selector.
2. How to Style Elements by Tag Name in CSS
You can also select elements for styling by using their tag names. Here’s an example:
These style declarations applies a color of red to all p elements and a width and height of 200px to all img elements.
Here’s how the style above works with this HTML:
I am a span There is a span above me


You can see that the span is not styled – only the img and the p are.
3. How to Style Classes in CSS
Elements accept different attributes (also called properties), including classes. You can target an element based on the class you have specified on it. Here is an example:
There are two div s here, but only one has a class attribute with the container value. You can style the one with the class using a period (.) then the class like this:

From the CSS, we specified that all div elements should have a border of 1px solid purple. But for the element with a container class , you can see from the result that it has a border-width of 20px.
4. How to Style Ids in CSS
Similar to the class attribute, you can specify an id on an element which you can target from CSS for styling.
You can target the id element here by using a hash (#) and then the id like this:

Using the element (whether it’s a div , p , or any type) with the container id , we applied styles to only the second div element.
Unlike classes, however, id s must be unique. Two or more elements cannot have the same id as that would cause unexpected behaviors.
5. How to Style Other Attributes in CSS
We’ve seen how to target class and id attributes. What if you wanted to target other attributes? Well you can; using square brackets ([attr]). How does that work?
In this example, we have two elements: an a tag and a p tag. To style both elements, you can use their tag names directly:
The comma allows you to apply styles to multiple selectors at once.
But another way you can style both elements is using their attributes. They both have a href attribute.
Just keep in mind that the href attribute is not supported in p tags though. I’m just using it to illustrate an example.
Here’s how you can use the href attribute to style both elements:
This CSS will match all elements with the href attribute.

Both elements have the href attribute and so they are selected for our styles. Here, we used the href attribute without a value. You can also specify a value to be specific about your target like this:

Only the a tag has the href attribute with the # value so that is the only element that matches our styles, as you can see from the image above.
6. How to Use Pseudo-Classes in CSS
Pseudo-classes are selector types that allow you to select elements in a particular state. To name a few, here are some supported states:
- hover (when the mouse floats over an element)
- disabled (when an element such as an input or button is disabled)
- required (when a form element is required)
And many more you can find in the Pseudo-classes MDN Documentation.
You can apply styles when elements are in these states. You select the state by using a colon (:) followed by the state. Here is an example:
The line is important to specify that it is HTML5 so the pseudo classes can work.
This CSS would apply these styles to any element you hover over. Here’s the result»:

The image on the left is without the hover state. On the right, you can see the styles applied to the body and the button because we’re hovering over them.
By hovering over the button , you are also hovering over the body because the button is a child of the body .
7. How to Use the Pseudo Element Selector in CSS
Pseudo-elements (different from Pseudo Classes) are used to select a «specific part of an element». Not the whole element – just a part. And you can also use them to add pseudo (artificial) elements to an existing element.
Here are some supported pseudo-element selectors:
- selection : the highlighted part of an element
- first-line : the first line of a paragraph
- placeholder : the placeholder text of an input element
And many more you can find in the MDN Pseudo Elements Documentation.
To apply styles using a pseudo-element selector, you use double colons (::) followed by the pseudo-element. Here’s an example:
And here’s the CSS for this HTML:

The ::placeholder pseudo-element selector styles the «placeholder part» of all form elements. As you can see in the example above, the input element itself has a color style of blue but the placeholder part has different styling.
Wrapping up
In this article, I’ve shown you seven ways in which you can target elements you want to style. We’ve seen:
- the universal selector, for selecting all elements
- tag names for selecting elements that match a tag name
- classes for selecting elements with a class attribute
- ids for selecting an element with an id attribute
- attributes for selecting elements that have an attribute with or without a specified value
- pseudo-classes for selecting elements in a specific state
- pseudo-elements for selecting specific parts of an element
You can also combine these selectors to be more specific about the element you want to target. You do this using Combinators.
Combinators allow you to use multiple selectors to target elements based on the relationship between the elements that match the selectors. Here’s an article I wrote about combinators if you want to learn more.
To give you a quick preview – combinators are used between multiple selector types, and they allow you to style elements based on the relationship they have with other elements.