Canvas
В tkinter от класса Canvas создаются объекты-холсты, на которых можно «рисовать», размещая различные фигуры и объекты. Делается это с помощью вызовов соответствующих методов.
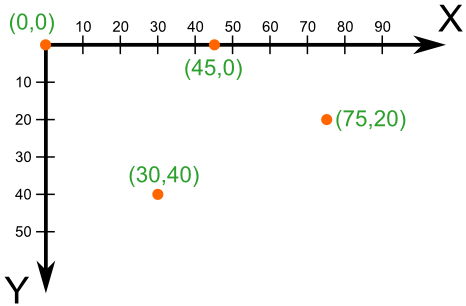
При создании экземпляра Canvas необходимо указать его ширину и высоту. При размещении геометрических примитивов и других объектов указываются их координаты на холсте. Точкой отсчета является верхний левый угол.
В программе ниже создается холст. На нем с помощью метода create_line рисуются отрезки. Сначала указываются координаты начала (x1, y1) , затем – конца (x2, y2) .
from tkinter import * root = Tk() c = Canvas(width=200, height=200, bg='white') c.pack() c.create_line(10, 10, 190, 50) c.create_line(100, 180, 100, 60, fill='green', width=5, arrow=LAST, dash=(10, 2), activefill='lightgreen', arrowshape=(10, 20, 10)) root.mainloop()
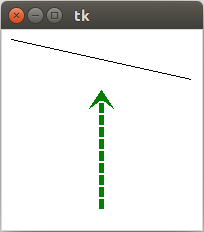
Остальные свойства являются необязательными. Так activefill определяет цвет отрезка при наведении на него курсора мыши.
Создание прямоугольников методом create_rectangle :
… c.create_rectangle(10, 10, 190, 60) c.create_rectangle(60, 80, 140, 190, fill='yellow', outline='green', width=3, activedash=(5, 4)) …
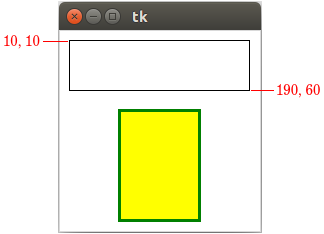
Первые координаты – верхний левый угол, вторые – правый нижний. В приведенном примере, когда на второй прямоугольник попадает курсор мыши, его рамка становится пунктирной, что определяется свойством activedash .
Методом create_polygon рисуется произвольный многоугольник путем задания координат каждой его точки:
… c.create_polygon(100, 10, 20, 90, 180, 90) c.create_polygon(40, 110, 160, 110, 190, 180, 10, 180, fill='orange', outline='black') …
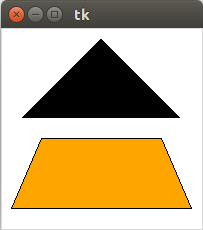
Для удобства координаты точек можно заключать в скобки:
… c.create_polygon((40, 110), (160, 110), (190, 180), (10, 180), fill='orange', outline='black') …
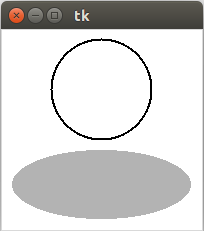
Метод create_oval создает эллипсы. При этом задаются координаты гипотетического прямоугольника, описывающего эллипс. Если нужно получить круг, то соответственно описываемый прямоугольник должен быть квадратом.
… c.create_oval(50, 10, 150, 110, width=2) c.create_oval(10, 120, 190, 190, fill='grey70', outline='white') …
Более сложные для понимания фигуры получаются при использовании метода create_arc . В зависимости от значения опции style можно получить сектор (по умолчанию), сегмент ( CHORD ) или дугу ( ARC ). Также как в случае create_oval координаты задают прямоугольник, в который вписана окружность (или эллипс), из которой «вырезают» сектор, сегмент или дугу. Опции start присваивается градус начала фигуры, extent определяет угол поворота.
… c.create_oval(10, 10, 190, 190, fill='lightgrey', outline='white') c.create_arc(10, 10, 190, 190, start=0, extent=45, fill='red') c.create_arc(10, 10, 190, 190, start=180, extent=25, fill='orange') c.create_arc(10, 10, 190, 190, start=240, extent=100, style=CHORD, fill='green') c.create_arc(10, 10, 190, 190, start=160, extent=-70, style=ARC, outline='darkblue', width=5) …
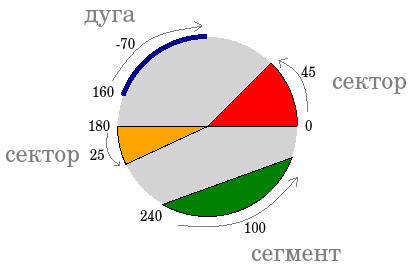
В данном примере светло-серый круг используется исключительно для наглядности.
На холсте можно разместить текст. Делается это с помощью метода create_text :
… c.create_text(100, 100, text="Hello World,\nPython\nand Tk", justify=CENTER, font="Verdana 14") c.create_text(200, 200, text="About this", anchor=SE, fill="grey") …
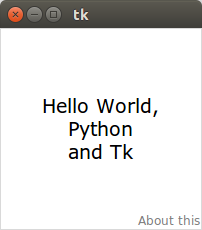
По умолчанию в заданной координате располагается центр текстовой надписи. Чтобы изменить это и, например, разместить по указанной координате левую границу текста, используется якорь со значением W (от англ. west – запад). Другие значения: N , NE , E , SE , S , SW , W , NW . Если букв, задающих сторону привязки, две, то вторая определяет вертикальную привязку (вверх или вниз «уйдет» текст от заданной координаты). Свойство justify определяет лишь выравнивание текста относительно себя самого.
Практическая работа
Создайте на холсте подобное изображение:
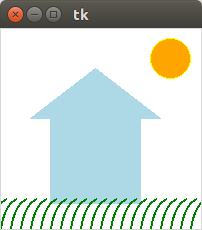
Для создания травы используется цикл.
Курс с примерами решений практических работ: pdf-версия
Tkinter. Программирование GUI на Python
Tkinter Canvas
Summary: in this tutorial, you’ll learn about the Tkinter Canvas widget and how to draw various objects on it.
Introduction to the Tkinter canvas widget
The canvas widget is the most flexible widget in Tkinter. The Canvas widget allows you to build anything from custom widgets to complete user interfaces.
The canvas widget is a blank area on which you can draw figures, create text, and place images.
To create a canvas widget, you create a new instance of the Canvas class from the tkinter module. For example, the following creates a canvas on a window:
import tkinter as tk root = tk.Tk() root.geometry('800x600') root.title('Canvas Demo') canvas = tk.Canvas(root, width=600, height=400, bg='white') canvas.pack(anchor=tk.CENTER, expand=True) root.mainloop()Code language: Python (python)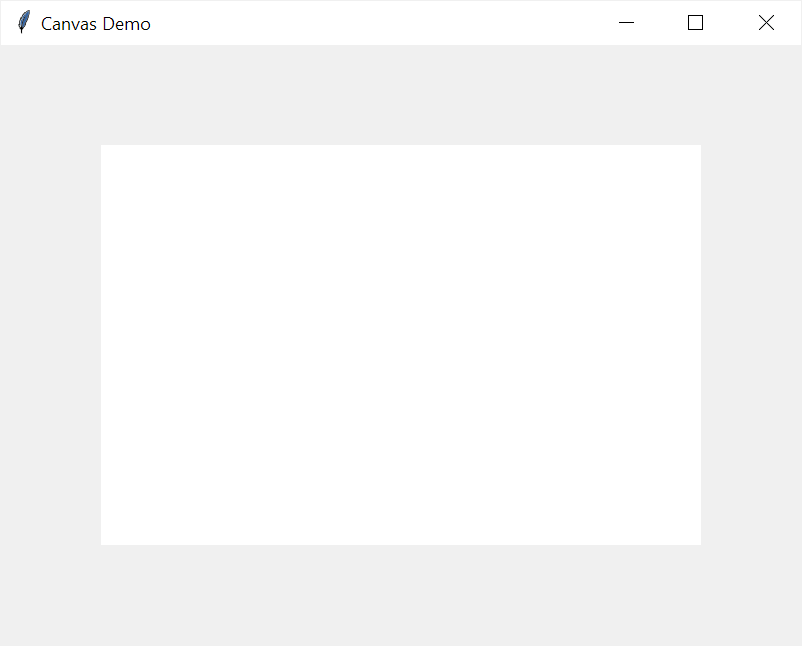
First, create a new Canvas object with the width 600px , height 400px and background white :
canvas = tk.Canvas(root, width=600, height=400, bg='white')Code language: Python (python)Second, place the canvas object on the root window using the pack() geometry.
canvas.pack(anchor=tk.CENTER, expand=True)Code language: Python (python)A canvas has a coordinate system like a window. The origin (0,0) is at the top-left corner. The direction of the x-axis is from left to right and the direction of the y-axis is from top to bottom.
Adding items to a canvas using create_* methods
A canvas object has a number of add_* methods. These methods allow you to place items on it. The items are:
| Item | Method |
|---|---|
| Line | create_line() |
| Rectangle | create_rectangle() |
| Oval | create_oval() |
| Arc | create_arc() |
| Polygon | create_polygon() |
| Text | create_text(() |
| Image | create_image() |
Creating a line
To create a line, you use the create_line() method. For example, the following creates a red line:
canvas.create_line((50, 50), (100, 100), width=4, fill='red')Code language: Python (python)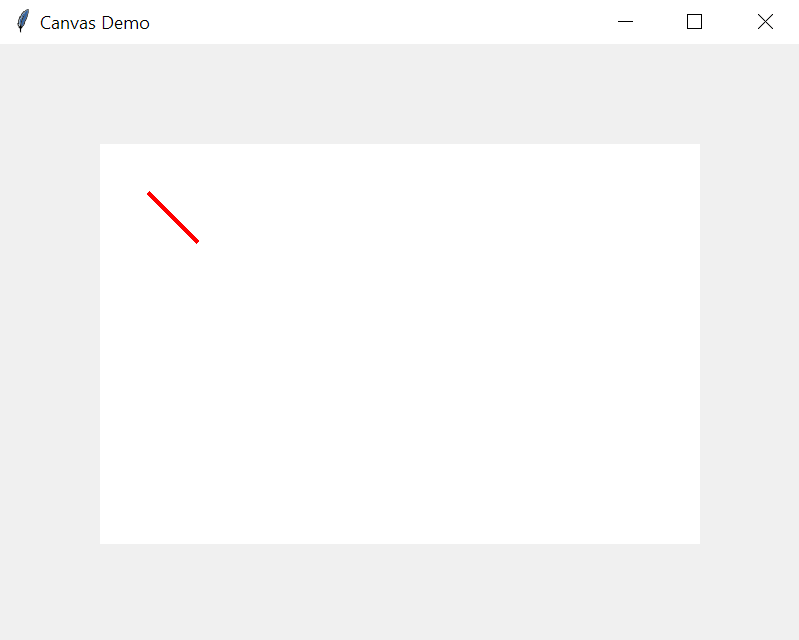
In this example, a line consists of two points (50,50) and (100,100) . The create_line() method connects the dots between these points.
The width argument specifies the width of the line. And the fill argument specifies the color of the line.
Creating a rectangle
To draw a rectangle, you use the create_rectangle() method. For example:
import tkinter as tk root = tk.Tk() root.geometry('800x600') root.title('Canvas Demo - Rectangle') canvas = tk.Canvas(root, width=600, height=400, bg='white') canvas.pack(anchor=tk.CENTER, expand=True) canvas.create_rectangle((100, 100), (300, 300), fill='green') root.mainloop()Code language: Python (python)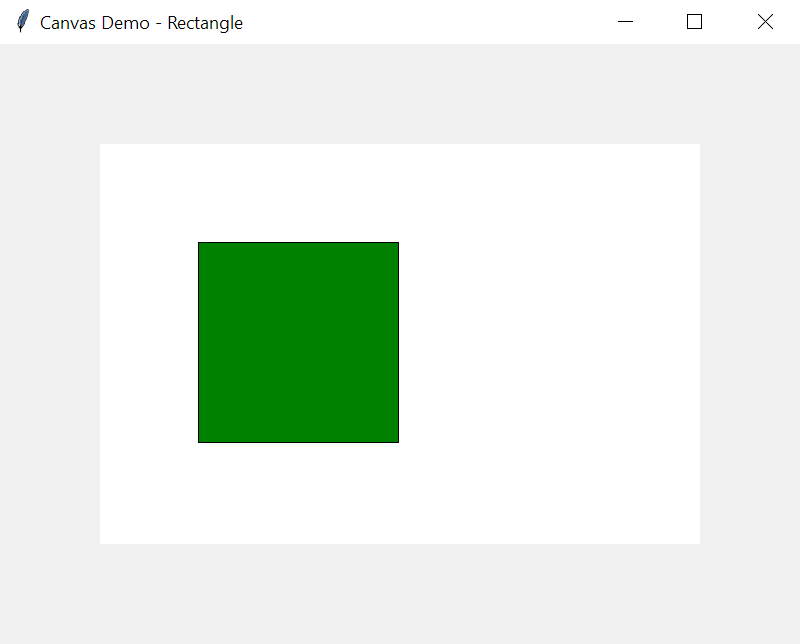
Creating an oval
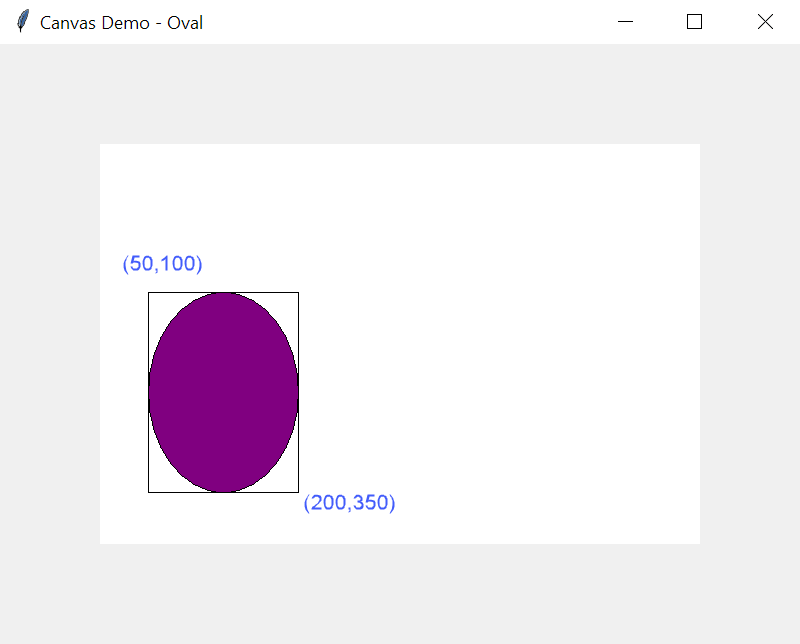
To draw an oval, you use the create_oval() method. For example:
import tkinter as tk root = tk.Tk() root.geometry('800x600') root.title('Canvas Demo - Oval') canvas = tk.Canvas(root, width=600, height=400, bg='white') canvas.pack(anchor=tk.CENTER, expand=True) points = ( (50, 150), (200, 350), ) canvas.create_oval(*points, fill='purple') root.mainloop()Code language: Python (python)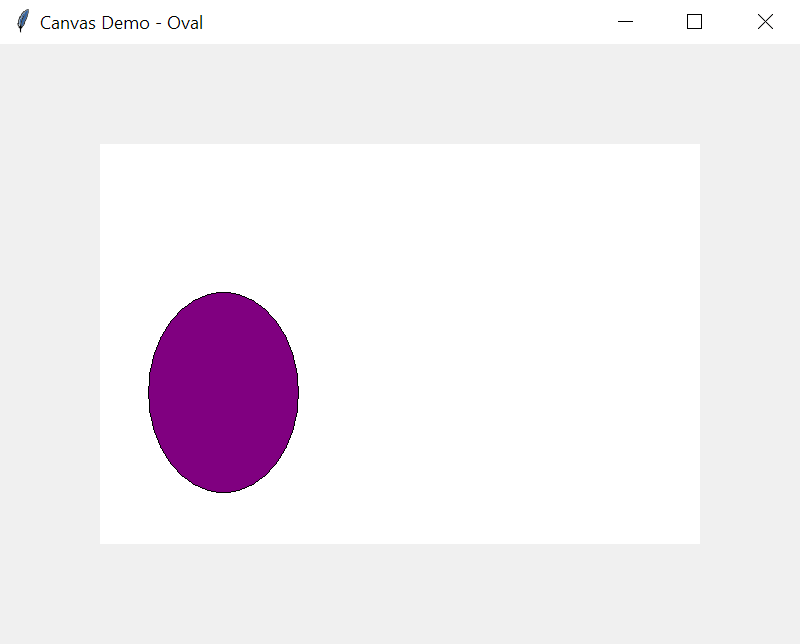
Like a rectangle, an oval takes the coordinate of the upper-left and lower-right corners of its bounding box. A bounding box of an oval is the smallest rectangle that contains the oval.
In this example, the upper-left and lower-right corners of the bounding box are (50,150) and (200,350) .
Creating a polygon
To draw a polygon, you use the create_polygon() method. For example:
import tkinter as tk root = tk.Tk() root.geometry('800x600') root.title('Canvas Demo - Polygon') canvas = tk.Canvas(root, width=600, height=400, bg='white') canvas.pack(anchor=tk.CENTER, expand=True) # create a polygon points = ( (100, 300), (200, 200), (300, 300), ) canvas.create_polygon(*points, fill='blue') root.mainloop() Code language: Python (python)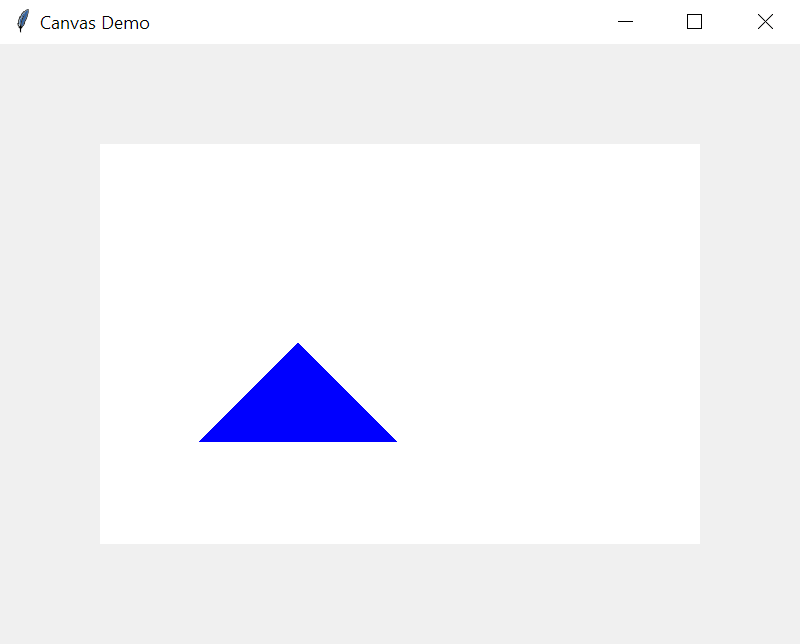
Creating a text
To place a text on a canvas, you use the create_text() method. For example:
import tkinter as tk root = tk.Tk() root.geometry('800x600') root.title('Canvas Demo - Text') canvas = tk.Canvas(root, width=600, height=400, bg='white') canvas.pack(anchor=tk.CENTER, expand=True) canvas.create_text( (300, 100), text="Canvas Demo", fill="orange", font='tkDefaeultFont 24' ) root.mainloop()Code language: Python (python)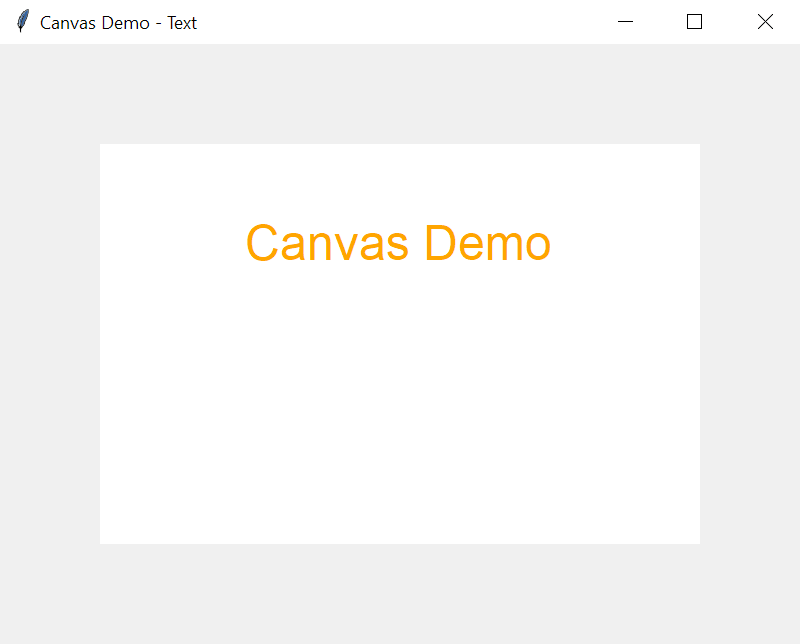
Create an arc
To draw an arc on a canvas, you use the create_arc() method. For example:
import tkinter as tk from turtle import width root = tk.Tk() root.geometry('800x600') root.title('Canvas Demo - Arc') canvas = tk.Canvas(root, width=600, height=600, bg='white') canvas.pack(anchor=tk.CENTER, expand=True) canvas.create_arc((10, 10), (200, 200), style=tk.PIESLICE, width=2) canvas.create_arc((10, 200), (200, 390), style=tk.CHORD, width=2) canvas.create_arc((10, 400), (200, 590), style=tk.ARC, width=2) root.mainloop() Code language: Python (python)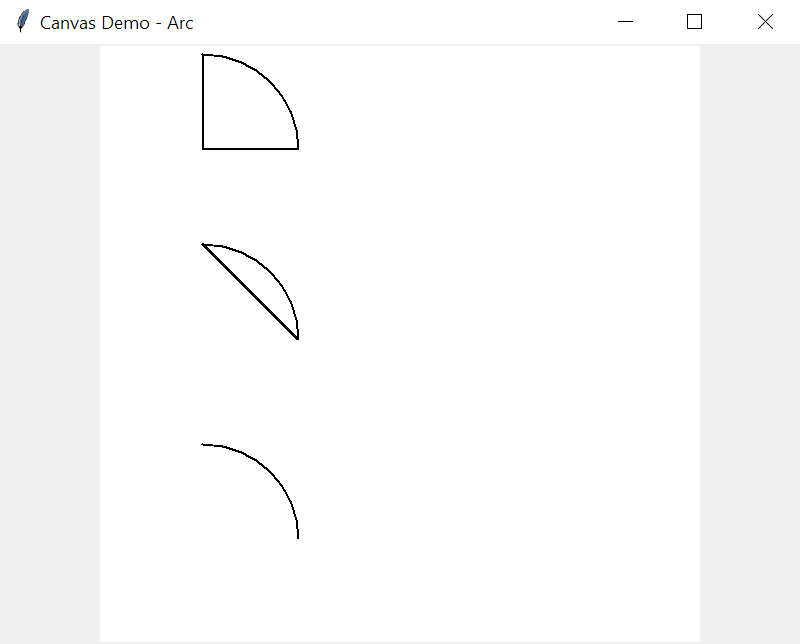
Create an image
To place an image on a canvas, you use the create_image() method. For example:
import tkinter as tk root = tk.Tk() root.geometry('800x600') root.title('Canvas Demo - Image') canvas = tk.Canvas(root, width=600, height=400, bg='white') canvas.pack(anchor=tk.CENTER, expand=True) python_image = tk.PhotoImage(file='python.gif') canvas.create_image( (100, 100), image=python_image ) root.mainloop()Code language: Python (python)
Note that if you pass directly the PhotoImage to the create_image() method, the image won’t display because it is automatically garbage collected.
The following code won’t work:
canvas.create_image( (100, 100), image=tk.PhotoImage(file='python.gif') )Code language: Python (python)Binding an event to the item
All the create_* method returns a string value that identifies the item in the context of the Canvas object. And you can use this value to bind an event to the item.
To bind an event to an item, you use the tag_bind() method of the Canvas object. For example:
import tkinter as tk root = tk.Tk() root.geometry('800x600') root.title('Canvas Demo - Binding Event') canvas = tk.Canvas(root, width=600, height=400, bg='white') canvas.pack(anchor=tk.CENTER, expand=True) python_image = tk.PhotoImage(file='python.gif') image_item = canvas.create_image( (100, 100), image=python_image ) canvas.tag_bind( image_item, '', lambda e: canvas.delete(image_item) ) root.mainloop()Code language: Python (python)In this example, we bind the left-mouse click to the image item. If you click the image, the lambda will execute that removes the image from the canvas.
Summary
- A canvas is a blank area where you can draw items such as lines, rectangles, ovals, arcs, texts, and images.
- Use Canvas() to create a new canvas object.
- Use tag_bind() method to bind an event to an item on a canvas.