- E-Commerce Website Using HTML ,CSS and JavaScript (Source Code)
- Creating E-Commerce Website Using HTML, CSS and JavaScript
- Check out how my website appears😀.
- Step1: Adding Header To Our e-commerce website
- Source Code For E-Commerce Website In Html:-
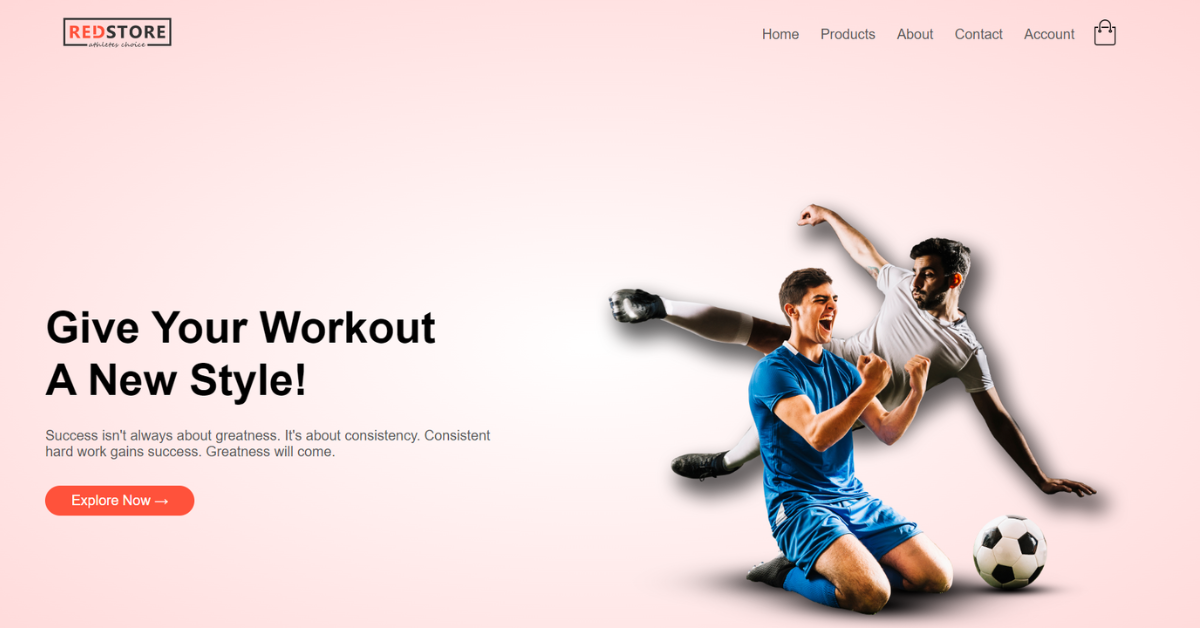
- Give Your Workout A New Style!
- Step2: Adding Body To Our Webpage
- Featured Products
- Red Printed T-shirt
- Red Printed T-shirt
- Red Printed T-shirt
- Red Printed T-shirt
- Latest Products
- Red Printed T-shirt
- Red Printed T-shirt
- Red Printed T-shirt
- Red Printed T-shirt
- Red Printed T-shirt
- Red Printed T-shirt
- Red Printed T-shirt
- Red Printed T-shirt
- Smart Band 4
- Marta W.
- Rula P.
- Vika Z.
- Step3: Adding Footer To Our Webpage
- Download Our App
- Useful Links
- Follow us
- How To Make E-Commerce Shopping Website Using HTML
- How To Make E-Commerce Shopping Website Using HTML.
E-Commerce Website Using HTML ,CSS and JavaScript (Source Code)
Hello Coders👨💻!! In this article, we will learn how to make an E-commerce website using Html, Css and JavaScript with Source Code.
An online store called an e-commerce website lets you buy and sell different things over the Internet. The structure and content of our E-Commerce Website are created using HTML. Our goal should be to win our users’ hearts. To do it, we employ CSS. CSS enables us to use a variety of colours, fonts, and layouts to make our website visually appealing. Our e-commerce store will get some new features, and we’ll use some JavaScript ideas to make that happen.
Creating E-Commerce Website Using HTML, CSS and JavaScript
Check out how my website appears😀.

Do you want to learn HTML to JavaScript? 🔥
If yes, then here is our Master Frontend: Zero to Hero eBook! 📚 In this eBook, you’ll learn complete HTML, CSS, Bootstrap, and JavaScript from beginner to advance level. 💪 It includes 450 Projects with source code.
This webpage responds to all device sizes. When a website is fully responsive, it may be viewed on any website and will adapt its content to the device being used to view it.
There are three main sections on any web page: the header, the body, and the footer. Simply said, we adjust the text between the HTML tags according to each section.
Step1: Adding Header To Our e-commerce website

Source Code For E-Commerce Website In Html:-
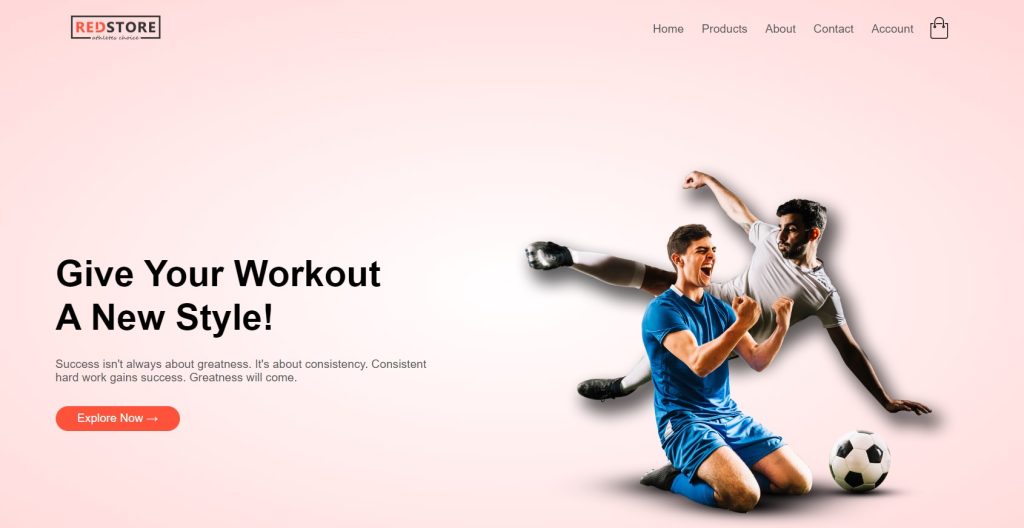
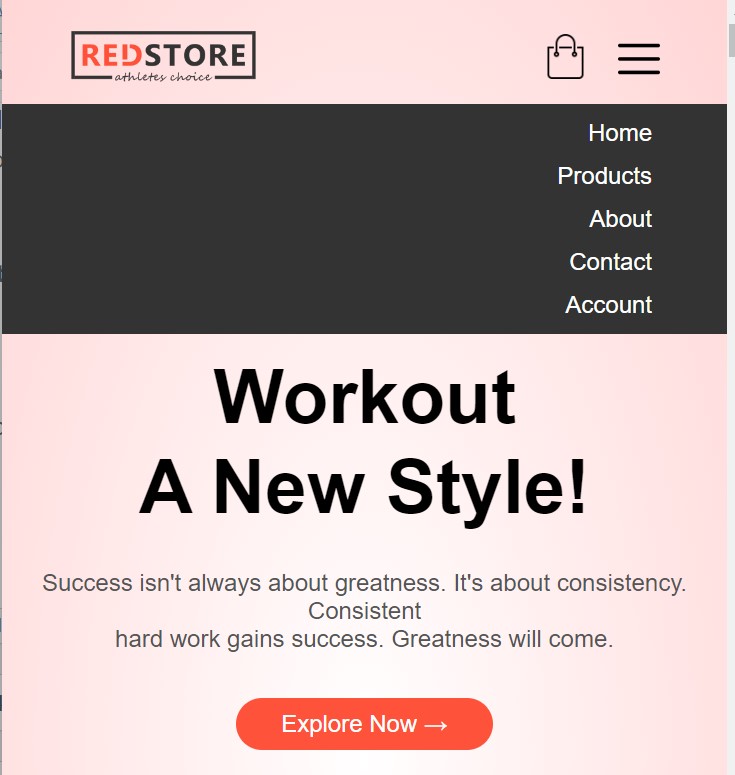
Give Your Workout
A New Style!Success isn't always about greatness. It's about consistency. Consistent
Explore Now →
hard work gains success. Greatness will come.


The tag is used to embed images on HTML pages.To specify the path to the image, we use “src”. I want my website’s logo to appear here. I must particularly acknowledge that in order to implement CSS functions. I’ve created a class called “logo” just for that purpose.
Additionally, we added an image to our header’s background and the toggle image by using the tag.
- tag. The
tag marks the beginning of the list item.
To link to websites or anything else that a URL can address, we utilise the tag and its “href” attribute. The target of the link should be specified in the tags. The div tag is used to group HTML elements together. I’ve created a div class here named “intro.” The and tags specify the headings.
Let’s look at how I can use CSS to make this header appealing.
* < margin: 0; padding: 0; box-sizing: border-box; >body < font-family: "Poppins", sans-serif; >.navbar < display: flex; align-items: center; padding: 20px; >nav < flex: 1; text-align: right; >nav ul < display: inline-block; list-style-type: none; >nav ul li < display: inline-block; margin-right: 20px; >a < text-decoration: none; color: #555; >p < color: #555; >.container < max-width: 1300px; margin: auto; padding-left: 25px; padding-right: 25px; >.row < display: flex; align-items: center; flex-wrap: wrap; justify-content: space-around; >.col-2 < flex-basis: 50%; min-width: 300px; >.col-2 img < max-width: 100%; padding: 50px 0; >.col-2 h1 < font-size: 50px; line-height: 60px; margin: 25px 0; >.btn < display: inline-block; background: #ff523b; color: #ffffff; padding: 8px 30px; margin: 30px 0; border-radius: 30px; transition: background 0.5s; >.btn:hover < background: #563434; >.header < background: radial-gradient(#fff, #ffd6d6); >.header .row
There are three techniques to include CSS in HTML texts. These are internal, external, and inline CSS. I’ve utilised an external CSS file in this case. HTML components having a specific class attribute are chosen using the class selector.
We inserted padding and margin as “zero” here using the global selector. The box is “border-box” in size.
We set the item inside it to be posted at the “centre” and its display to be “flex” using the class selector (.navbar). Its padding was similarly set to “20 px.” We style the paragraph, list item, anchor tag, and unorder list solely utilising the nav bar and the elements inside of it. Just now, we incorporated the style.
Step2: Adding Body To Our Webpage
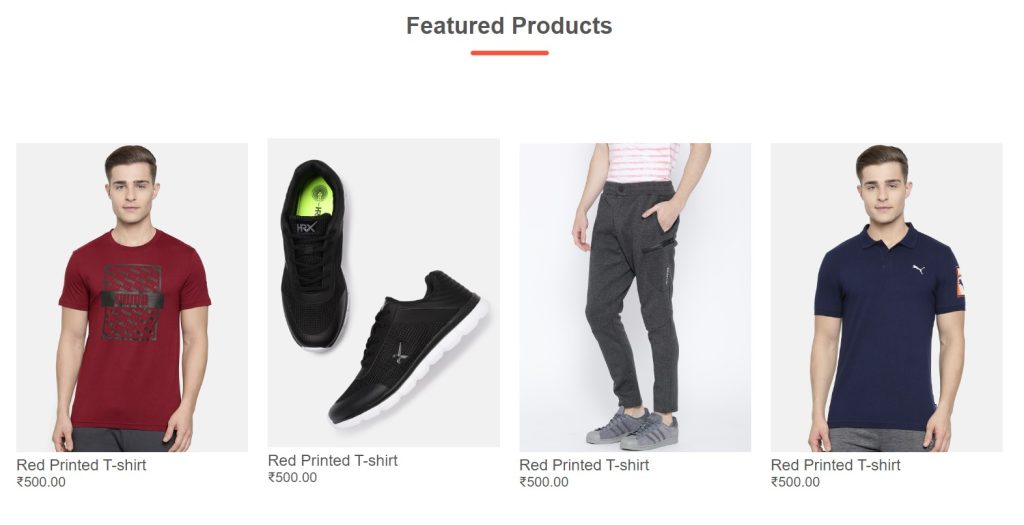
Featured Products

Red Printed T-shirt
₹500.00
Red Printed T-shirt
₹500.00
Red Printed T-shirt
₹500.00
Red Printed T-shirt
₹500.00
Latest Products
Red Printed T-shirt
₹500.00
Red Printed T-shirt
₹500.00
Red Printed T-shirt
₹500.00
Red Printed T-shirt
₹500.00
Red Printed T-shirt
₹500.00
Red Printed T-shirt
₹500.00
Red Printed T-shirt
₹500.00
Red Printed T-shirt
₹500.00
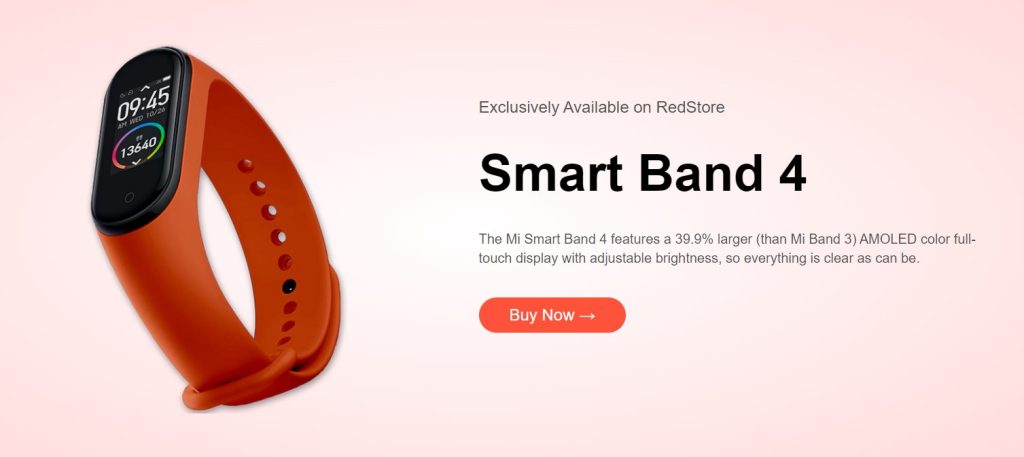
Exclusively Available on RedStore
Smart Band 4
The Mi Smart Band 4 features a 39.9% larger (than Mi Band 3) AMOLED color full-touch display with adjustable brightness, so everything is clear as can be.
Buy Now →Lorem ipsum dolor sit amet consectetur adipisicing elit. Perferendis, quae molestias error id est voluptatibus quos amet numquam aspernatur nam cumque ullam? Veritatis eveniet et, maxime eaque soluta quas modi.
Marta W.
Lorem ipsum dolor sit amet consectetur adipisicing elit. Perferendis, quae molestias error id est voluptatibus quos amet numquam aspernatur nam cumque ullam? Veritatis eveniet et, maxime eaque soluta quas modi.
Rula P.
Lorem ipsum dolor sit amet consectetur adipisicing elit. Perferendis, quae molestias error id est voluptatibus quos amet numquam aspernatur nam cumque ullam? Veritatis eveniet et, maxime eaque soluta quas modi.
Vika Z.


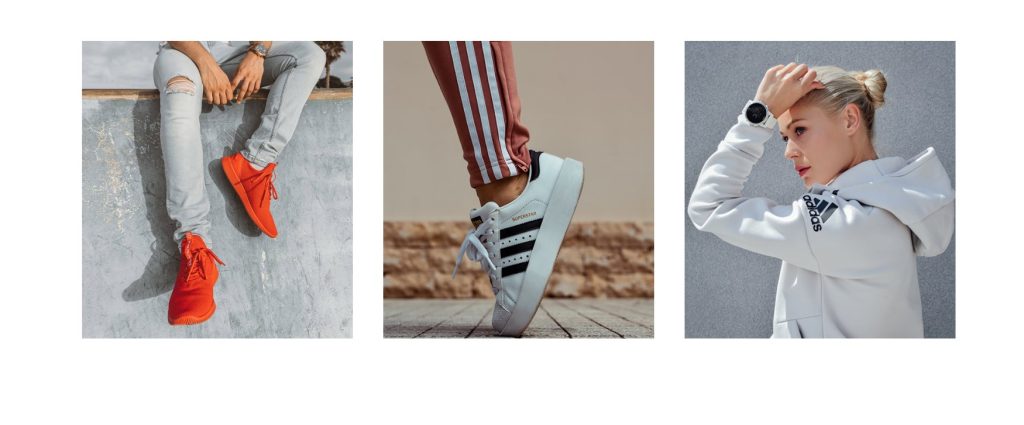
We used the images to build the body section, and the paragraph tag is being used for the content. Additionally, we added icons from the typeface Awesome to the body section’s text. In this part, you may find some shopping photographs with product descriptions. To highlight the new clothes, we have also created a featured section to our body.
To get more visitors to our e-commerce website, we developed a banner section where we will display a banner of new apparel or technologies that have just been introduced.
Let’s look at how I can use CSS to make this body section appealing.
.categories < margin: 70px 0; >.col-3 < flex-basis: 30%; min-width: 250px; margin-bottom: 30px; >.col-3 img < width: 100%; >.small-container < max-width: 1080px; margin: auto; padding-left: 25px; padding-right: 25px; >.col-4 < flex-basis: 25%; padding: 10px; min-width: 200px; margin-bottom: 50px; transition: transform 0.5s; >.col-4 img < width: 100%; >.title < text-align: center; margin: 0 auto 80px; position: relative; line-height: 60px; color: #555; >.title::after < content: ""; background: #ff523b; width: 80px; height: 5px; border-radius: 5px; position: absolute; bottom: 0; left: 50%; transform: translate(-50%); >h4 < color: #555; font-weight: normal; >.col-4 p < font-size: 14px; >.rating .fas < color: #ff523b; >.rating .far < color: #ff523b; >.col-4:hover < transform: translateY(-5px); >/* Offer */ .offer < background: radial-gradient(#fff, #ffd6d6); margin-top: 80px; padding: 30px 0; >.col-2 .offer-img < padding: 50px; >small
As you can see, we simply added styling to our body section using the class selector. The top and bottom margins have been added as “70px” using the.categories class, first. Our section has been divided into columns, thus we will use the column class to add the width and height to the content in those classes.

I am aware that learning about the process we used to develop this brand icon must thrill you. However, we utilised these businesses’ photos and altered their width and position by applying the classes. The image also has a hover attribute, which causes it to transform from grayscale to colour as the user moves their cursor over it.
.brands < margin: 100px auto; >.col-5 < width: 160px; >.col-5 img < width: 100%; cursor: pointer; filter: grayscale(100%); >.col-5 img:hover
Step3: Adding Footer To Our Webpage

This image shows our eCommerce webpage’s “footer.” Links and icons are displayed here. I’ll show you how I did.
Download Our App
Download App for Android and iso mobile phone.
Our Purpose Is To Sustainably Make the Pleasure and Benefits of Sports Accessible to the Many.
Useful Links
- Coupons
- Blog Post
- Return Policy
- Join Affiliate
Follow us
- YouTube
Copyright © 2021 - Red Store


/* footer */ .footer < background: #000; color: #8a8a8a; font-size: 14px; padding: 60px 0 20px; >.footer p < color: #8a8a8a; >.footer h3 < color: #ffffff; margin-bottom: 20px; >.footer-col-1, .footer-col-2, .footer-col-3, .footer-col-4 < min-width: 250px; margin-bottom: 20px; >.footer-col-1 < flex-basis: 30%; >.footer-col-2 < flex: 1; text-align: center; >.footer-col-2 img < width: 180px; margin-bottom: 20px; >.footer-col-3, .footer-col-4 < flex-basis: 12%; text-align: center; >ul < list-style-type: none; >.app-logo < margin-top: 20px; >.app-logo img < width: 140px; >.footer hr < border: none; background: #b5b5b5; height: 1px; margin: 20px 0; >.copyright < text-align: center; >.menu-icon < width: 28px; margin-left: 20px; display: none; >/* media query for menu */ @media only screen and (max-width: 800px) < nav ul < position: absolute; top: 70px; left: 0; background: #333; width: 100%; overflow: hidden; transition: max-height 0.5s; >nav ul li < display: block; margin-right: 50px; margin-top: 10px; margin-bottom: 10px; >nav ul li a < color: #fff; >.menu-icon < display: block; cursor: pointer; >> /* all products page */ .row-2 < justify-content: space-between; margin: 100px auto 50px; >select < border: 1px solid #ff523b; padding: 5px; >select:focus < outline: none; >.page-btn < margin: 0 auto 80px; >.page-btn span < display: inline-block; border: 1px solid #ff523b; margin-left: 10px; width: 40px; height: 40px; text-align: center; line-height: 40px; cursor: pointer; >.page-btn span:hover < background: #ff523b; color: #ffffff; >/* single product details */ .single-product < margin-top: 80px; >.single-product .col-2 img < padding: 0; >.single-product .col-2 < padding: 20px; >.single-product h4 < margin: 20px 0; font-size: 22px; font-weight: bold; >.single-product select < display: block; padding: 10px; margin-top: 20px; >.single-product input < width: 50px; height: 40px; padding-left: 10px; font-size: 20px; margin-right: 10px; border: 1px solid #ff523b; >input:focus < outline: none; >.single-product .fas < color: #ff523b; margin-left: 10px; >.small-img-row < display: flex; justify-content: space-between; >.small-img-col < flex-basis: 24%; cursor: pointer; >/* cart items */ .cart-page < margin: 90px auto; >table < width: 100%; border-collapse: collapse; >.cart-info < display: flex; flex-wrap: wrap; >th < text-align: left; padding: 5px; color: #ffffff; background: #ff523b; font-weight: normal; >td < padding: 10px 5px; >td input < width: 40px; height: 30px; padding: 5px; >td a < color: #ff523b; font-size: 12px; >td img < width: 80px; height: 80px; margin-right: 10px; >.total-price < display: flex; justify-content: flex-end; >.total-price table < border-top: 3px solid #ff523b; width: 100%; max-width: 400px; >td:last-child < text-align: right; >th:last-child < text-align: right; >/* account page */ .account-page < padding: 50px 0; background: radial-gradient(#fff, #ffd6d6); >.form-container < background: #ffffff; width: 300px; height: 400px; position: relative; text-align: center; padding: 20px 0; margin: auto; box-shadow: 0 0 20px 0px rgba(0, 0, 0, 0.1); overflow: hidden; >.form-container span < font-weight: bold; padding: 0 10px; color: #555555; cursor: pointer; width: 100px; display: inline-block; >.form-btn < display: inline-block; >.form-container form < max-width: 300px; padding: 0 20px; position: absolute; top: 130px; transition: transform 1s; >form input < width: 100%; height: 30px; margin: 10px 0; padding: 0 10px; border: 1px solid #ccc; >form .btn < width: 100%; border: none; cursor: pointer; margin: 10px 0; >form .btn:focus < outline: none; >#LoginForm < left: -300px; >#RegForm < left: 0; >form a < font-size: 12px; >#Indicator < width: 100px; border: none; background: #ff523b; height: 3px; margin-top: 8px; transform: translateX(100px); transition: transform 1s; >/* media query for less than 600 screen size */ @media only screen and (max-width: 600px) < .row < text-align: center; >.col-2, .col-3, .col-4 < flex-basis: 100%; >.single-product .row < text-align: left; >.single-product .col-2 < padding: 20px 0; >.single-product h1 < font-size: 26px; line-height: 32px; >.cart-info p < display: none; >>
We have included the footer style in this. You only need to read through the code once to understand how we formatted our footer. The media query was utilised to provide responsiveness to our website, which is now the most crucial aspect. As the size reduces, we added a condition to the maximum width, and the content size adjusts in line with the window size.
You may be wondering where we have employed javascript functionality. To find out, please resize your browser window. When you do, you will see that we have added a hamburger menu to our website and changed the navigation bar.
var MenuItems = document.getElementById('MenuItems'); MenuItems.style.maxHeight = '0px'; function menutoggle() < if (MenuItems.style.maxHeight == '0px') < MenuItems.style.maxHeight = '200px'; >else < MenuItems.style.maxHeight = '0px'; >> With the help of the getElementById method, we have just established a variable named menuItem that will hold the value of the HTML element we have chosen. The minimum height of our menu item will then be changed from zero to 200px using the menutoggle method.
How To Make E-Commerce Shopping Website Using HTML

Learn How To Make E-Commerce Shopping Website Using HTML And CSS. Make Online Store Shopping website Template Using HTML.
I will Create an eCommerce Website Just Using HTML And CSS. This is A Single Home Page Of an Ecommerce Shopping Website. You Create This Ecommerce Website By Following This Steps Which Is Given Blow.
How To Make E-Commerce Shopping Website Using HTML.
This Tutorial i will teach you how to create an eCommerce online store shopping website design using HTML. In this tutorial first, I will show you the design which I create in this tutorial Just using HTML and CSS. This Is Very Easy To Create this Shopping Website Design using HTML. After Creating the File I MAke the website Structure Using HTML And Design The Site Using cascading style sheets «CSS». I Make Five Sections, the first section is the main section, the second and 4th is the product section, 3rd is a brand section and 5th is the footer section. After Making Structure And Designing, I Make This Site Responsive in different screen sizes Using @media Query. I Hope You Like This Tutorial.
Follow These Steps:-
1) First You make two files, one is the «HTML» File And the second is the «CSS» File. Make «CSS» File In The «CSS» Folder.
2) After Make This Two File You will Link CSS File with Using «Link Tag» In HTML File.
3) Copy The HTML Code Which I Give Below, And Past This Code In Your HTML File.