- Свойство position
- position: static
- position: relative
- Координаты
- position: absolute
- Как спозиционировать кнопку?
- Center Align CSS Button
- 1. By placing a text-align property of body tag to the center (text-align: center)
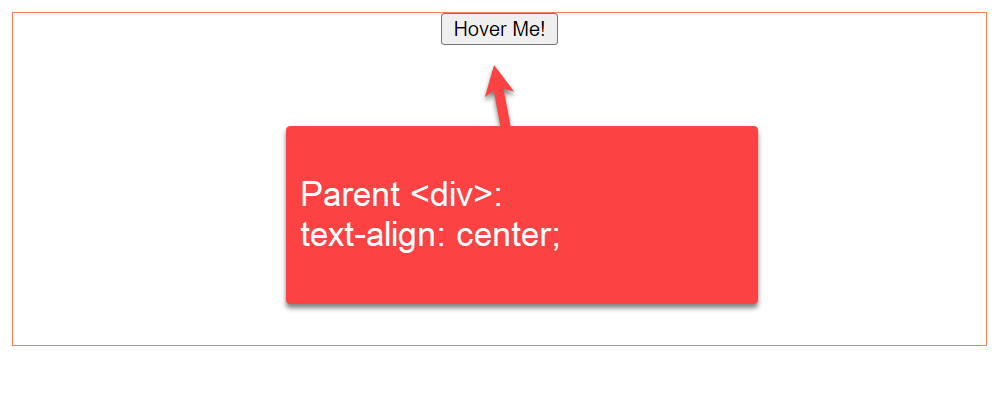
- 1.1 By setting text-align property of parent div tag to the center (text-align: center)
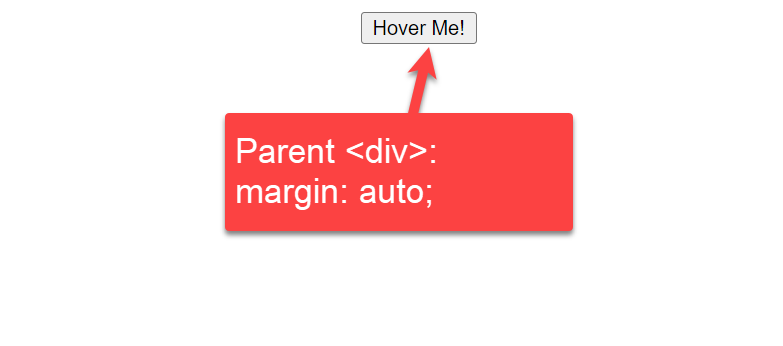
- 2. Center CSS Button by using margin auto (margin: auto)
- 3. Center Button Vertically AND Horizontally
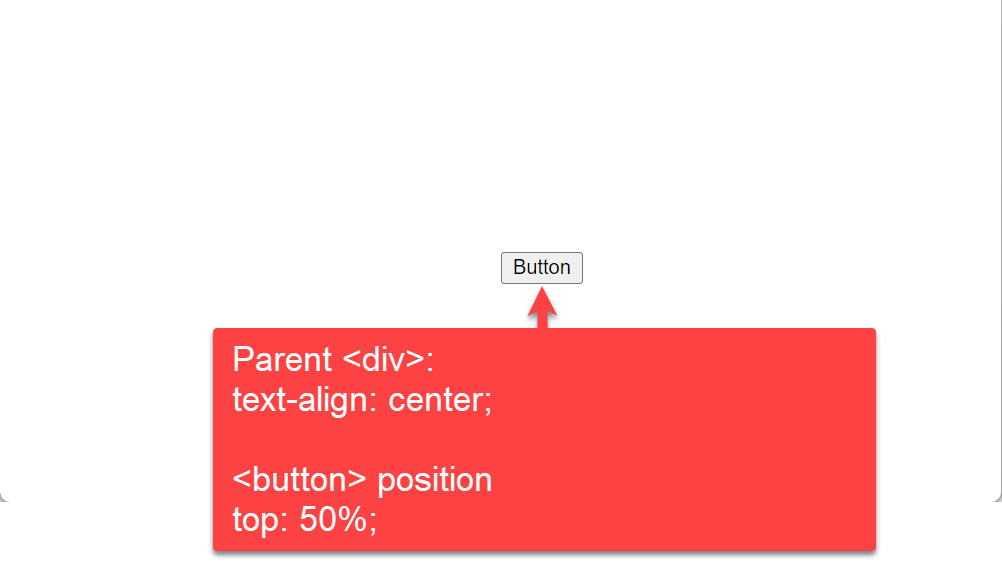
- 3.1: By setting the text-align property of the parent div tag to the center
- 3.2: By setting position property to 50% from top and bottom
- 3.3: By setting margin property to auto
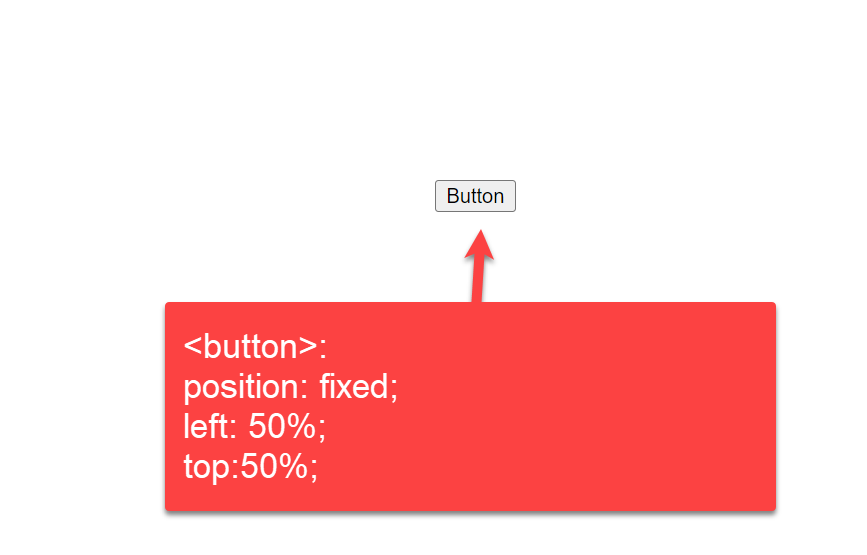
- 4. Center CSS Button using Position fixed
- 5. By setting the display property to flex (display: flex)
- 6. By setting the display property to the grid (display: grid)
- 7. Using CSS Bootstrap
Свойство position
Свойство position позволяет сдвигать элемент со своего обычного места. Цель этой главы – не только напомнить, как оно работает, но и разобрать ряд частых заблуждений и граблей.
position: static
Статическое позиционирование производится по умолчанию, в том случае, если свойство position не указано.
Его можно также явно указать через CSS-свойство:
Такая запись встречается редко и используется для переопределения других значений position .
Здесь и далее, для примеров мы будем использовать следующий документ:
 Без позиционирования ("position: static"). Заголовок А тут - всякий разный текст.
. В две строки!
В этом документе сейчас все элементы отпозиционированы статически, то есть никак.
Элемент с position: static ещё называют не позиционированным.
position: relative
Относительное позиционирование сдвигает элемент относительно его обычного положения.
Для того, чтобы применить относительное позиционирование, необходимо указать элементу CSS-свойство position: relative и координаты left/right/top/bottom .
Этот стиль сдвинет элемент на 10 пикселей относительно обычной позиции по вертикали:
position: relative; top: 10px; h2 Заголовок сдвинут на 10px вниз. Заголовок
А тут - всякий разный текст.
. В две строки! Координаты
Для сдвига можно использовать координаты:
- top – сдвиг от «обычной» верхней границы
- bottom – сдвиг от нижней границы
- left – сдвиг слева
- right – сдвиг справа
Не будут работать одновременно указанные top и bottom , left и right . Нужно использовать только одну границу из каждой пары.
Возможны отрицательные координаты и координаты, использующие другие единицы измерения. Например, left: 10% сдвинет элемент на 10% его ширины вправо, а left: -10% – влево. При этом часть элемента может оказаться за границей окна:
 h2 Заголовок сдвинут на 10% влево. Заголовок А тут - всякий разный текст.
. В две строки!
Свойства left/top не будут работать для position:static . Если их всё же поставить, браузер их проигнорирует. Эти свойства предназначены для работы только с позиционированными элементами.
position: absolute
Абсолютное позиционирование делает две вещи:
- Элемент исчезает с того места, где он должен быть и позиционируется заново. Остальные элементы, располагаются так, как будто этого элемента никогда не было.
- Координаты top/bottom/left/right для нового местоположения отсчитываются от ближайшего позиционированного родителя, т.е. родителя с позиционированием, отличным от static . Если такого родителя нет – то относительно документа.
- Ширина элемента с position: absolute устанавливается по содержимому. Детали алгоритма вычисления ширины описаны в стандарте.
- Элемент получает display:block , который перекрывает почти все возможные display (см. Relationships between „display“, „position“, and „float“).
Например, отпозиционируем заголовок в правом-верхнем углу документа:
 h2 Заголовок в правом-верхнем углу документа. Заголовок А тут - всякий разный текст.
. В две строки!
Важное отличие от relative : так как элемент удаляется со своего обычного места, то элементы под ним сдвигаются, занимая освободившееся пространство. Это видно в примере выше: строки идут одна за другой.
Так как при position:absolute размер блока устанавливается по содержимому, то широкий Заголовок «съёжился» до прямоугольника в углу.
Иногда бывает нужно поменять элементу position на absolute , но так, чтобы элементы вокруг не сдвигались. Как правило, это делают, меняя соседей – добавляют margin/padding или вставляют в документ пустой элемент с такими же размерами.
В абсолютно позиционированном элементе можно одновременно задавать противоположные границы.
Браузер растянет такой элемент до границ.
Как спозиционировать кнопку?

Что пробовал
Вариант1 — не особо подходит, тк кнопка должна занимать две колонки по макету
Кнопка спозиционирована относительно header

Вариант 2 — кнопка внутри контейнера—row—col-2
Кнопка размещаться сразу под header-top, несмотря на то что у header задана высота в 900 px
(из за того что кнопка обернута в container позиционирование происходит не отношению к header а по отношению к container)
Подобная ситуация и с соц кнопками, они спозиционированы относительно своего родителя (wrap) который также absolute его стили
&-wrap position: absolute padding-top: 800px right: 0 top: 0 &-social position: absolute right: 0 bottom: 0 justify-content: flex-endКнопку спозиционировать таким же способом как и кнопки соц сетей?
 +38(095)668-55-55Архитектура
Cпособ сделать жизнь лучше
Lorem ipsum dolor sit amet, consectetur adipiscing elit, sed do eiusmod tempor incididunt ut labore et dolore magna aliqua.
Кнопка имеет стиль описанный в варианте 2
/*HEADER*/ .header position: relative z-index: 5 height: 980px border: 5px solid red .button position: absolute bottom: 0 left: 0Простой 4 комментария
Center Align CSS Button
Styling and formatting are what all web developers and designers want to apply to their web pages and application to look attractive. It is up to the creator how they want to use Cascading Style Sheets and Hypertext Transfer Protocol to provide the best style for their web page and application.
Users specifically use CSS to add the best attractive look to their web pages and specify the arrangements of the page elements in a systematic order. This article will discuss how to center a button in the HTML page using CSS.
You can Center Align CSS Button using the following method:
- text-align: center — By setting th text-align property of the parent div tag to the center
- margin: auto — By setting margin property to auto
- Center Button Vertically AND Horizontally
- By setting th text-align property of the parent div tag to the center
- By setting position property to 50% from top and bottom
- By setting margin property to auto
1. By placing a text-align property of body tag to the center (text-align: center)
In this example, we are using `text-align` center property on the tag, so everything inside the tag will be center-aligned automatically.
body1.1 By setting text-align property of parent div tag to the center (text-align: center)
In this example below, we are using `text-align` center property on tag with a class ( button-container-div ) so everything inside this will be center-aligned automatically.
.button-container-div2. Center CSS Button by using margin auto (margin: auto)
In this example, we are using the `margin` auto property. Margin auto moves the div to the center of the screen.
.button-container-div3. Center Button Vertically AND Horizontally
3.1: By setting the text-align property of the parent div tag to the center
We use the text-align property with the parent div tag to align the button to the center. Let us grab a look at this CSS code snippet and understand how to align the button to the center of the HTML page using CSS
In this example, we are using text-align: center property to the parent div and button position 50% from top «top: 50%;«.
.button-container-div < text-align: center; >.buttonIn this example, we have used HTML and CSS to align the button on the web page to the center. Here, we discuss the code block in detail:
We have assigned the style information of the button using the HTML tag. The text-align property of CSS aligns the inline-level content (here button) to a horizontal alignment. In this example, we used text-align: center property to the parent div and button position 50% from top «top: 50%;».
Then, we used the HTML tag that acts as a container of the CSS text-align property. Lastly, we added a button on the web page using the HTML tag. The web page will look like this:
3.2: By setting position property to 50% from top and bottom
We assigned only one property to the button element in the earlier example. This example will show two positions for the top and bottom. We use position property to tag with left: 50% & top: 50%
.buttonExplanation:
The above example shows how to align the button in the HTML page using two position properties of the CSS element. Here, we set the position property as «fixed» and align the button to the center using two properties, namely left and top — to 50%. Finally, we used the HTML button> tag inside the tag to create the main page button.
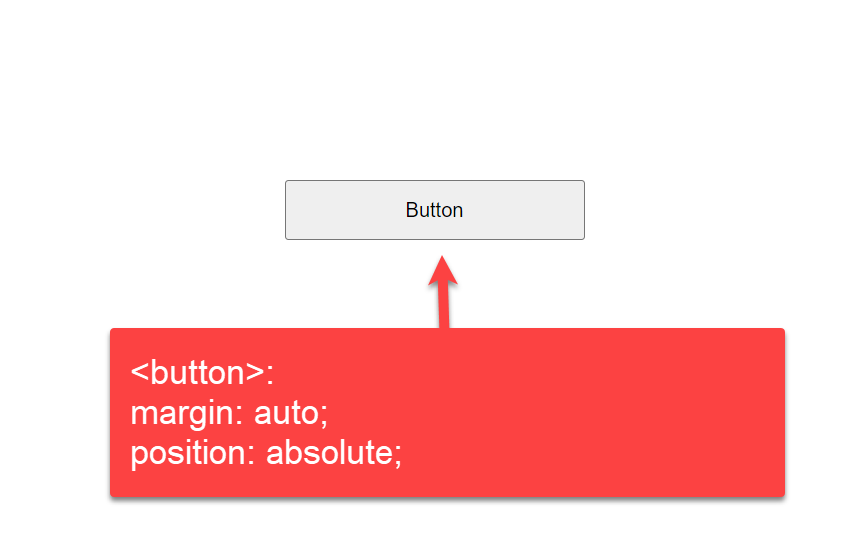
3.3: By setting margin property to auto
In this example, we are using margin: auto CSS property to tag
.buttonExplanation:
In this example, we are using margin: auto CSS property to tag. This property will set the alignment of the CSS button with white spaces. The margin property creates spaces around elements, and we are assigning it to «auto.» Inside the button element of the tag, we add some styles using properties like height, width, top, bottom, left, right, and position that define the button alignment. Finally, we add the HTML tag inside the tag to create the main page button.
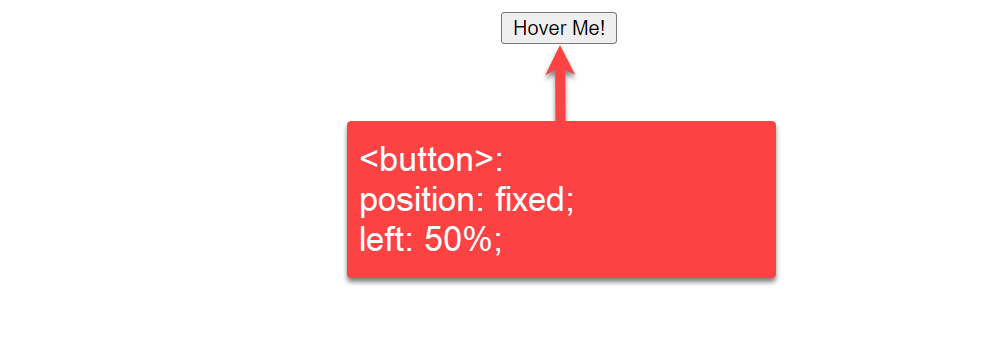
4. Center CSS Button using Position fixed
In this example, we are giving a 50% margin from the left side of the page, and then we are taking the position: fixed so it will adjust the position on the center of the body.
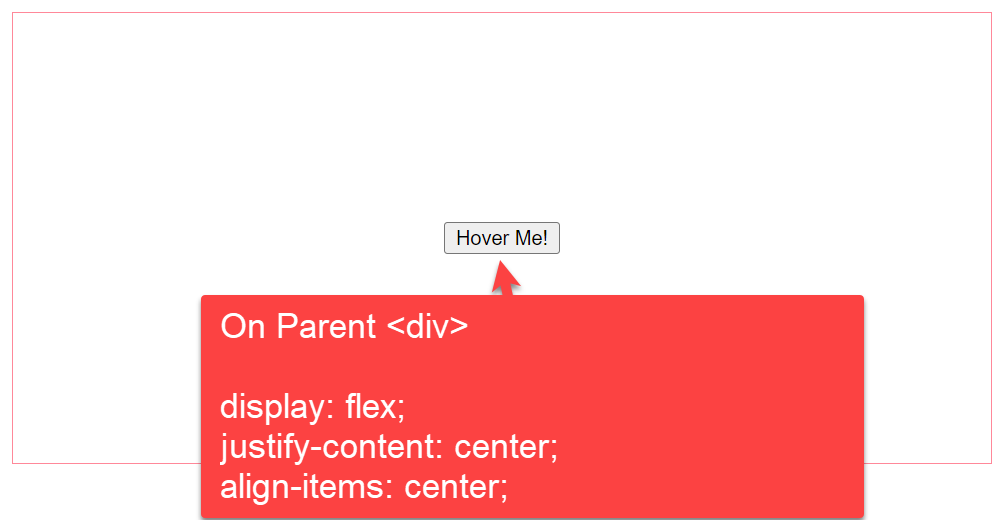
button5. By setting the display property to flex (display: flex)
In this example we are using `display` flex property, `justify-content` and `align-items` to the parent tag with class (button-container-div). The button inside will take place in the center of vertical and horizontal position.
- Display flex will move it to the center vertically.
- Justify-content will move the button to the center horizontally.
- Align-items center keeps it in the center; otherwise, it will start from the div and go at the bottom of the div.
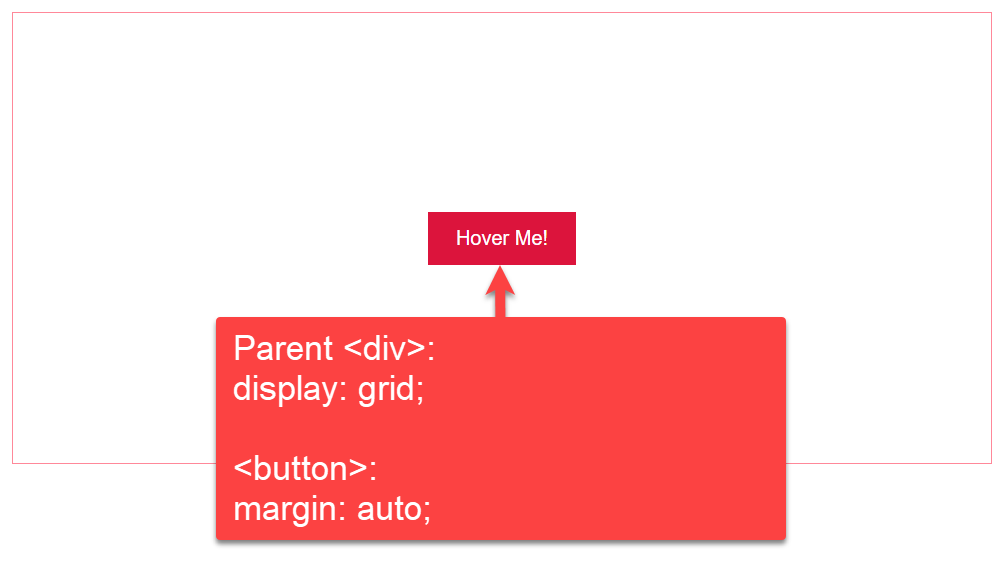
.button-container-div6. By setting the display property to the grid (display: grid)
In this example, we are using `display` grid property on the tag with class ( button-container-div ). The button inside will take place in the center of vertical and horizontal positions.
.button-container-div < width: 100%; height: 300px; border: 1px solid #ff8899; display: grid; >button7. Using CSS Bootstrap
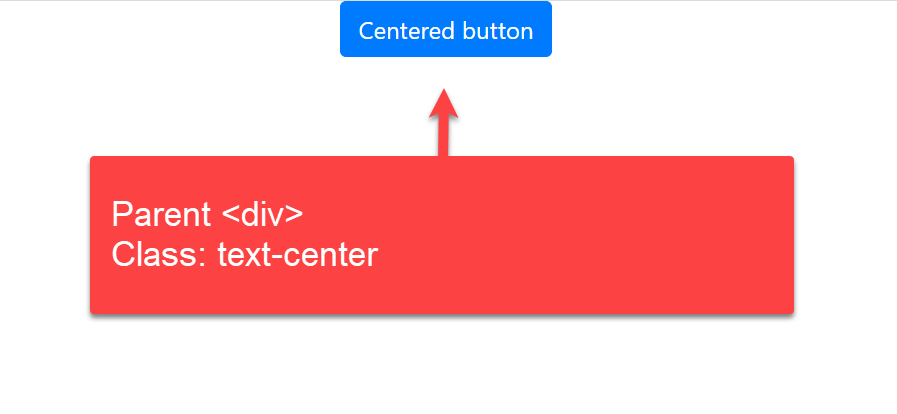
In CSS Bootstrap we can use class «text-center» as given in the example
Explanation:
We will see how to use the CSS Bootstrap with the class «text-center» in this last example. Inside the button, we used the tag with type and class attributes. The rel attribute of the tag defines the relation between the current and the linked document.
The integrity attribute allows the browser to check the fetched script, and the crossorigin attribute sets the request mode to an HTTP CORS Request.
We hope this article has given a crisp idea of how to align the button in the HTML page using different approaches to CSS. We have shown alignment vertically and horizontally using text-align, margin, and position properties of the tag in HTML and CSS Bootstrap.
- Difference between Sensor and Transducer
- BitTorrent vs Utorrent
- Difference between GSM and CDMA
- Difference between NSE and BSE
- HTML Button Link
- HMO vs. PPO
- Diploma vs. Degree
- Difference between FOR and WHILE Loop
- Woocommerce vs Shopify
- Difference between Structure and Union in C
- Difference between StringBuffer and String
- Difference between Money Market and Savings
- Difference between Marketing and Selling
- Arduino vs Raspberry Pi
- Difference between Data and Information
- Differences between Malloc and Calloc Functions in C Language
- Visa vs Mastercard
- Mutex vs Semaphore
- Difference between Analog and Digital Signal
- Difference between Microprocessor and Microcontroller
.png)