- How to Style a Horizontal Line
- Change the size and position of a horizontal rule
- Example of changing the width and position of a horizontal rule:
- Result
- Example of changing the height and background color of the horizontal rule:
- Example of adding a horizontal rule without a border:
- Example of adding a horizontal line with the border-top property:
- Additional style for horizontal lines
- Example of adding different styles to horizontal lines:
- Use a background image as a horizontal rule
- Example of adding a background image as a horizontal line:
- How to add attributes to a horizontal line across the page?
- HTML Horizontal Line – HR Tag Example
- Table of Contents
- Basic Syntax
- Attributes of Tag
- The Width Attribute
- The Color Attribute
- The Size Attribute
- The Align Attribute
- Conclusion
- How to Add Horizontal Lines Before and After a Text in HTML
- 1. Create an HTML text tag.
- 2. Adding the Left Line
- 3. Set the hr-lines to relative
- 4. Adding the Right Line
- Final Output:
- The Complete Code
- Wrapping Up
- Did you find this article valuable?
How to Style a Horizontal Line
A horizontal rule is commonly used as content or section divider. As a horizontal rule the element is used. Originally the
element was styled using attributes. Nowadays, in HTML5, the
element tells the browser that there is a paragraph-level thematic break. Let’s see how to style the
element with CSS below.
Change the size and position of a horizontal rule
The
element is styled with CSS rules instead of attributes. Change the width of the horizontal line by setting the width property and then center it using the margin property.
Example of changing the width and position of a horizontal rule:
html> html> head> title>Title of the document title> style> hr < width: 70%; margin-left: auto; margin-right: auto; > style> head> body> h1>Center Horizontal Line h1> hr /> body> html>Result
If you want to change the thickness, or height of your horizontal line, add the height property to your
style. In this case, you can also set the background-color property for the thick horizontal line.
Example of changing the height and background color of the horizontal rule:
html> html> head> title>Title of the document title> style> hr < width: 100%; height: 30px; margin-left: auto; margin-right: auto; background-color: #b7d0e2; > style> head> body> h1>Horizontal Line with Height and Background Color h1> hr /> body> html>Set the border property to «none» to remove the border of your thick horizontal line.
Example of adding a horizontal rule without a border:
html> html> head> title>Title of the document title> style> hr < width: 100%; height: 30px; margin-left: auto; margin-right: auto; background-color: #b7d0e2; border: 0 none; > style> head> body> h1>Horizontal Line with Height and Background Color h1> hr /> body> html>You can change the color of the horizontal line by setting the border-top property and defining the color. Follow the example to see an illustration of it.
Example of adding a horizontal line with the border-top property:
html> html> head> title>Title of the document title> style> hr < border-top: 5px solid #095484; > style> head> body> h1>Horizontal Line with Height and Background Color h1> hr /> body> html>Additional style for horizontal lines
Go further with horizontal lines by giving different styles to your
element’s border. Check the example code to see what stunning horizontal lines are presented.
Example of adding different styles to horizontal lines:
html> html> head> title>Title of the document title> style> .hr1 < border: 0; height: 3px; background: #095484; background-image: linear-gradient(to right, #ccc, #095484, #ccc); > .hr2 < border: 0; height: 3px; background-image: linear-gradient(to right, rgba(0, 0, 0, 0), rgba(9, 84, 132), rgba(0, 0, 0, 0)); > .hr3 < height: 15px; border: 0; box-shadow: inset 0 12px 12px -12px rgba(9, 84, 132); > .hr4 < border-top: 3px double #095484; > .hr5 < background-color: #fff; border-top: 2px dashed #095484; > .hr6 < border-top: 3px dotted #095484; > .hr7 < height: 30px; border-style: solid; border-color: #095484; border-width: 1px 0 0 0; border-radius: 20px; > .hr8 < display: block; content: ""; height: 30px; margin-top: -31px; border-style: solid; border-color: #095484; border-width: 0 0 1px 0; border-radius: 20px; > style> head> body> h3>Gradient Horizontal Line h3> hr class="hr1" /> h3>Gradient Transparent h3> hr class="hr2" /> h3>Single-direction Drop Shadow h3> hr class="hr3" /> h3>Double h3> hr class="hr4" /> h3>Dashed h3> hr class="hr5" /> h3>Dotted h3> hr class="hr6" /> h3>Rounded Corners h3> hr class="hr7" /> hr class="hr8" /> body> html>Use a background image as a horizontal rule
If you want to set an ornament or image as a horizontal rule for your website, you can add a background image to your horizontal rule with the help of the CSS background property. Also, set the height equal to the height of your image (or how much part you want from the image), and border: none, so as your image will look like as a horizontal line.
Example of adding a background image as a horizontal line:
html> html> head> title>Title of the document title> style> .hr1 < height: 25px; background: url(/uploads/media/default/0001/01/e7a97bd9b2d25886cc7b9115de83b6b28b73b90b.jpeg) no-repeat center; border: none; > .hr2 < height: 25px; background: url(/uploads/media/default/0001/01/295e26d0bdf4d635c8887a6b0f37b61d7c69c5fc.png) no-repeat center; border: none; > .hr3 < height: 25px; background: url(/uploads/media/default/0001/01/09a69b0ad1525926a508356955843cf84306fd85.png) no-repeat center; border: none; > .hr4 < height: 20px; background: url(/uploads/media/default/0001/01/12fbe0b5b3d06c7e379d646068faa12f70452638.png) no-repeat center; border: none; > .hr5 < height: 50px; background: url(/uploads/media/default/0001/01/7d5f2a204567da4df1c1d7e5017d7b510ef56619.jpeg) no-repeat center; border: none; > .hr6 < height: 70px; background: url(/uploads/media/default/0001/01/fb69fe21cc880d96b3267efaa88cd72288a77fef.png) no-repeat center; border: none; > style> head> body> h1>Horizontal Lines with Images h1> hr class="hr1" /> br /> hr class="hr2" /> br /> hr class="hr3" /> br /> hr class="hr4" /> br /> hr class="hr5" /> hr class="hr6" /> body> html>How to add attributes to a horizontal line across the page?
You can add attributes to a horizontal line in HTML by using the
tag and adding the desired attribute(s) as HTML attributes within the opening tag. Here is an example:
label="Horizontal line across the page">In this example, we have added three attributes to the
element:
- style: This attribute sets the inline style of the element. In this case, we have set the border property to create a solid black line. You can use any CSS property here to style the line as desired.
- id: This attribute sets the unique identifier for the element. This can be used to target the element with JavaScript or CSS.
- class: This attribute sets the CSS class(es) for the element. This can be used to apply common styles to multiple elements with the same class.
- aria-label: This attribute is used to provide an accessible label for the element. It is read out loud by screen readers and is helpful for users who are visually impaired.
You can add any valid HTML attribute to the
tag in this way.
HTML Horizontal Line – HR Tag Example

Kolade Chris

You can use the HTML
tag to separate out different topics on a page.
We often use this tag when we want to create a thematic break or separate items on an HTML page.
In this article, you’ll learn how to use this tag in your HTML code.
Table of Contents
- Basic Syntax
- Attributes of
Tag
- The Width Attribute
- The Color Attribute
- The Size Attribute
- The Align Attribute
- Conclusion
Basic Syntax
The
tag is an empty element. This means that it only has an opening tag,
.
Starting in HTML5, we now need to attach a slash to the tag of an empty element. So, instead of having just
, you should make it
.
In browsers, the
tag is displayed as a horizontal rule or line, like this:
Attributes of
Tag
The
tag accepts attributes such as width , color , size , and align .
Before showing you how the individual attributes look and work, I will be setting everything in the body to center with this CSS code:
The Width Attribute
The width attribute is used for specifying a width for the
tag. It takes pixels or percentage as a value.
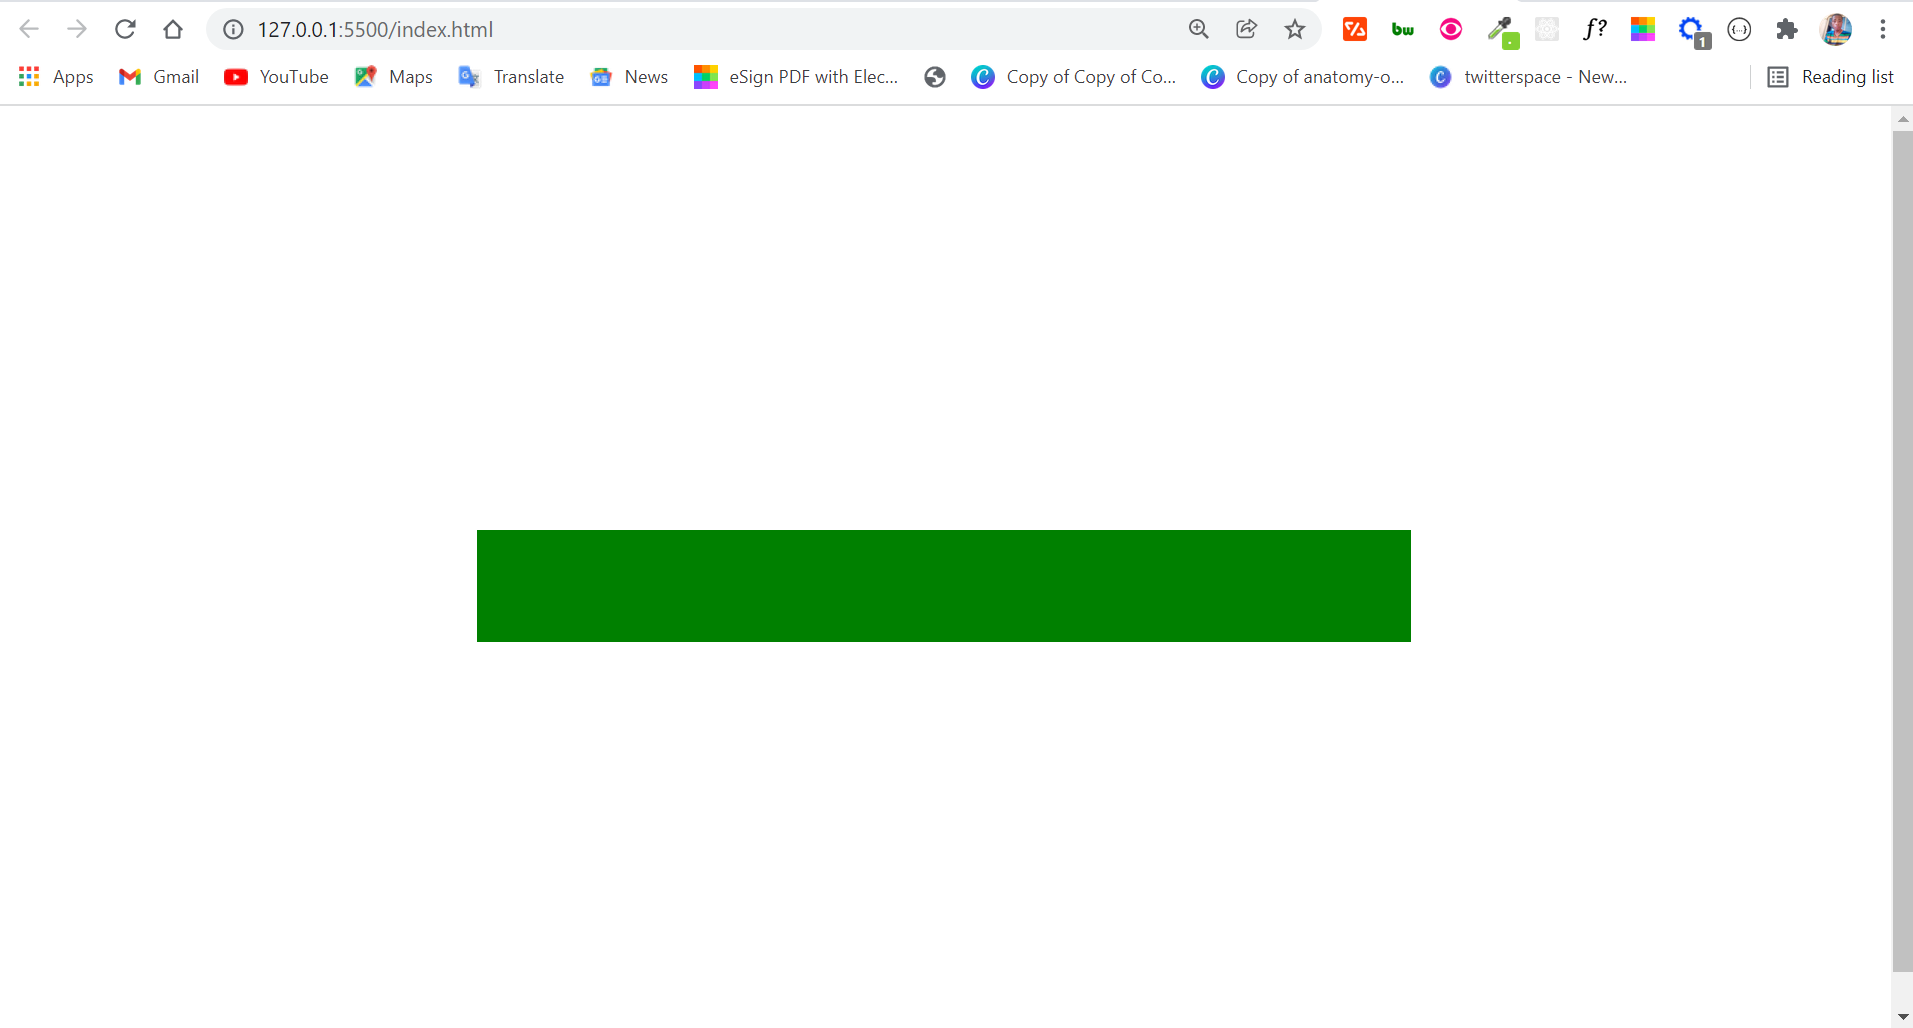
The Color Attribute
The color attribute is used to specify a color for the
tag.

Here is how it would look if we set a green color for the
tag:
The Size Attribute
You can define a height for the
tag with the size attribute. The value must be set in pixels.
A height of 50px looks like the screenshot below:
The Align Attribute
The align attribute is used to set an alignment for the
tag. It takes left , center and right values.
The default is left – meaning if an alignment is not set, the
tag automatically aligns to the left.
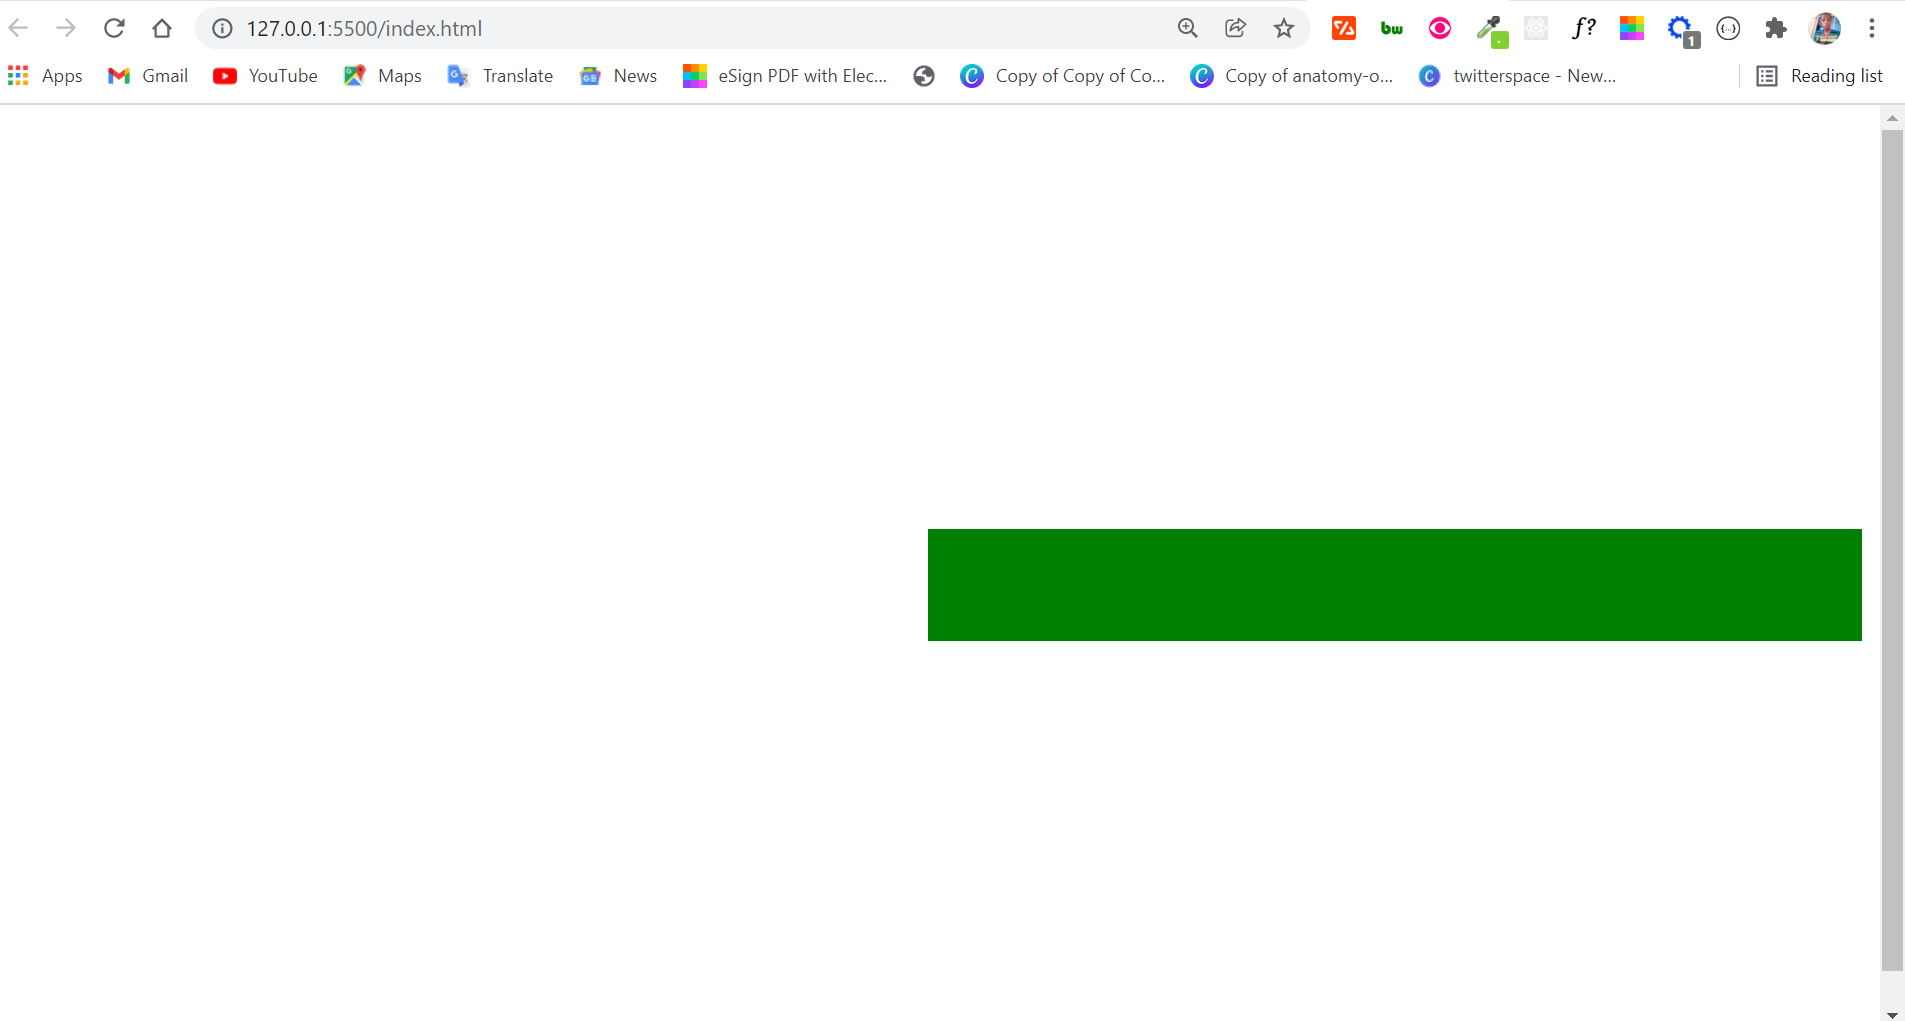
Setting an alignment of right for the
tag looks like this:
Conclusion
This article shows you what the
tag looks like, what it is used for, and the attributes it accepts.
Since the
tag appears as a horizontal rule in browsers, you might be thinking of using it to draw a line.
But you shouldn’t do this because the horizontal rule appears as is only presentationally, not semantically. Instead, you should draw a line with a div or span as the case may be.
If you find this article helpful, share it with your friends and family.
Kolade Chris
Web developer and technical writer focusing on frontend technologies. I also dabble in a lot of other technologies.
If you read this far, tweet to the author to show them you care. Tweet a thanks
Learn to code for free. freeCodeCamp’s open source curriculum has helped more than 40,000 people get jobs as developers. Get started
freeCodeCamp is a donor-supported tax-exempt 501(c)(3) charity organization (United States Federal Tax Identification Number: 82-0779546)
Our mission: to help people learn to code for free. We accomplish this by creating thousands of videos, articles, and interactive coding lessons — all freely available to the public. We also have thousands of freeCodeCamp study groups around the world.
Donations to freeCodeCamp go toward our education initiatives, and help pay for servers, services, and staff.
How to Add Horizontal Lines Before and After a Text in HTML
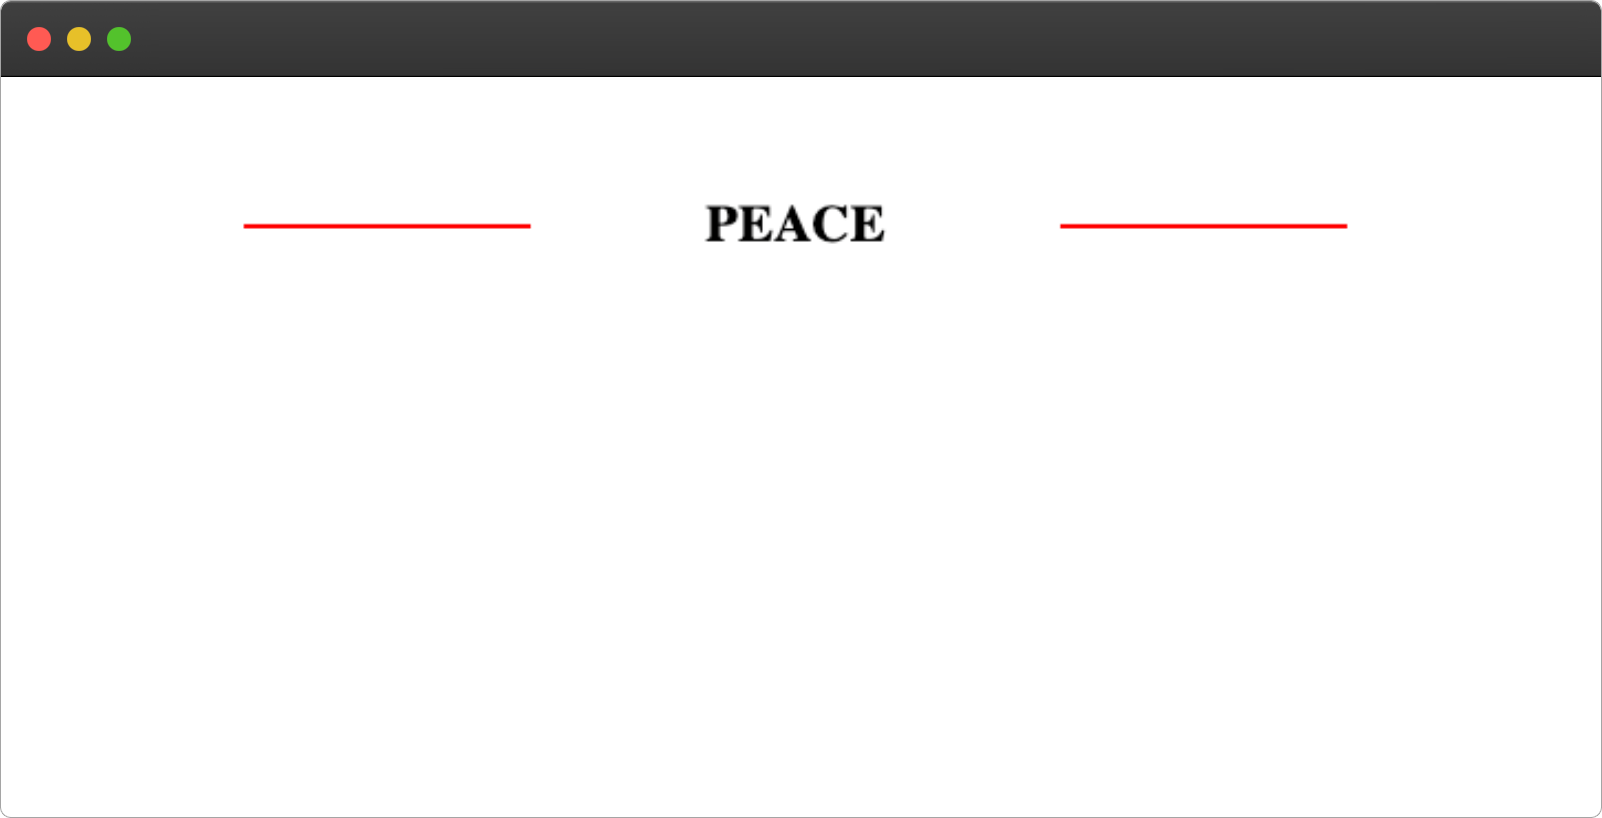
This article will guide you on how to add a horizontal line to the right and left side of a text as shown below:
1. Create an HTML text tag.
In your HTML file create an h2 tag and give it a class name of hr-lines
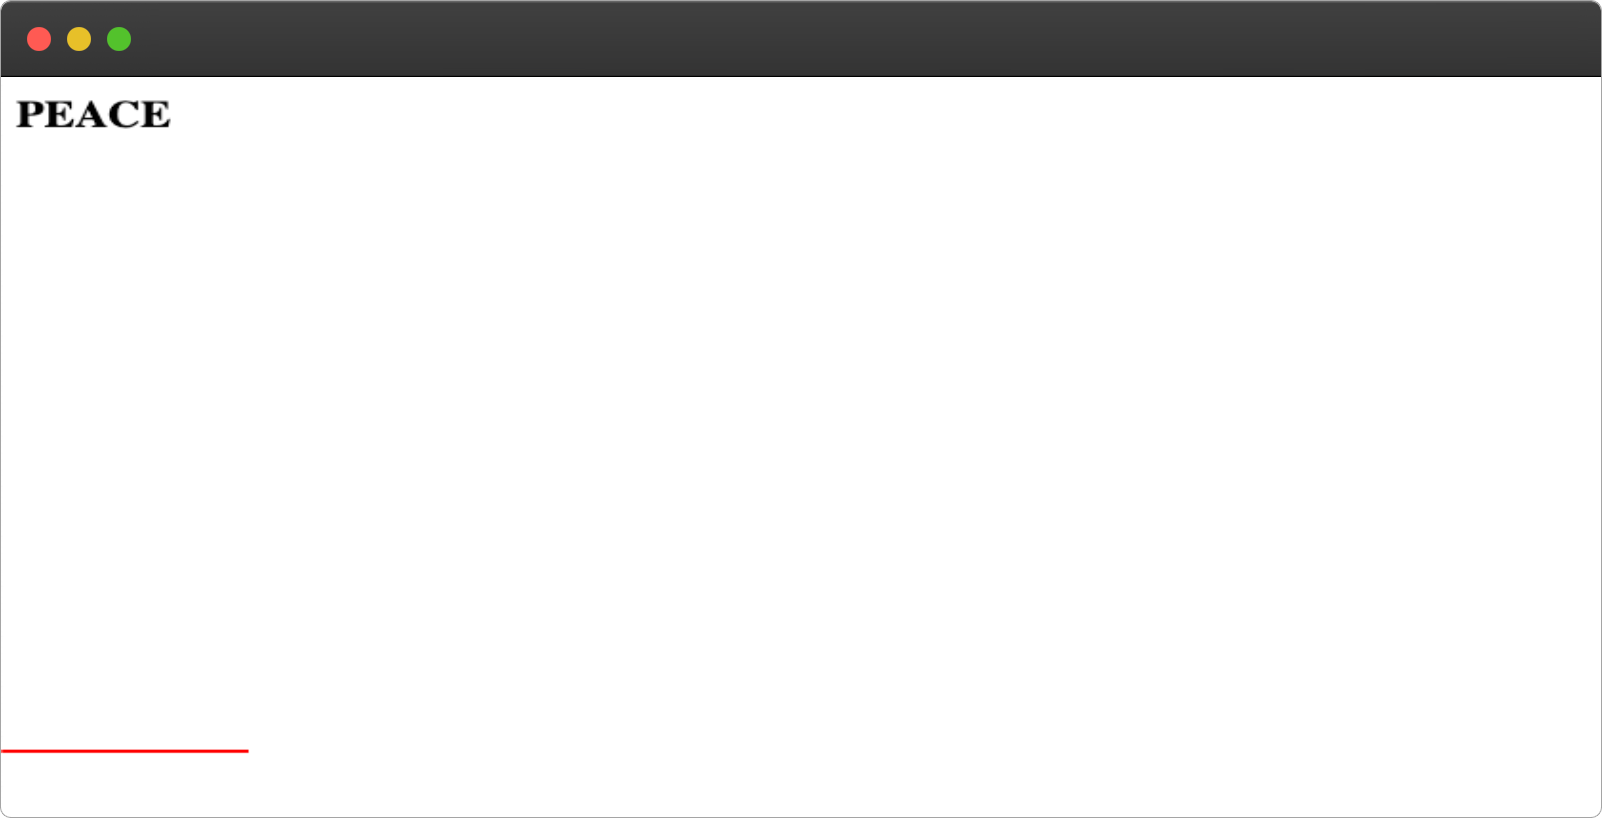
2. Adding the Left Line
We’ll make use of the CSS :before pseudo-element to add a line to the left side of the text. Apply the code below to your CSS file:
.hr-lines:before< content:" "; display: block; height: 2px; width: 130px; position: absolute; top: 50%; left: 0; background: red; > From the above code, we’re creating a new element with a height of 2px and width of 130px before the hr-lines element using the content property, then giving it an absolute position in order to move it around, we set the top to 50% to make it align with the text at the middle.
3. Set the hr-lines to relative
For the pseudo-elements to be applied to the target element, we must set the position of the element to a relative, this will make all the movement of the :before and :after be relative to the parent (text).
Add the following lines to your CSS files.

We can fix this by setting the max-width and adding margin to the element.
.hr-lines< position: relative; /* new lines */ max-width: 500px; margin: 100px auto; text-align: center; > 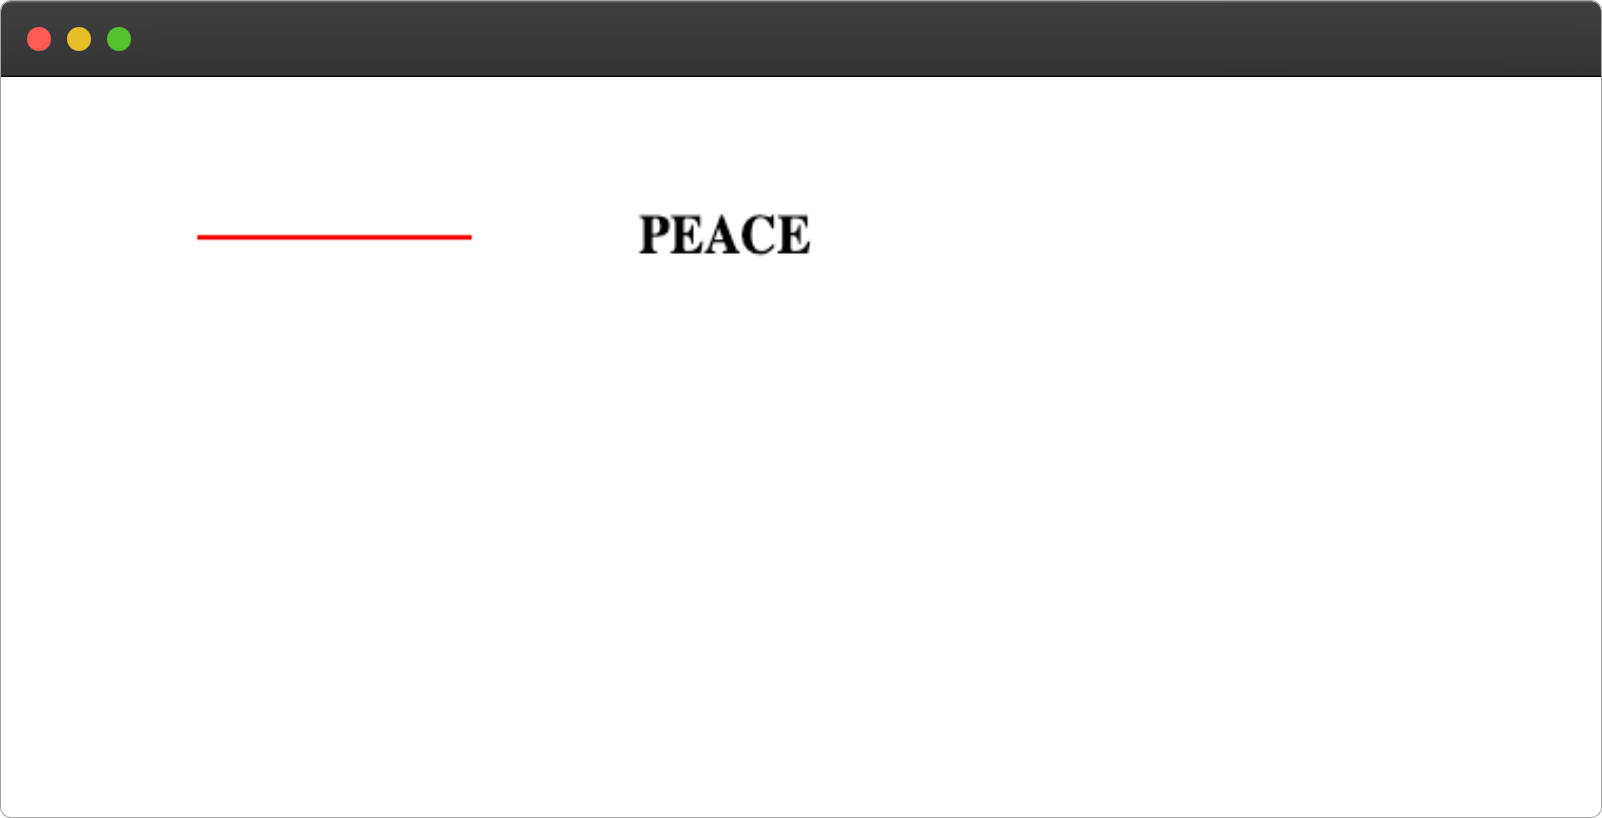
We’re setting the :before to the left side of the text by setting the left:0 .
4. Adding the Right Line
We’ll make use of the :after pseudo-element to add the right line.
Add the following lines of code to your CSS file to add the right line to the text.
.hr-lines:after< content:" "; height: 2px; width: 130px; background: red; display: block; position: absolute; top: 50%; right: 0; > We’re setting the :after to the right side of the text by setting the right:0 .
Final Output:
The Complete Code
h2 class="hr-lines"> PEACE /h2> section> div> p>I wish for peace in Russia & Ukraine/p> /div> section> .hr-lines< position: relative; max-width: 500px; margin: 100px auto; text-align: center; > .hr-lines:before< content:" "; height: 2px; width: 130px; background: red; display: block; position: absolute; top: 50%; left: 0; > .hr-lines:after< content:" "; height: 2px; width: 130px; background: red; display: block; position: absolute; top: 50%; right: 0; > p< text-transform: uppercase; color: red; > section< display: flex; justify-content: center; align-items:center; gap: 1rem; > div< width: 500px; border: 1px solid #ccc; padding: 10px; height: 100px; display: flex; justify-content: center; align-items: center; line-height: 1.4; > Wrapping Up
I hope that this article will assist you in creating a text with horizontal right and left lines at some point in the future.
Wow, what a journey, I am glad you made it to the end of this article, if you enjoyed and learned something new from this article, I will like to connect with you.
See you in the next article. Bye Bye 🙋♂️

If you found my content helpful and want to support my blog, you can also buy me a coffee below, my blog lives on coffee 🙏.
Did you find this article valuable?
Support Ayodele Samuel Adebayo by becoming a sponsor. Any amount is appreciated!